40
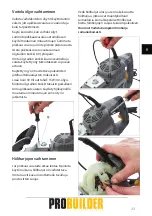
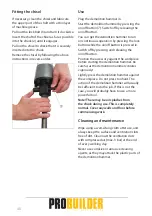
Fitting the chisel
If necessary, clean the chisel and lubricate
the upper part of the shaft with a thin layer
of machine grease.
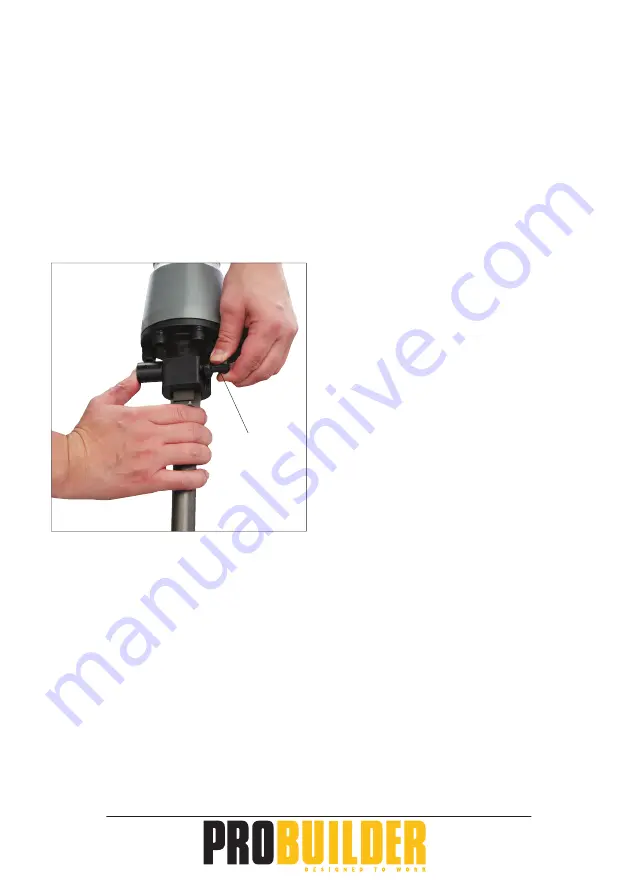
Pull out the lock bolt (3) and turn it clockwise.
Insert the shaft of the chisel as far as possible
into the chuck (2) until it engages.
Pull on the chisel to check that it is securely
inserted into the chuck.
Remove the chisel by following the above
instructions in reverse order.
Use
Plug the demolition hammer in.
Start the demolition hammer by pressing the
on/off button (7). Switch off by releasing the
on/off button.
You can get the demolition hammer to run
on continuous operation by pressing the lock
button while the on/off button is pressed in.
Switch off by pressing and releasing the
on/off button.
Position the accessory against the workpiece
before starting the demolition hammer. Be
careful, as the demolition hammer vibrates
vigorously!
Lightly press the demolition hammer against
the workpiece. Do not press too hard. The
action of the demolition hammer will usually
be suffi cient to do the job. If this is not the
case, you will probably have to use a more
powerful tool.
Note! There may be oil splashes from
the chuck during use. This is completely
normal. Cover any walls and � oor before
commencing work.
Cleaning and maintenance
Wipe using a well-wrung cloth after use, and
always keep the surface and ventilation slots
free of dirt. Clean out the ventilation slots
with compressed air (max. 3 bar) at the end
of every working day.
Never use corrosive or abrasive cleaning
agents, as they may attack the plastic parts of
the demolition hammer.
3
Summary of Contents for 55215
Page 112: ...112 ...


