43
PC-EWB1007_IM
23.05.16
Location
•
Place the device on a flat, water-resistant surface.
•
Make sure that the placement allows sufficient air
circulation for the appliance.
Mains Power Connection
1. Be sure the voltage of the appliance (rating plate)
corresponds with the mains voltage before con-
necting to mains power supply.
2.
Ensure that the on / off switch (4) on the back of the
appliance is on the “ “ (off) setting.
3. Connect the appliance to a properly installed wall
outlet.
4.
Switch the appliance on using the On / Off switch. A
signal tone will sound.
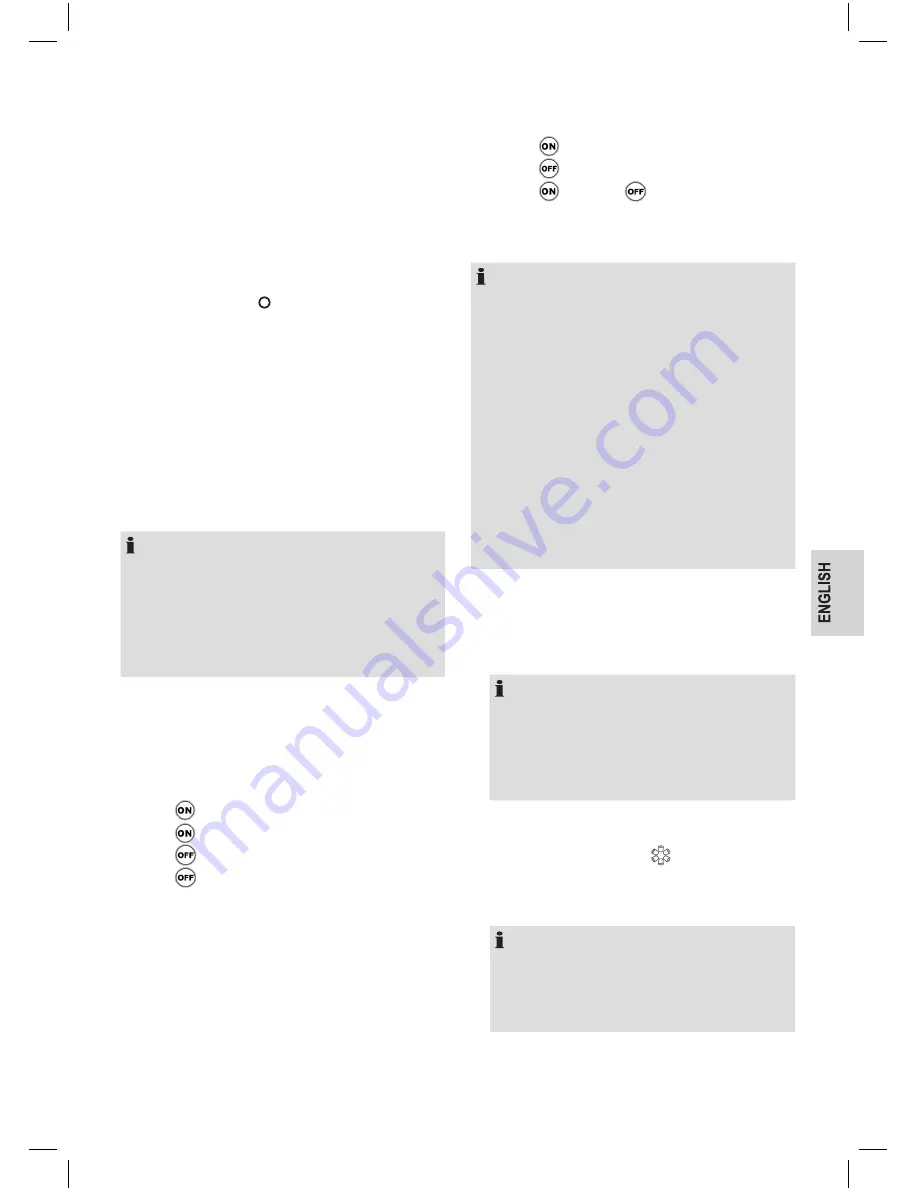
Using the “Touchscreen”
The appliance is operated through the touchscreen.
Touch the displayed buttons
ON
/
OFF
/
TIME
/
SET
,
gently with your finger to execute the functions.
Set Time and Timer
NOTE:
•
Execute the settings in rapid succession and with
-
in a few seconds. If you do not enter anything for
3 seconds, the appliance will automatically cancel
input mode. The times set thus far are saved.
• You can only program the timer through setting
the time.
•
Touch
TIME
on the display. You are now in input
mode. The display to be set will flash.
Sequence for setting the time:
1. current hour
2. current minute
3.
TIME
Switch-on hour
4.
TIME
Switch-on minute
5.
TIME
Switch-off hour
6.
TIME
Switch-off minute
Setting the time:
•
To change the time, touch
SET
once or several
times.
•
Always confirm your setting with
TIME
.
Check the Timer Setting
If you want to display the programmed switch-on
and switch-off time, touch
TIME
several times in
succession.
Activate / Deactivate Timer
•
Touch
SET
. The display is activated:
1.
TIME
2.
TIME
3.
TIME and TIME
•
To deactivate the timer, touch
SET
again.
Making Ice Cubes
NOTE:
• For hygienic reasons do not use the ice cubes
from the first cycle.
•
The first few ice cubes will be small depending on
the water temperature and ambient temperature.
The ice cubes will only grow larger in the follow
-
ing cycle.
• For best results, aim for a water temperature of
between 7 °C and 20 °C as well as an ambient
temperature of between 16 °C and 25 °C.
•
Due to fast freezing the ice cubes can look “milky”.
This is the air trapped in the water and does not
influence the quality of the ice cubes.
• If you want clear ice cubes, use chilled drinking
water which has firstly been boiled.
1.
Refer to figure A on page 3. Pull the ice cube tray
about half way.
2. Using the supplied measuring beaker as a guide,
pour at least 0.8 ℓ drinking water, to a maximum of
1.8 ℓ, into the water tank through the ice cube tray.
NOTE:
• You can also pull out the ice cube tray com-
pletely. By doing so you pour the drinking water
directly into the water tank.
•
The MAX mark can be found on the water
tank.
3. Close the ice cube tray.
4. Start ice cube production by touching
ON
on the
display. The indicator lamp
rotates. An ice cube
making cycle lasts between 6 and 18 minutes.
Keep the ice cube tray closed during ice cube
making.
NOTE:
If you have activated the switch-on time
beforehand, manual start will not function. The
appliance starts automatically with the ice cube
making.
Stop Ice Cube Production
Touch
OFF
on the display to stop ice cube production.
Summary of Contents for PC-EWB 1007
Page 83: ......
Page 84: ......
Page 85: ......
Page 86: ...PC EWB 1007 Stand 05 2016 PC EWB1007_IM 23 05 16 Internet www proficook de ...


