20
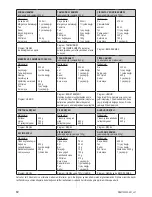
Appliance functions
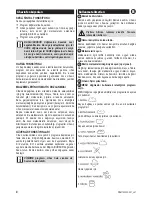
BUZZER FUNCTION
The buzzer goes off:
●
When pressing the program buttons.
●
During operation a sound signal will come off informing
and reminding the user to add nuts, sunflower seeds,
raisins etc.
●
When the end of the program is reached.
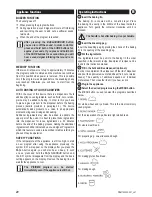
After pressing the BAŞLA/DURDUR button
you can turn off the sound. In order to do this
press and hold both of the SÜRE buttons for
approx. 2 seconds. If you press and hold both
of the SÜRE buttons for a second time, you will
hear a sound signal informing that sound is on
again.
MEMORY FUNCTION
If there is a brief power cut of up to approximately 15 minutes
the program position is stored and the machine can continue
from this position when power is restored. This is possible
only if the program was stopped before the kneading phase
was reached. Otherwise you will have to start from the
beginning.
AUTO DOSING OF LOOSE ADDITIVES
Within the cover of this device there is a dispenser of bulk
additives
(4)
. Loose ingredients, such as fruits, nuts, raisins,
grains, may be added to baking. In order to this, you have
to place a given product in the dispenser before the baking
process (details provided in paragraph 4). The device
automatically adds products to a cake in an appropriate
moment during cake mixing and kneading.
Additional ingredients may also be added to sprinkle the
upper part of the cake. It is best to place these ingredients
into the dispenser for loose ingredients ca. 30 minutes
before the end of the baking process. Adding the additional
ingredients shall be indicated by a sound signal. Programs in
which this feature is used, are described in tables referring to
phases of device operation.
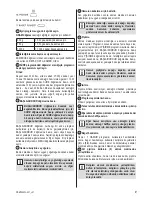
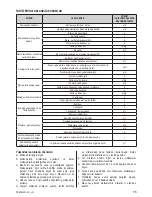
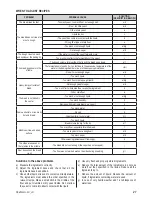
SAFETY FUNCTIONS
If the temperature of the appliance is still too high to start
a new program after using the appliance previously, the
symbol E 01 will appear on the display after you press the
BAŞLA button again, you will also hear a beep. In such
a case, press and hold the BAŞLA/DURDUR button until
the E 01 symbol disappears from the display and the basic
setting appears on the display. Remove the baking tin and
wait for the appliance to cool.
The PİŞİRME program can be started
immediately even if the appliance is still hot.
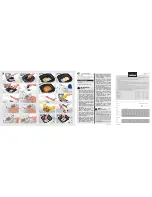
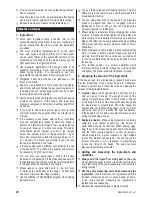
Operating instructions
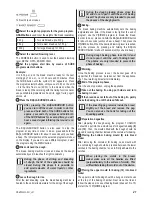
1
Insert the baking tin.
The baking tin is covered with a non-stick layer. Place
the baking tin exactly in the middle of the base inside the
appliance. Turn gently the container clockwise until it is
blocked.
The handle is hot after baking. Use pot holders.
2
Insert the kneading peg.
Insert the kneading peg by placing the shank of the baking
tin in the opening of the kneading peg.
3
Put the ingredients.
The ingredients must be put into the baking tin the order
specified in the relevant recipe. Examples of recipes can be
found in this instruction manual.
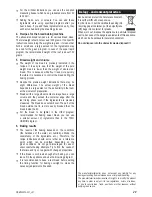
4
Fill in the bulk additive dispenser (optional).
In order to complement the dispenser, lift the lid of dispenser
and pour the optimum amount of additives (fruit, nuts, raisins,
beans). The quantity of additives depends on individual
preferences. Then close the lid until you hear a click.
5
Plug in the appliance.
6
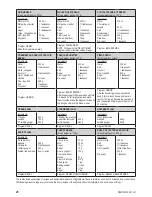
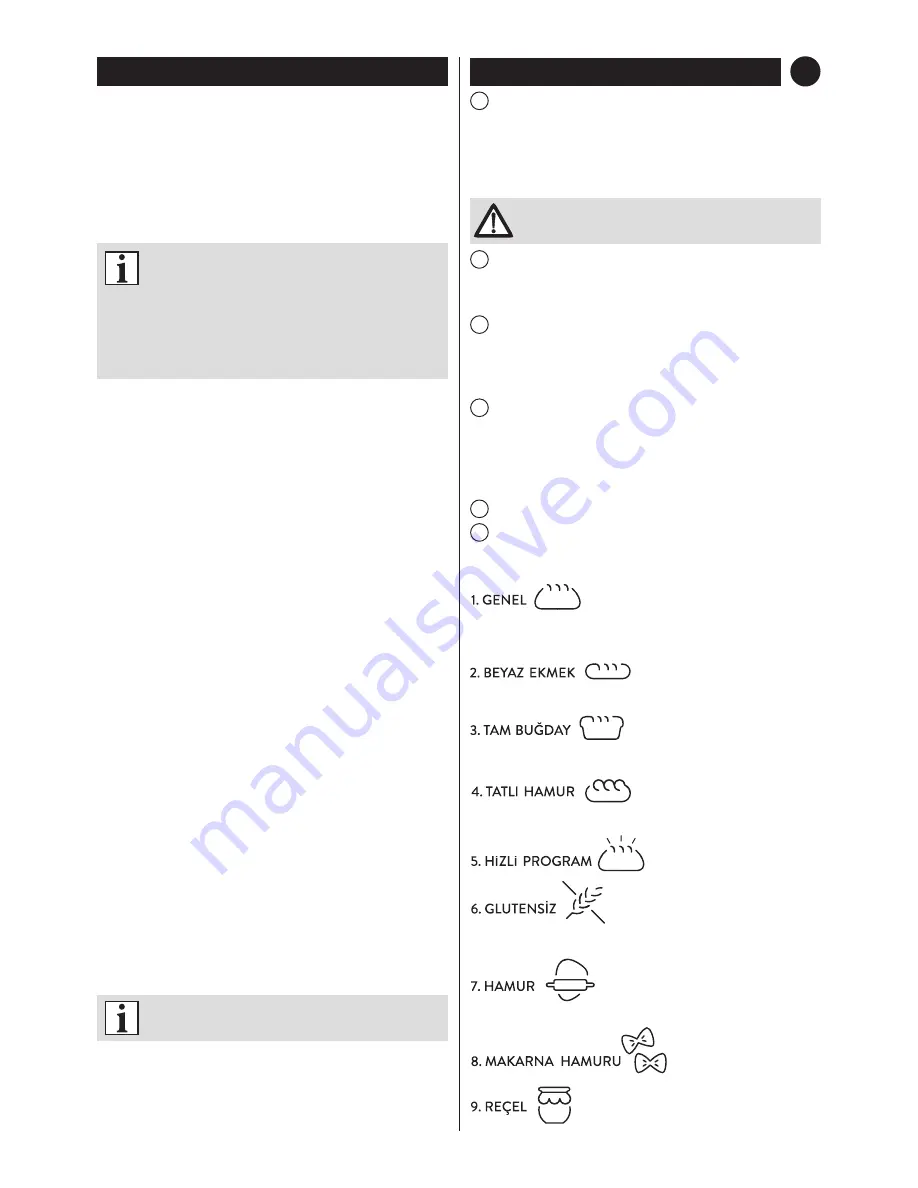
Select the desired program using the MENU button.
The MENU button is used to select the programs described
below.
For white, wheat and rye bread. This is the most commonly
used program.
For the preparation of a particularly light white bread.
For whole meal bread.
For preparing e.g. sweet leavened dough.
For making gluten free bread.
For making dough.
B
PBM1000W-001_v01


