background image

16

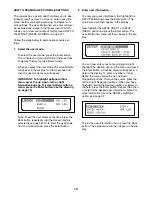
HOW TO USE THE MANUAL MODE

Note: If there is a sheet of clear plastic on the face
of the console, remove the plastic. 

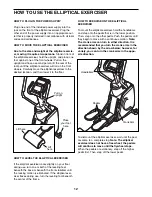
1. Begin pedaling to turn on the console.

A moment after you begin pedaling, the display will
light.

2. Personalize console settings if desired.

See HOW TO PERSONALIZE CONSOLE SET-
TINGS on page 14.

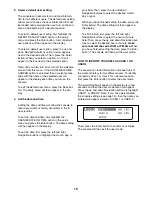
3. Select the manual mode.

Each time you turn on the console, the manual
mode will be selected. If you have selected a
workout, press the Intensity Control Workouts but-
ton to return to the manual mode. When the man-
ual mode is selected, zeros will appear in the dis-
play.

4. Begin pedaling and change the resistance of

the pedals as desired.

As you pedal, change the resistance of the pedals
by pressing the Resistance increase and decrease
buttons. Note: After you press the buttons, it will
take a moment for the pedals to reach the select-
ed resistance level. 

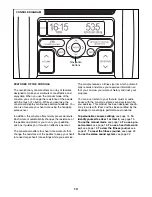
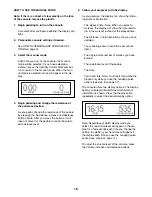
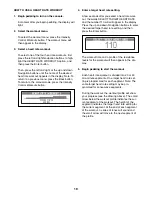
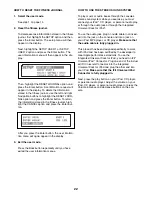
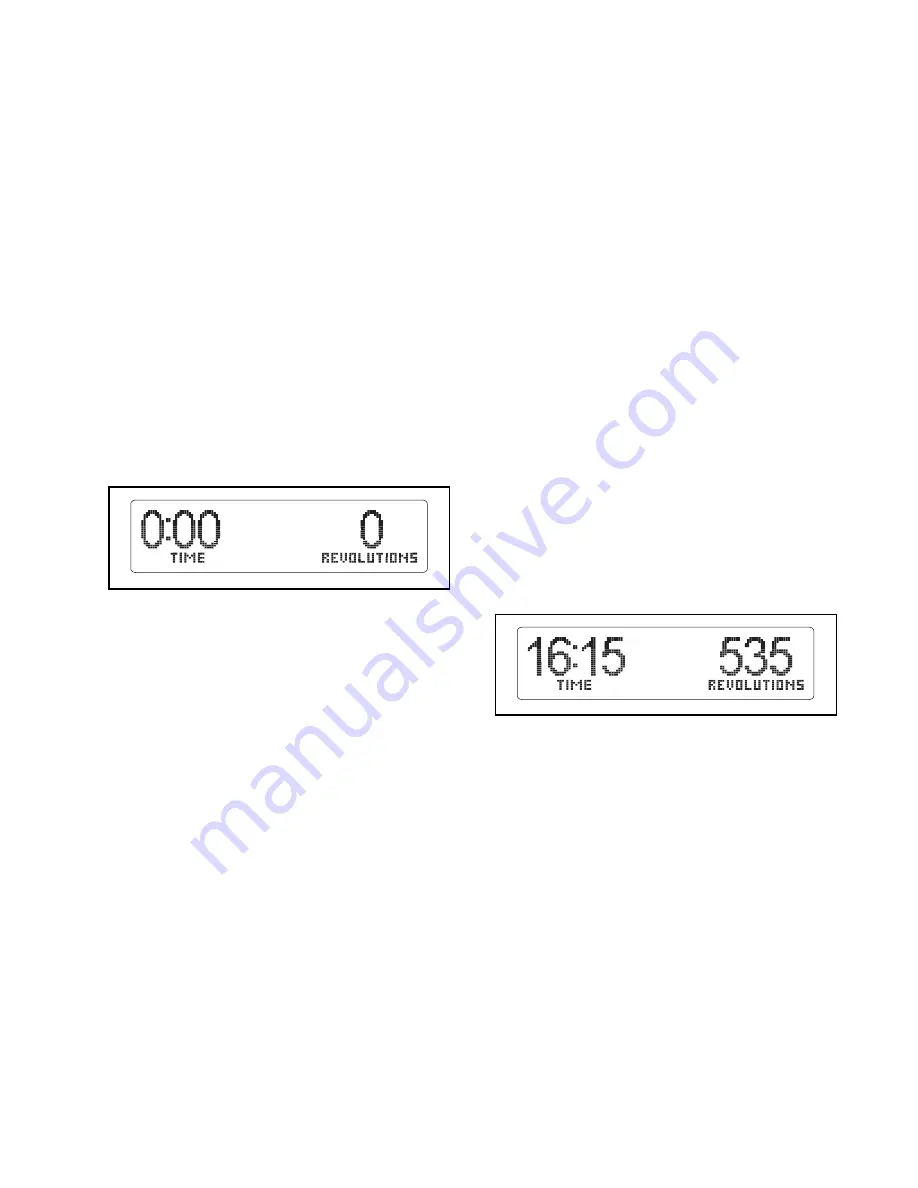
5. Follow your progress with the display.

As you exercise, the display can show the follow-
ing workout information:

•  The elapsed time. Note: When you select a

workout, the display will show the time remain-
ing in the workout instead of the elapsed time.

•  The distance, in total revolutions, that you have

pedaled. 

•  Your pedaling pace in revolutions per minute

(rpm). 

•  The approximate number of calories you have

burned.

•  The resistance level of the pedals.

• The date.

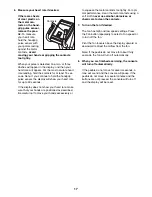
•  Your heart rate. Note: Your heart rate will be dis-

played only while you use the handgrip pulse
sensor (see step 6 on page 17).

The console offers two display options. The display
option you select will determine which workout
information is shown. Press the Display button
repeatedly to select the desired display option.

Note: Regardless of which display mode you
select, the resistance level will appear in the dis-
play for a few seconds each time you change the
setting. In addition, your heart rate will appear in
the display each time you use the handgrip pulse
sensor (see step 6 on page 17). 

To adjust the volume level of the console, press
the Volume increase and decrease buttons.

Summary of Contents for 1050 Sts Elliptical

Page 1: ...oducts prizes fitness tips and much more USER S MANUAL QUESTIONS As a manufacturer we are commit ted to providing complete customer satisfaction If you have questions or if parts are damaged or missin...

Page 2: ...TED WARRANTY Back Cover 2 WARNING DECAL PLACEMENT The warning decal shown here has been applied in the location shown If the decal is missing or illegible call the telephone number on the front cover...

Page 3: ...s enough clearance around your elliptical exerciser to mount dismount and use it 5 Inspect and properly tighten all parts regu larly Replace any worn parts immediately 6 Keep children under age 12 and...

Page 4: ...help us assist you note the product model number and serial number before con tacting us The model number and the location of the serial number decal are shown on the front cover of this manual To avo...

Page 5: ...parts of the elliptical exerciser in a cleared area and remove the packing materials Do not dispose of the packing materials until assembly is completed Assembly requires the included hex keys and yo...

Page 6: ...ps the Frame 1 backward attach the Stabilizer to the Frame with the two M10 x 120mm Patch Screws 58 2 Identify the Right Handlebar 36 which is marked with an R sticker and orient it as shown Attach th...

Page 7: ...inset drawing in the Upright Tie the lower end of the wire tie to the Wire Harness 46 Next pull the upper end of the wire tie upward out of the top of the Upright Then untie and discard the wire tie T...

Page 8: ...t and remove the wire tie that holds the Link Tube 30 inside the left Link Arm 25 Leave the Link Tube inside the left Link Arm and then position the Left Pedal Leg 24 and the left Link Arm as shown Ap...

Page 9: ...right Pedal 86 8 25 25 71 63 27 7 7 Insert the axle of the Roller 27 through the right Link Arm 25 make sure that the Roller is on the inner side of the Link Arm Attach the Roller with an M10 x 15mm P...

Page 10: ...2 Screws 79 9 79 79 79 7 10 If there is a shipping bracket not shown insert ed into the underside of the Frame 1 remove and discard the shipping bracket While a second person tips the Frame 1 for war...

Page 11: ...assembly is completed To protect the floor or carpet from damage place a mat under the elliptical exerciser Plug the power supply into the socket at the front of the elliptical exerciser see HOW TO PL...

Page 12: ...ng use turn one or both of the leveling feet beneath the base or beneath the front stabilizer until the rocking motion is eliminated If the elliptical exer ciser flexes during use turn the leveling fo...

Page 13: ...f the pedals to keep your heart rate near target heart rate settings while you exercise The console features a fitness journal which automati cally records and stores your exercise information so that...

Page 14: ...he user mode at any time press the Back button repeatedly until the manual mode is selected see page 16 To re enter the user mode from the manual mode press the Enter button 2 Enter user information T...

Page 15: ...ht the CHANGE DATE OR TIME option in the setup menu and press the Enter button The date setting will then appear in the display To set the date first press the left and right Navigation buttons to hig...

Page 16: ...e display As you exercise the display can show the follow ing workout information The elapsed time Note When you select a workout the display will show the time remain ing in the workout instead of th...

Page 17: ...hands are positioned as described Be careful not to move your hands excessively or to squeeze the metal contacts too tightly For opti mal performance clean the metal contacts using a soft cloth never...

Page 18: ...fferent resistance level and or target rpm is programmed for the next segment the resistance level and or target rpm will flash in the display for a few seconds to alert you The resistance of the peda...

Page 19: ...fter you select a heart rate work out the words SELECT TARGET HEART RATE and the number 110 will will appear in the display Press the up and down Navigation buttons to enter the desired target heart r...

Page 20: ...current segment of the workout ends the pedals will automatically adjust to the resistance level for the next seg ment The workout will continue in this way until the small arrow reaches the right end...

Page 21: ...View exercise information by month After a few seconds the view month menu will appear in the display To view exercise information by month press the up and down Navigation buttons to highlight the d...

Page 22: ...n repeatedly until you have exited the user information menus HOW TO USE THE STEREO SOUND SYSTEM To play music or audio books through the console s stereo sound system while you exercise you must conn...

Page 23: ...console and keep the console out of direct sunlight HANDGRIP PULSE SENSOR TROUBLESHOOTING If the console does not display your heart rate when you hold the handgrip pulse sensor or if the displayed h...

Page 24: ...ur goal is to strengthen your cardiovascular system you must perform aerobic exercise which is activity that requires large amounts of oxygen for prolonged periods of time For aerobic exercise adjust...

Page 25: ...M8 x 50mm Hex Bolt 53 2 Large Snap Ring 54 2 Small Snap Ring 55 2 M6 x 14mm Flat Head Screw 56 2 Barrel Nut 57 6 M6 x 18mm Patch Screw 58 2 M10 x 120mm Patch Screw 59 2 M10 x 20mm Patch Screw 60 4 M6...

Page 26: ...26 EXPLODED DRAWING A Model No PFEL01307 1 R0408A 5 6 7 17 33 35 35 40 66 79 66 66 66 66 79 79 66 66 83 66 81 67 81 82 82 81 66 4 3 65 65 80 85...

Page 27: ...7 15 15 15 15 28 28 28 28 29 29 48 39 30 30 31 31 32 32 34 34 37 38 25 41 42 43 36 44 44 9 9 45 45 46 47 14 49 50 50 51 52 52 53 53 54 54 55 55 56 56 57 57 58 59 59 74 73 73 74 71 71 60 77 77 61 61 76...

Page 28: ...ponsible or liable for indirect special or consequential damages arising out of or in con nection with the use or performance of the product or damages with respect to any economic loss loss of proper...

Reviews: