


14
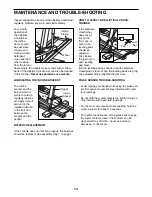
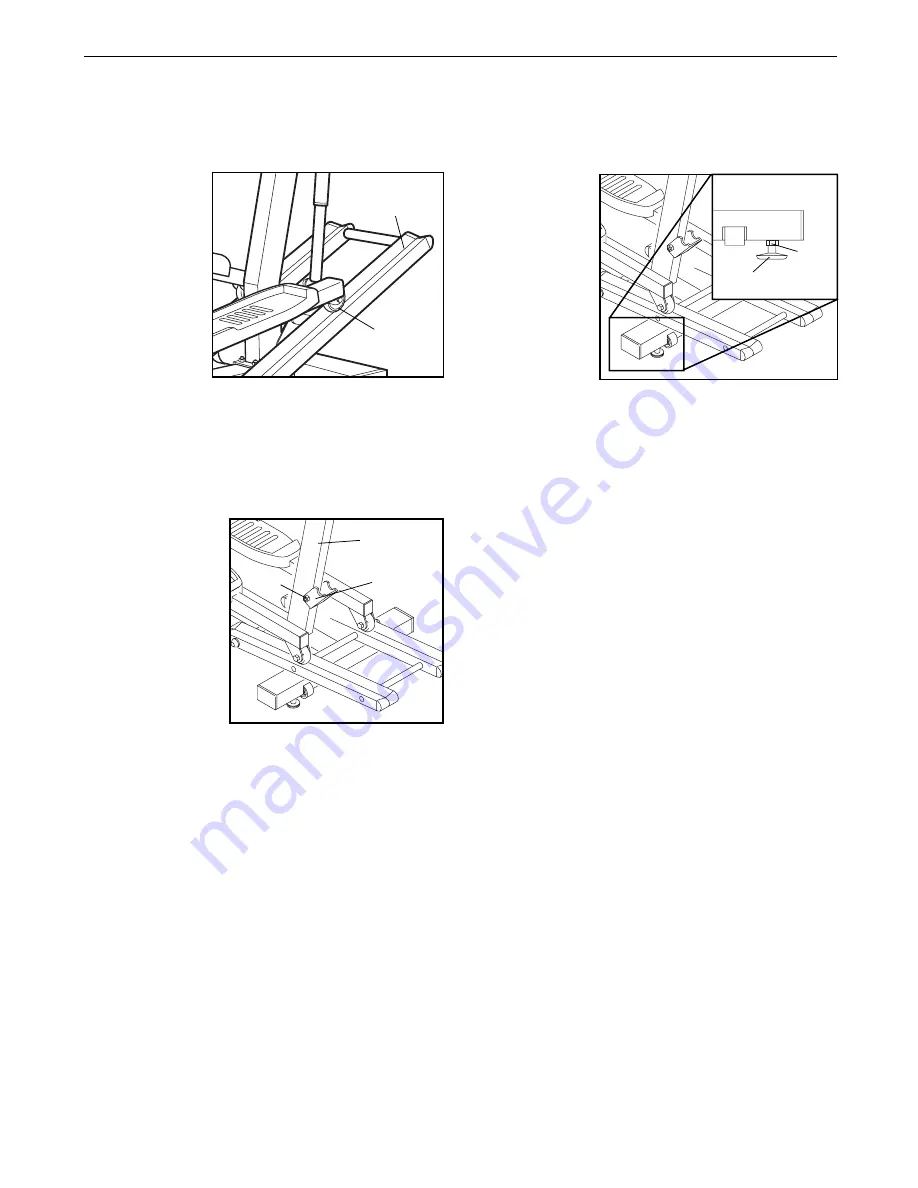
Inspect and tighten all parts of the elliptical crosstrainer
regularly. Replace any worn parts immediately.
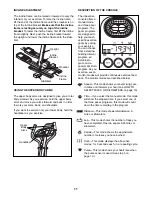
For smooth
operation of
the elliptical
crosstrainer,
the incline
frame should
be kept clean.
Using a soft
cloth and mild
detergent,
clean dust and
other residue
from the incline
frame where the wheels make contact with it. Other
parts of the elliptical crosstrainer can also be cleaned
in this manner.
Never use abrasives or solvents.
LUBRICATING THE INCLINE BRACKET
The incline
bracket and the
bolt on which it
pivots should be
regularly lubricat-
ed. Apply a small
amount of the
included lubricant
to the bolt and
between the
bracket and the
upright.
BATTERY REPLACEMENT
If the console does not function properly, the batteries
should be replaced. See assembly step 7 on page 7.
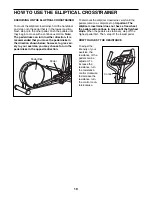
HOW TO LEVEL THE ELLIPTICAL CROSS-
TRAINER
If the elliptical
crosstrainer
does not sit
flat on the
floor, one or
both of the
leveling pads
should be
adjusted.
First, loosen
the jam nut on
each leveling
pad. Next,
turn the leveling pads as needed until the elliptical
crosstrainer is level. When the leveling pads are prop-
erly adjusted, firmly retighten the jam nuts.
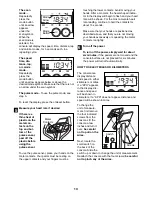
PULSE SENSOR TROUBLE-SHOOTING
¥ Avoid moving your hands while using the pulse sen-
sor. Excessive movement may interfere with heart
rate readings.
¥ Do not hold the metal contacts too tightly; doing so
may interfere with heart rate readings.
¥ For the most accurate heart rate reading, hold the
metal contacts for about 15 seconds.
¥ For optimal performance of the pulse sensor, keep
the metal contacts clean. The contacts can be
cleaned with a soft clothÑnever use alcohol,
abrasives, or chemicals.
MAINTENANCE AND TROUBLE-SHOOTING
Incline
Frame
Incline
Bracket
Bolt
Upright
Wheel
Pad
Jam
Nut
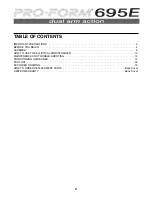
Summary of Contents for 695e
Page 17: ...17 NOTES...


