background image

15

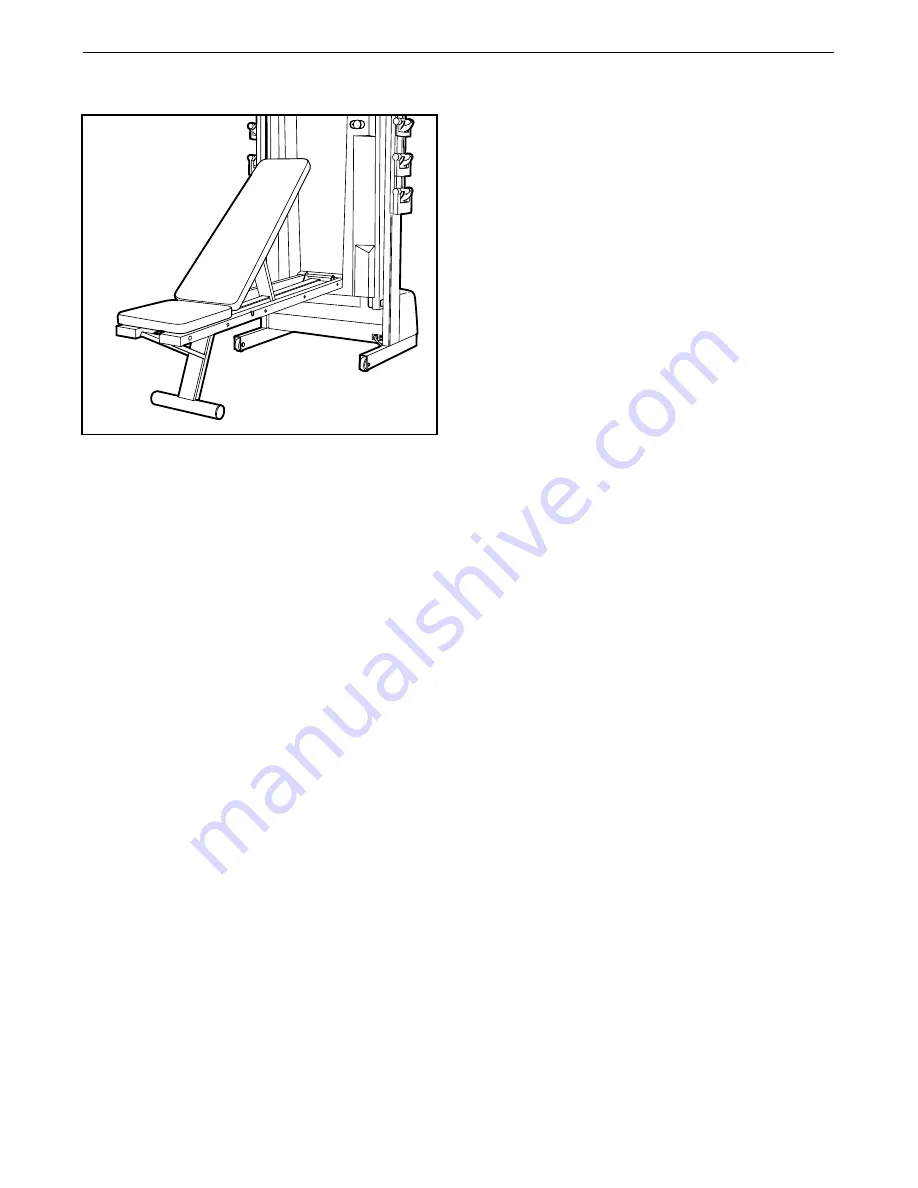
The CROSSTRAINER offers a variety of exercises 
designed to trim, tone, and strengthen the body.
Please read these guidelines before using the weight
bench. For more information, view the included video-
cassette. 

WARNING: Before beginning any exercise pro-
gram, consult your physician. This is especially
important for persons over the age of 35 or per-
sons with pre-existing health problems.

STRENGTH TRAINING GUIDELINES

Your strength training program should include 3 work-
outs each week. To give your body time to rest, work-
outs should be on alternating days, such as Monday,
Wednesday, and Friday. 

Instead of waiting for a convenient time to exercise,
plan a specific time. The morning hours work well for
many, and the self-discipline required to rise early and
exercise may result in greater productivity throughout
the day. For others, exercising before dinner offers a
chance to wind down from the day’s activities. What-
ever time you choose, be consistent and stick with it.   

Each workout should include the following three 
essential parts: (1) a warm-up, (2) 6 to 10 exercises,
and (3) a cool-down. 

Begin each workout with 5 to 8 minutes of stretching to
warm up (see SUGGESTED STRETCHES on page
13). This will prepare the body for exercise by increas-
ing circulation, delivering more oxygen to the muscles,
and raising the body temperature. 

Next, perform 6 to 10 of the exercises shown on the in-
cluded chart. To give balance and variety to your work-
outs, vary the exercises from workout to workout. 
Begin with 1 set of 12 repetitions for each exercise. (A
“repetition” is one complete cycle of an exercise, such
as one sit-up. A “set” is a series of repetitions per-
formed without pausing.) As your fitness level in-
creases, perform 2 or 3 sets for each exercise. Always
rest for at least 1 minute after each set. When you can
complete 3 sets of 12 repetitions without difficulty, you
may choose to use heavier weights. CAUTION: The
CROSSTRAINER includes three pairs of hand
weights. Other hand-held weights may be used
with the CROSSTRAINER; however, do not put
other weights on the weight rack, or use weights
weighing more than 20 pounds each. 

Finish each workout with 5 to 8 minutes of stretching to
cool down. This will increase your flexibility, and will
help to reduce soreness.

It is very important to avoid overdoing it during the first
few months of your exercise program, and to progress
at your own pace. CAUTION: If you feel pain or
dizziness at any time, stop immediately and begin
cooling down. 

EXERCISE FORM

For the best results, correct form is important.
Maintaining proper form means moving through the full
range of motion for each exercise, and moving only the
appropriate parts of the body. The photographs on the
included chart show the correct starting and ending po-
sitions for each exercise. Make sure to perform each
exercise with a smooth, steady motion. Exhale as you
exert yourself, and inhale as you return to the starting
position; never hold your breath. 

STAYING MOTIVATED

To stay motivated, try listening to music or watching
television while you exercise. It may also be helpful to
work out with a training partner. If desired, use a calen-
dar to keep a record of your workouts, and write key
body measurements at the end of every month. 

Remember, the key to lasting results is to make exer-
cise a regular and enjoyable part of your daily life.

HOW TO EXERCISE ON THE WEIGHT BENCH

Summary of Contents for 831.297470

Page 1: ...470 Serial No Write the serial number in the space above for future reference SEARS ROEBUCK AND CO HOFFMAN ESTATES IL 60179 CAUTION Read all precautions and instruc tions in this manual before using this equipment Save this manual for future reference ...

Page 2: ...ual Save the EXPLODED DRAWING for future reference FULL 90 DAY WARRANTY For 90 days from the date of purchase if failure occurs due to defect in material or workmanship in this SEARS TREADMILL EXERCISER contact the nearest SEARS Service Center throughout the United States and SEARS will repair or replace the TREADMILL EXERCISER free of charge This warranty does not apply when the TREADMILL EXERCIS...

Page 3: ... into a grounded circuit capable of carrying 15 or more amps No other appliance should be on the same circuit Do not use an extension cord 13 Use only a single outlet surge suppressor that is UL 1449 listed as a transient voltage surge suppressor TVSS The surge sup pressor must have a UL suppressed voltage rating of 400 volts or less and a minimum surge dissipation of 450 joules The surge suppress...

Page 4: ...to do so by an authorized service representa tive Servicing other than the procedures in this manual should be performed only by an authorized service representative 26 The CROSSTRAINER is intended for in home use only Do not use the CROSSTRAINER in any commercial rental or institutional setting WARNING Before beginning this or any exercise program consult your physician This is especially importa...

Page 5: ...through Saturday 7 a m until 7 p m Central Time ex cluding holidays To help us assist you please note the product model number and serial number before calling The product model number is 831 297470 The serial number can be found on a decal attached to the CROSSTRAINER see the front cover of this manual for the location Before reading further please review the drawing below and familiarize yoursel...

Page 6: ...s in the posi tion shown at the right 2 Locate the Left Weight Rack 82 which can be identi fied by the hole near the top Attach the Left Weight Rack to the left Upright 102 with six Weight Rack Screws 77 Attach the Right Weight Rack to the right Upright in the same manner not shown 3 Slide the Lock Pin Collar 84 and the Spring 83 onto the Lock Pin 87 Insert the Lock Pin into the left Upright 102 a...

Page 7: ...e remaining Weights on the Left Weight Rack not shown 5 Remove the backing from the Adhesive Clip 129 Press the Adhesive Clip onto the base of the Uprights 102 in the indicated location Press the Allen Wrench 116 into the Adhesive Clip 6 Make sure that all parts of the CROSSTRAINER are properly tightened To protect the floor or carpet from damage place a mat under the CROSSTRAINER 4 5 79 80 81 99 ...

Page 8: ...ounded in accordance with all local codes and ordinances This product is for use on a nominal 120 volt circuit and has a grounding plug that looks like the plug illus trated in drawing 1 at the right A temporary adapter that looks like the adapter illustrated in drawing 2 may be used to connect the surge suppressor to a 2 pole receptacle as shown in drawing 2 if a properly grounded outlet is not a...

Page 9: ...Y INSTALLATION The console requires three AA batteries not included for operation Alkaline batteries are recom mended To install batteries first open the bat tery cover under the console as shown Next press three batteries into the battery compartment Make sure that the negative ends of the batteries marked are touching the springs in the battery compartment Close the battery cover Note If there i...

Page 10: ...the speed control to the RESET position slide it slowly upward until the walking belt begins to move at slow speed Carefully begin walking on the walking belt Change the speed of the walking belt as desired by sliding the speed control To stop the walking belt step onto the foot rails and slide the speed control to the RESET position Change the incline of the treadmill if desired To vary the inten...

Page 11: ...from the console Store the key in a secure place After the key is removed the displays will remain on for about five minutes Note Any time that the walking belt is stopped and no console buttons are pressed for five minutes the displays will automatically turn off HOW TO FOLD THE TREADMILL TO THE STORAGE POSITION Before folding the treadmill unplug the power cord Caution You must be able to safely...

Page 12: ...n your cardiovascular sys tem your exercise must be aerobic Aerobic exercise is activity that requires large amounts of oxygen for prolonged periods of time This increases the demand on the heart to pump blood to the muscles and on the lungs to oxygenate the blood For aerobic exercise adjust the speed and incline of the treadmill until your heart rate is near the highest number in your training zo...

Page 13: ...oes as far as possible Hold for 15 counts then relax Repeat 3 times Stretches Hamstrings back of knees and back 2 Hamstring Stretch Sit with one leg extended Bring the sole of the opposite foot toward you and rest it against the inner thigh of your extended leg Reach toward your toes as far as possible Hold for 15 counts then relax Repeat 3 times for each leg Stretches Hamstrings lower back and gr...

Page 14: ...ckrest and lower the support see the draw ing below Rest the end of the support against either of the backrest stops as shown Make sure that the support is resting against one of the backrest stops To adjust the backrest to the level position first raise the backrest slightly Pivot the end of the support in the direction shown by the arrow Lower the backrest onto the bench frame HOW TO FOLD THE BE...

Page 15: ...ise such as one sit up A set is a series of repetitions per formed without pausing As your fitness level in creases perform 2 or 3 sets for each exercise Always rest for at least 1 minute after each set When you can complete 3 sets of 12 repetitions without difficulty you may choose to use heavier weights CAUTION The CROSSTRAINER includes three pairs of hand weights Other hand held weights may be ...

Page 16: ... the circuit breaker wait for five minutes and then press the switch back in PROBLEM The power turns off during use SOLUTION a Check the circuit breaker located on the treadmill frame near the power cord see the drawing above If the circuit breaker has tripped wait for five minutes and then press the switch back in b Make sure that the power cord is plugged in c Remove the key from the console Rei...

Page 17: ...ach side of the walking belt 3 to 4 inches off the walking platform Be careful to keep the walking belt centered Plug in the power cord insert the key and run the treadmill for a few minutes Repeat until the walking belt is properly tightened PROBLEM The walking belt slows when walked on SOLUTION a Use only a single outlet surge suppressor that is UL 1449 listed as a transient voltage surge sup pr...

Page 18: ...INER first hold the handrails and place one foot on the base as shown Next tilt the CROSSTRAINER back until it rolls freely on the front wheels Carefully move the CROSSTRAINER to the desired location Place one foot on the base and carefully lower the CROSSTRAINER until it is resting on the base Never move the CROSSTRAINER without tipping it back or the base pads may come off To re duce the risk of...

Page 19: ...line Leg Bolt 67 2 Wheel Bolt 68 2 Wheel 69 1 Motor 70 1 Flywheel 71 1 Incline Leg 72 3 4 Cable Tie 73 4 Tie Clamp 74 2 Spring Screw 75 2 Releasable Tie 76 4 7 1 2 Cable Tie 77 12 Weight Rack Screw 78 2 Lock Knob 79 2 2 lb Weight 80 2 4 lb Weight 81 2 6 lb Weight 82 1 Left Weight Rack 83 1 Lock Knob Spring 84 1 Lock Pin Collar 85 1 Incline Knob Bracket 86 1 Latch Clip 87 1 Treadmill Lock Pin 88 2 ...

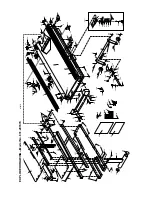
Page 20: ...31 29 17 17 66 67 68 69 57 71 66 67 58 53 64 65 63 62 61 60 74 59 53 35 17 17 17 53 35 43 57 50 50 49 57 53 46 45 44 42 39 30 32 33 53 35 41 53 41 35 43 38 32 36 3 13 126 2 20 3 18 19 17 18 78 68 52 51 25 127 127 104 91 53 53 53 129 116 53 47 121 122 132 133 133 122 2 54 57 134 57 54 135 143 140 139 136 55 85 130 53 53 135 56 138 130 142 141 69 72 131 145 146 145 145 ...

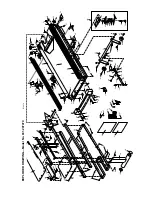
Page 21: ...31 29 17 17 66 67 68 69 57 71 66 67 58 53 64 65 63 62 61 60 74 59 53 35 17 17 17 53 35 43 57 50 50 49 57 53 46 45 44 42 39 30 32 33 53 35 41 53 41 35 43 38 32 36 3 13 126 2 20 3 18 19 17 18 78 68 52 51 25 127 127 104 91 53 53 53 129 116 53 47 121 122 132 133 133 122 2 54 57 134 57 54 135 143 140 139 136 55 85 130 53 53 135 56 138 130 142 141 69 72 131 145 146 145 145 ...

Page 22: ... the following information The NAME OF THE PRODUCT PROFORM CROSSTRAINER The MODEL NUMBER OF THE PRODUCT 831 297470 The KEY NUMBER OF THE PART see the PART LIST on page 19 and the EXPLODED DRAWING attached to the center of this manual The DESCRIPTION OF THE PART see the PART LIST on page 19 and the EXPLODED DRAWING attached to the center of this manual Model No 831 297470 QUESTIONS If you find that...

Reviews: