

17
Follow your progress with the display.
See step 4 on page 14.
Measure your heart rate if desired.
See step 5 on page 14.
Turn on the fan if desired.
See step 6 on page 15.
When you are finished exercising, the console
will turn off automatically.
See step 7 on page 15.
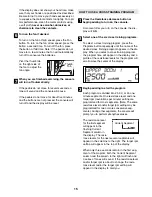
HOW TO USE A HEART RATE PROGRAM
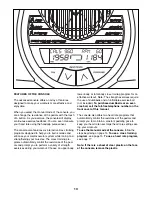
Press the Resistance decrease button or
begin pedaling to turn on the console.
A moment after you turn on the console, the dis-
play will light.
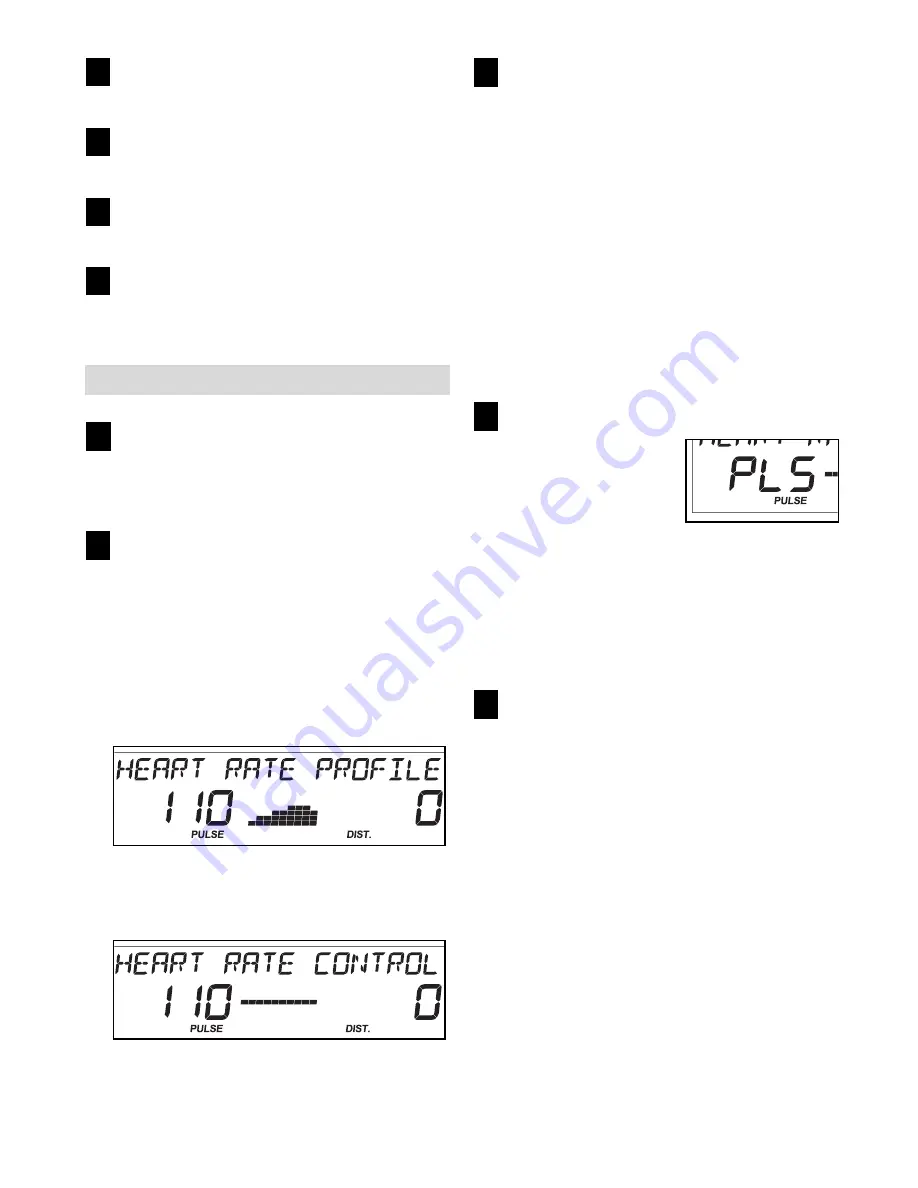
Select one of the two heart rate programs.
To select a heart rate program, press the
Programs button repeatedly until HEART RATE
PROFILE or HEART RATE CONTROL appears in
the display.
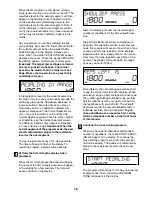
If you select the heart rate profile program,
the
maximum target heart rate setting will flash and a
profile of the target heart rate settings for the pro-
gram will scroll across the center of the display.
If you select the heart rate control program,
the target heart rate setting for the program will
flash in the display.
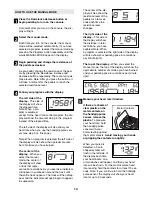
Enter a target heart rate setting.
If you select the heart rate profile program,
the
maximum target heart rate setting of the program
will flash in the display. Use the Resistance
increase and decrease buttons to change the
maximum heart rate setting, if desired. Note: If
you change the maximum target heart rate set-
ting, the intensity level of the entire program will
change.
If you select the heart rate control program,
the target heart rate setting for the program will
flash in the display. Use the Resistance increase
and decrease buttons to change the target heart
rate setting, if desired. Note: The same target
heart rate setting will be used for the entire pro-
gram.
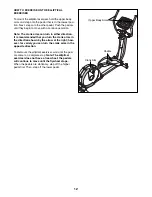
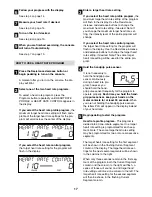
Hold the handgrip pulse sensor.
It is not necessary to
hold the handgrip pulse
sensor continuously
during a heart rate pro-
gram; however, you
should hold the hand-
grip pulse sensor frequently for the program to
operate properly.
Each time you hold the hand-
grip pulse sensor, keep your hands on the
metal contacts for at least 30 seconds.
When
you are not holding the handgrip pulse sensor,
the letters PLS will appear in the display instead
of your heart rate.
Begin pedaling to start the program.
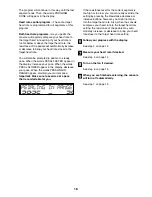
Heart rate profile program
—This program is
divided into 30 one-minute segments. One target
heart rate setting is programmed for each seg-
ment. Note: The same target heart rate setting
may be programmed for two or more consecutive
segments.
The target heart rate setting for the first segment
will be shown in the flashing Current Segment
column of the display. The target heart rate set-
tings for the next several segments will be shown
in the columns to the right.
When only three seconds remain in the first seg-
ment of the program, both the Current Segment
column and the column to the right will flash, a
series of tones will sound, and
all target heart
rate settings will move one column to the left.
The
target heart rate setting for the second segment
will then be shown in the flashing Current
Segment column.
5
4
3
2
1
9
8
7
6
Summary of Contents for 930 SPACE SAVER
Page 22: ...22 NOTES...
Page 23: ...23 NOTES...


