


8
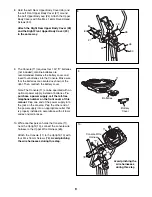
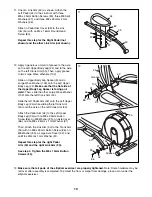
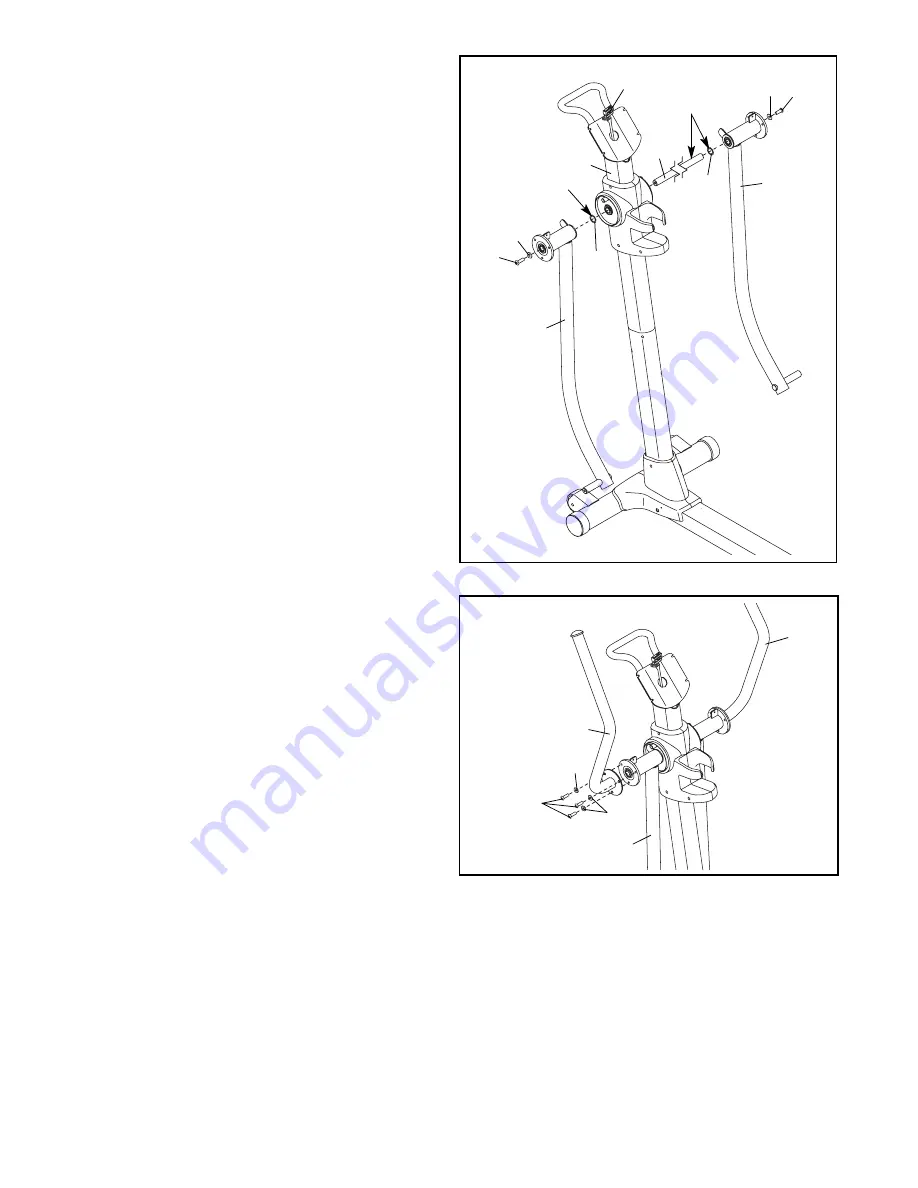
7. Attach the Left Upper Body Arm (22) to the Left
Upper Body Leg (24) with three M8 x 14mm
Button Screws (84) and three M8 Split
Washers (97).
Attach the Right Upper Body Arm (23) in the
same way.
22
23
24
97
97
84
7
6
65
24
72
71
96
85
85
101
101
10
96
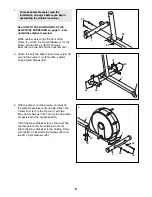
6. Apply a generous amount of the included grease
to the Upper Body Axle (71). Insert the Upper
Body Axle into the Upright (10).
Be careful not
to damage the Upper Wire Harness (65).
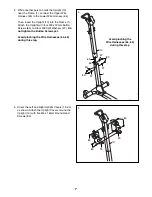
Apply a small amount of grease to a Wave
Washer (101). Slide the Wave Washer onto the
left end of the Upper Body Axle (71).
Identify the Left Upper Body Leg (24), which is
marked with sticker, and orient it as shown.
Slide the Left Upper Body Leg onto the left side
of the Upper Body Axle (71).
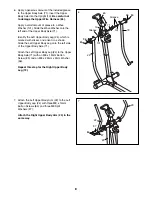
Attach the Left Upper Body Leg (24) to the Upper
Body Axle (71) with an M8 x 19mm Button
Screw (85) and an M8 x 23mm x 2mm Washer
(96).
Repeat this step for the Right Upper Body
Leg (72).
Grease
Grease
Summary of Contents for 930 SPACE SAVER
Page 22: ...22 NOTES...
Page 23: ...23 NOTES...


