background image

11

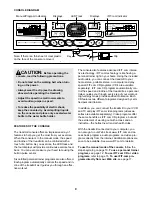
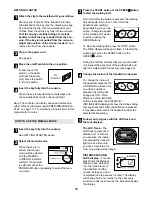
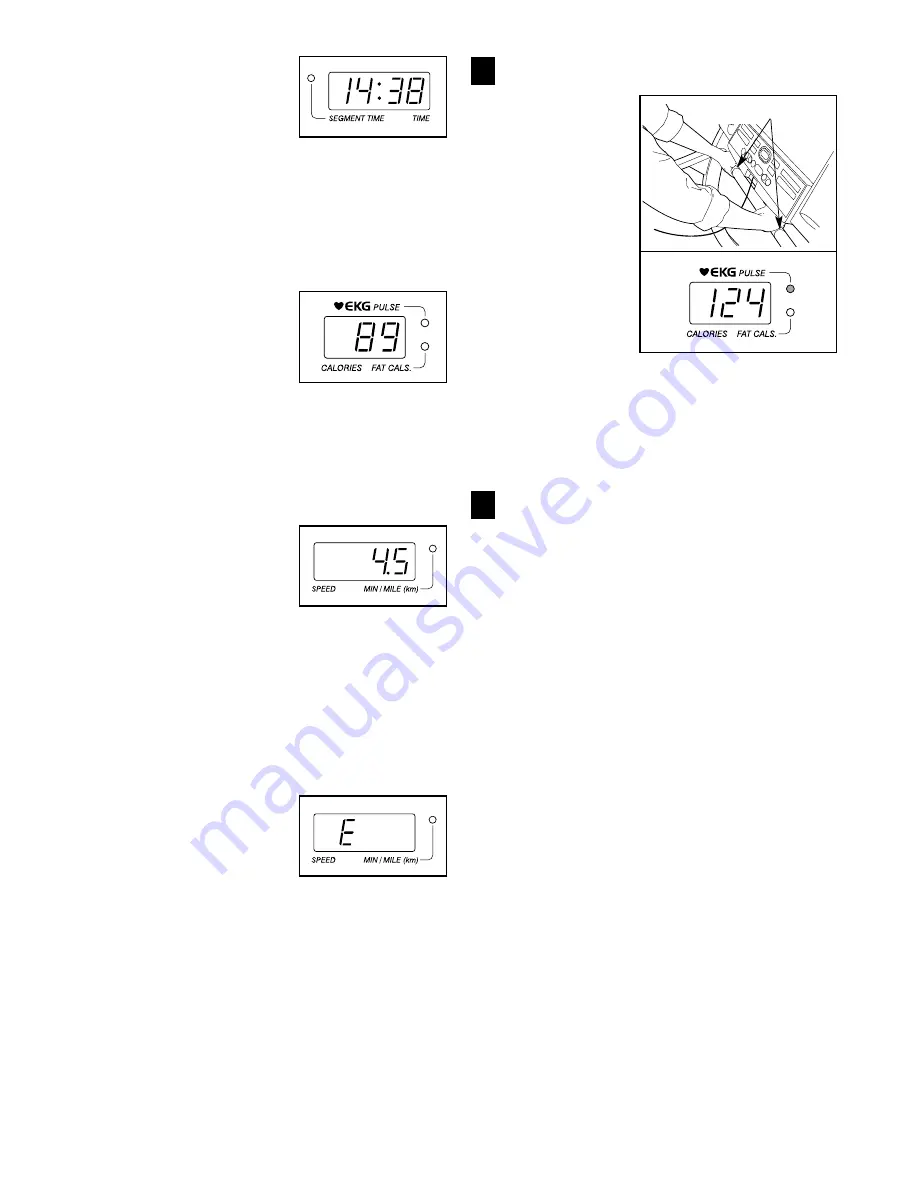
TIME display—When
the manual mode or an
iFIT.com program is se-
lected, this display will
show the elapsed time.
When a personal trainer
program is selected, this display will show both the
time remaining in the program and the time re-
maining in the current segment of the program.
The display will alternate between one number and
the other, as shown by the indicator beside the dis-
play.

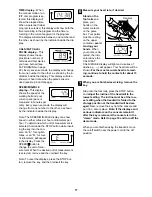
CALS./FAT CALS./
PULSE display
—This
display shows the ap-
proximate numbers of
calories and fat calories
you have burned (see
FAT BURNING on page
22). Every seven seconds, the display will change
from one number to the other, as shown by the in-
dicators beside the display. This display will also
show your heart rate when the pulse sensor is
used (see step 6 on this page).

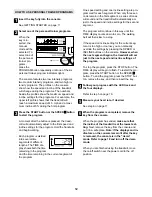
SPEED/MIN-MILE 
display
—This display
shows the speed of the
walking belt and your
current pace (pace is
measured in minutes per
mile). Every seven seconds, the display will
change from one number to the other, as shown
by the indicator beside the display. 

Note: The SPEED/MIN-MILE display can show
speed in either miles per hour or kilometers per
hour. To determine which unit of measurement is
selected, hold down the STOP button while insert-
ing the key into the con-
sole. An “E,” for english
miles, or an “M,” for met-
ric kilometers, will appear
in the display. Press the
SPEED 

▲ 

button to

change the unit of mea-
surement. When the desired unit of measurement
is selected, remove and then reinsert the key. 

Note: To reset the displays, press the STOP but-
ton, remove the key, and then reinsert the key.

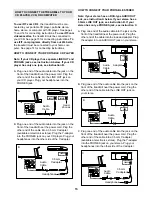
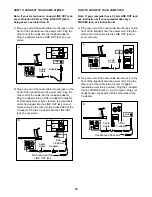
Measure your heart rate, if desired.

Stand on the
foot rails 
and
place your
hands on the
metal contacts
on the pulse
bar. Your palms
must be resting
on the upper
contacts—avoid
moving your
hands
. When
your pulse is de-
tected, the indi-
cator above the
CALS./FAT
CALS./PULSE display will light and a series of
dashes (— —) will appear. Your heart rate will be
shown. For the most accurate heart rate read-
ing, continue to hold the contacts for about 15
seconds.

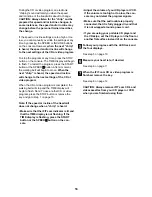
When you are finished exercising, remove the
key.

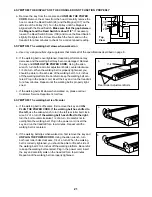
Step onto the foot rails, press the STOP button,
and adjust the incline of the treadmill to the
lowest setting. The incline must be at the low-
est setting when the treadmill is folded to the
storage position or the treadmill will be dam-
aged. 
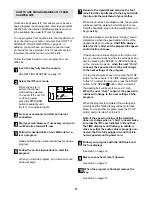
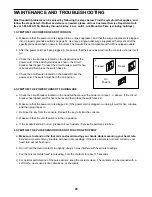
Next, remove the key from the console and
put it in a secure place. Note: If the displays and
various indicators on the console remain lit
after the key is removed, the console is in the
“demo” mode. Refer to page 18 and turn off the
demo mode.

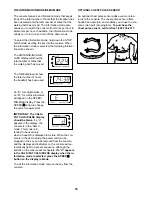
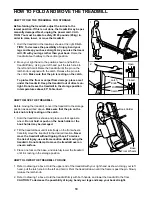
When you are finished using the treadmill, move
the on/off switch near the power cord to the off 
position. 

7

6

Sensors

Summary of Contents for PFTL69502

Page 1: ...LL DIRECT TO OUR TOLL FREE CUSTOMER HOT LINE The trained technicians on our Customer Hot Line will provide immediate assistance free of charge to you CUSTOMER HOT LINE 1 800 999 3756 Mon Fri 6 a m 6 p...

Page 2: ...TO FOLD AND MOVE THE TREADMILL 19 MAINTENANCE AND TROUBLESHOOTING 20 CONDITIONING GUIDELINES 22 PART LIST 23 ORDERING REPLACEMENT PARTS Back Cover LIMITED WARRANTY Back Cover Note An EXPLODED DRAWING...

Page 3: ...operly functioning surge suppressor could result in damage to the con trol system of the treadmill If the control sys tem is damaged the walking belt may change speed or stop unexpectedly which may re...

Page 4: ...e performing the main tenance and adjustment procedures de scribed in this manual Never remove the motor hood unless instructed to do so by an authorized service representative Servicing other than th...

Page 5: ...Monday through Friday 6 a m until 6 p m Mountain Time excluding holidays To help us assist you please note the product model number and serial number before calling The model number of the treadmill...

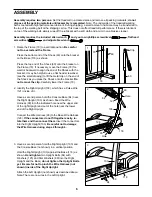
Page 6: ...t together easily ro tate them and then connect them Insert the connectors into the Right Upright 103 Be careful not to damage the Wire Harness during steps 2 through 6 103 126 118 90 90 Hole 121 64 2...

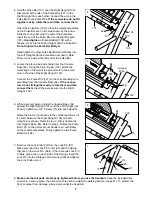
Page 7: ...gainst the Right Upright 103 and the Left Upright not shown tighten two 3 4 Screws 75 into each Upright Raise the Frame not shown to the vertical position so it is center between the Right Upright 103...

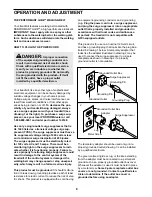
Page 8: ...provides a path of least resistance for electric current to reduce the risk of elec tric shock This product is equipped with a cord having an equipment grounding conductor and a grounding plug Plug th...

Page 9: ...can connect the treadmill to your VCR and TV and play iFIT com video programs videocas settes are available separately Video programs offer the same benefits as iFIT com CD programs but add the excit...

Page 10: ...r the button is pressed the walking belt will begin to move at 1 mph Hold the handrails and carefully begin walking As you ex ercise change the speed of the walking belt as de sired by pressing the SP...

Page 11: ...con sole An E for english miles or an M for met ric kilometers will appear in the display Press the SPEED button to change the unit of mea surement When the desired unit of measurement is selected rem...

Page 12: ...grammed for each segment When only three sec onds remain in the first segment a series of tones will sound and the treadmill will automatically ad just to the speed and incline settings for the second...

Page 13: ...at electronics stores Plug the Y adapter into the PHONES jack on your CD player Plug your headphones into the other side of the Y adapter HOW TO CONNECT YOUR PORTABLE STEREO Note If your stereo has an...

Page 14: ...the Y adapter Plug the Y adapter into the LINE OUT jack on your stereo HOW TO CONNECT YOUR COMPUTER Note If your computer has a 3 5mm LINE OUT jack see instruction A If your computer has only a PHONES...

Page 15: ...on page 13 Note To purchase iFIT com CD s or iFIT com videocassettes see your local PROFORM dealer or call toll free 1 800 735 0768 Follow the steps below to use an iFIT com CD or video Note The inst...

Page 16: ...leted the walking belt will stop and the TIME display will begin to flash Note To use another CD or video program press the STOP button or remove the key and go to step 1 on page 15 Note If the speed...

Page 17: ...king belt will begin to move Hold the handrails step onto the walking belt and begin walking During the program an electronic chirping sound will alert you when the speed and or incline of the treadmi...

Page 18: ...pear in the SPEED MIN MILE display Press the SPEED button to change the unit of measurement IMPORTANT The CALS FAT CALS PULSE display should be blank If a d appears in the display the console is in th...

Page 19: ...ve 85 Fahrenheit HOW TO MOVE THE TREADMILL Before moving the treadmill convert the treadmill to the storage position as described above Make sure that the pin on the lock knob is fully resting on the...

Page 20: ...ower cord The switch must be in the on position 2 SYMPTOM THE POWER TURNS OFF DURING USE a Check the circuit breaker located on the treadmill frame near the power cord see 1 c above If the circuit bre...

Page 21: ...reful to keep the walking belt cen tered Plug in the power cord insert the key and run the treadmill for a few minutes Repeat until the walking belt is properly tight ened c If the walking belt still...

Page 22: ...cardiovascular sys tem your exercise must be aerobic Aerobic exercise is activity that requires large amounts of oxygen for prolonged periods of time This increases the demand on the heart to pump bl...

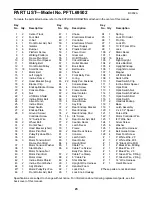
Page 23: ...ole Base 65 4 Hood Screw 66 1 Frame Guide 67 2 Rear Isolator 68 1 Belly Pan 69 1 Ground Wire 70 4 Hood Screw 71 1 Key Clip 72 2 Rear Endcap Bracket 73 1 Rear Endcap 74 2 Rear Endcap Pad 75 18 3 4 Scre...

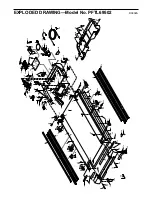
Page 24: ...37 38 39 33 40 10 108 34 21 17 13 18 16 21 13 13 18 21 44 46 80 35 13 28 48 13 47 80 7 7 49 59 19 72 19 72 28 69 83 45 51 52 52 21 1 1 13 5 18 32 17 4 5 13 86 110 26 107 50 63 63 63 13 27 27 122 24 1...

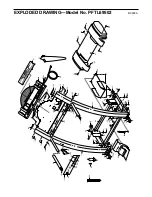
Page 25: ...30 21 31 6 75 65 65 90 106 31 65 106 105 28 104 91 103 104 102 102 102 102 81 64 102 102 6 75 105 6 75 75 22 105 105 117 75 6 75 122 58 84 15 20 27 89 101 100 100 121 84 89 75 75 75 75 118 124 124 12...

Page 26: ...uct or damage to a product caused by or attributable to freight damage abuse mis use improper or abnormal usage or repairs not provided by an ICON authorized service center prod ucts used for commerci...

Reviews: