


Hardware
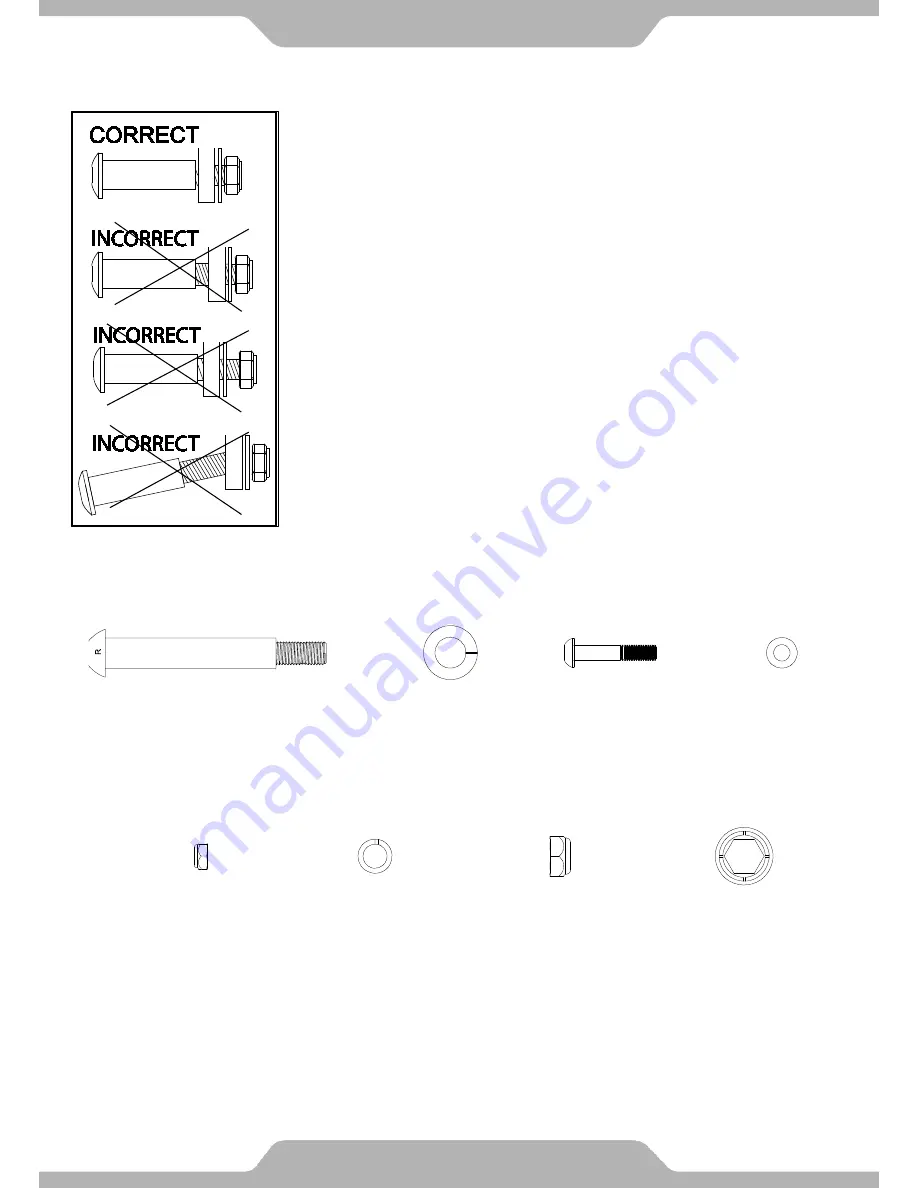
Figure F.
Note: Figure F
shows the correct installation of the
Right Crank Bolt
(21)
. Keep the bolt perfectly straight when the bolt goes through the
Right Foot Bar (17),
and is being screwed into the
Right Crank (26)
. If
the bolt is screwed into the crank at an angle, this may damage the
equipment.
Please make sure the right bolt is for the right crank only and the
left bolt is for the left crank only. If done incorrectly, the bolts
and/or cranks may be damaged or stripped.
(21) Right Crank Bolt
1PC
(22) Wave Washer
1PC
(23) Bolt
2PCS
(24) Washer
2PCS
(25) Nylon Nut 2PCS
(27) Spring Washer
1PC
(28) Right Nylon Nut
1PC
(97) Nut Cap
1PC
ASSEMBLY
13
Summary of Contents for 300LS
Page 5: ...LABEL PLACEMENT 3...
Page 7: ...5 OVERVIEW DRAWING...
Page 10: ...HARDWARE TOOLS PACK 8...


