REHATEAM s.r.l.—vicolo Negrelli 5—31040 Castagnole di Paese TV
-
www.rehateamprogeo.com
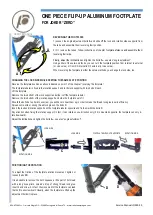
Service Manual JOKER 22
SERVICE MANUAL
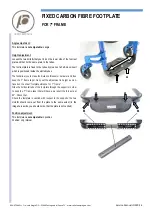
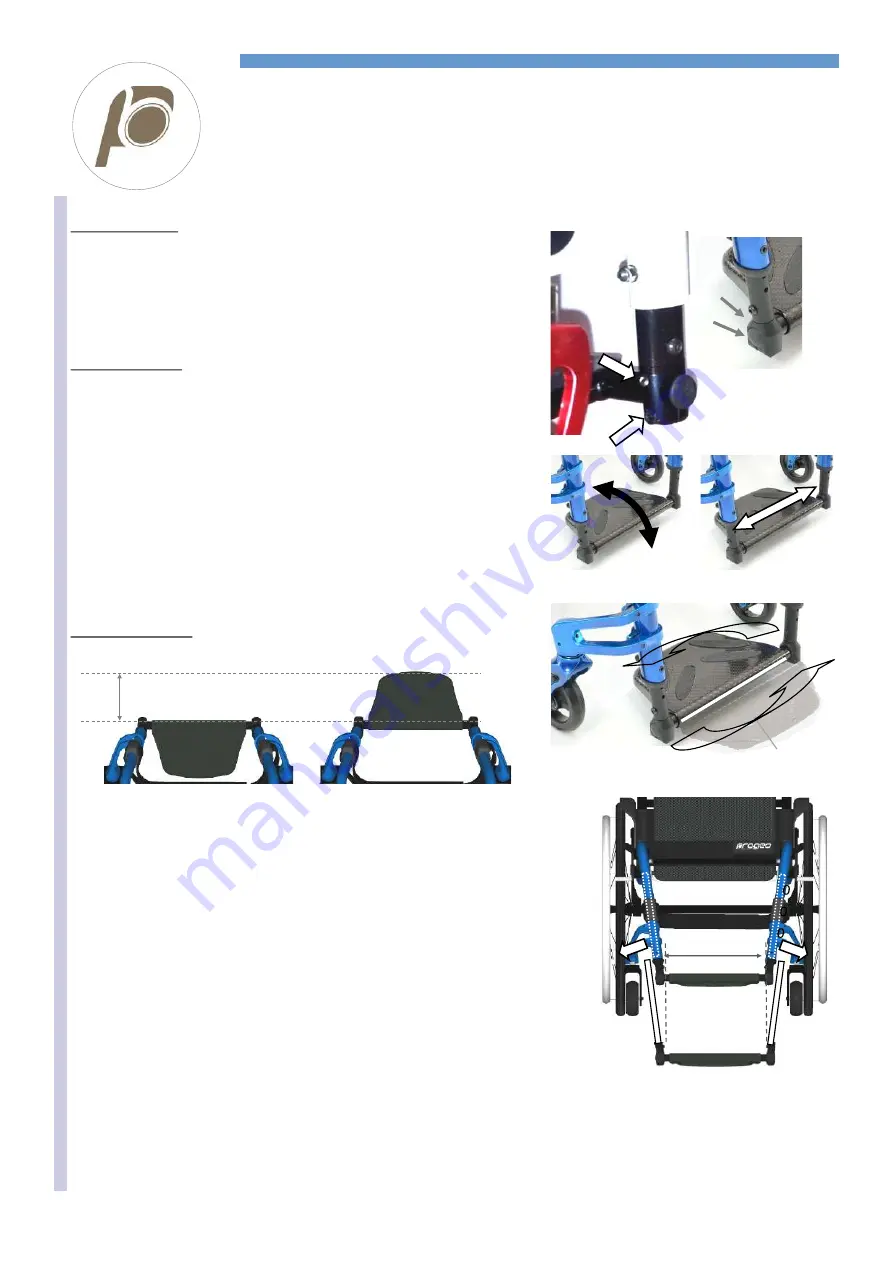
CARBON FIBRE FOOTPLATE
FOR 7° FRAME
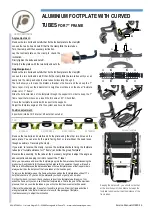
Keeping the distance
X
, you should notice that,
at the insertion point, the distance between the
footplate tubes is wider than the distance of the
frame tubes.
Angle adjustment:
Loosen the grab screw
A
and the bolt
B
of both supports (right and left) just enough to
be able to turn the footplate.
Adjust the inclination of the plate until the necessary angle.
Finally, tighten the bolt
B
first and then the grab screw
A
of both supports.
Note: the supports for elliptical tube and for round tube have the same bolts.
Height adjustment:
Loosen the grab screw
A
and the bolt
B
of both supports (right and left) until you can
both turn and horizontally slide the footplate through the supports.
That will allow you to make the distance
X
wider or narrower and thus keep the 7°
frame taper.
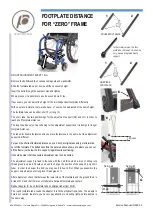
Carry out the adjustment in height as mentioned on the sheet “
footplate distance for
7° frame
”.
Slide the horizontal tube of the footplate through the supports in order to keep the 7°
frame taper that will have as a result the fork axle at 90°. Check that.
Check the footplate is centred with respect to the supports.
Adjust the footplate angle as above mentioned.
Finally, tighten the bolt
B
first and then the grab screw
A
of both supports.
Position adjustment:
2 positions: internal; external
In order to change position, loosen the grab screw
A
and the bolt
B
as above men-
tioned for height adjustment.
Remove the bolts/nuts that fix the footplate tubes (see sheet “
footplate distance for
7° frame
”)
and slide the footplate-group off.
Reverse the assembly, fix the tube at the necessary height and adjust the angle as
above mentioned, keeping in mind to respect the 7° taper.
Note: you can remove and insert the footplate-group into the frame tubes without loosening the
grab screw A and the bolts B, thus keeping the distance
X
; the operation, though, will result a
little more difficult because the distance between the two footplate tubes at their upper side is
always wider than the distance of the frame tubes at the insertion point.
To remove the footplate-group, the frame will widen apart as the footplate tubes slide off. To
help the tube come off, you can hit the plate with your hand or gently with a mallet.
On the other hand, to mount it back, you have to insert one footplate tube for approx.1cm,
widen the frame until you can insert the other footplate tube. That is the point of the maximum
pressure, then, as you slide the tubes in, you will notice that the movement will be easier.
If there is the rubber adaptor, it is useful, if possible, to remove it from the frame and slide it
along the footplate tube; that will create more room for the passage of footplate.
It will be necessary to adjust the inclination.
11 cm
INTERNAL EXTERNAL
External footplate
X
A
B
A
B
X


