
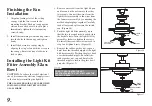

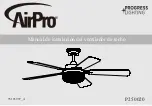
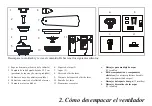

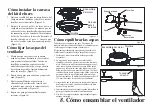
Installing the Light Kit
Fitter Assembly/Glass
Bowl
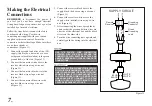
CAUTION - To reduce the risk of electrical
shock, disconnect the electrical supply circuit
to the fan before installing the light kit.
THE GLASS IS FRAGILE, USE CARE WHEN
INSTALLING THE LIGHT KIT AND THE
GLASS SHADE
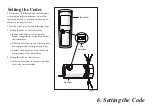
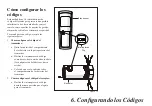
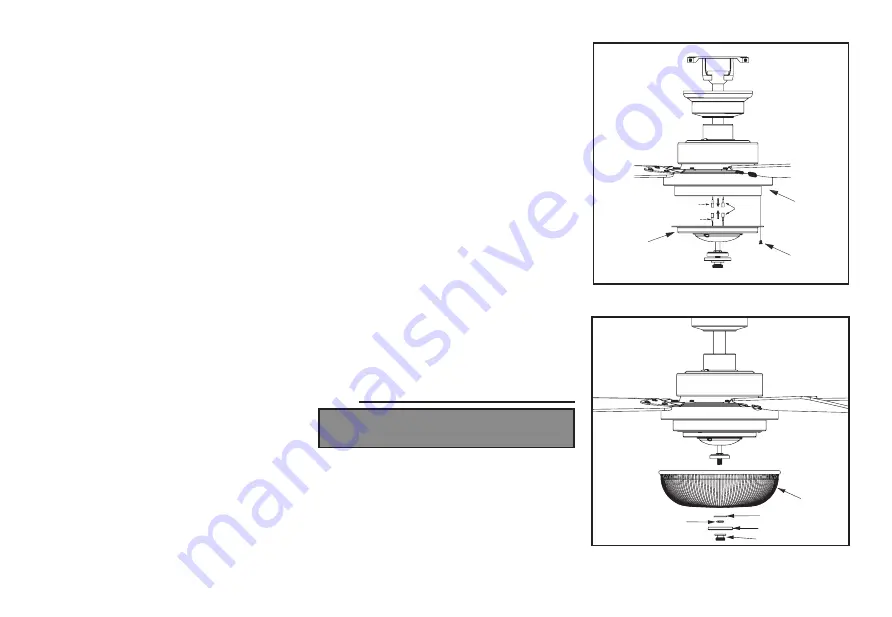
1. Remove one screw from the light kit pan
and loosen, but do not remove the other
two screws. Connect the wires from the
light kit fitter assembly to the wires from
the fan motor assembly by connecting the
molded adaptor plugs together. Carefully
tuck all wires and splices into the switch
cap. (Figure 16)
2. Push the light kit fitter assembly up so
that the two loosened screw heads fit into
the keyhole slots. Turn the light kit fitter
assembly clockwise, tighten the screws.
Re-install the screw that was removed in
step 1 and tighten firmly. (Figure 16)
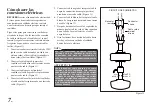
3. Remove the rubber gasket, nut, cap and
finial from the threaded nipple of the light
kit fitter assembly. Position the glass bowl
over the threaded nipple. Re-install the
rubber gasket, nut, cap and finial to the
threaded nipple to secure the glass bowl
properly. (Figure 17)
Screws
Light Kit
Pan
Light Kit Fitter
Assembly
Blue
Black
White
Glass
Shade
Rubber washer
Finial
Nut
Cap
Figure 16
Figure 17
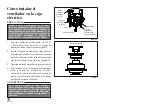
9.
DO NOT OVER TIGHTEN THE NUT.
OVERTIGHTENING THE NUT MAY CAUSE THE
GLASS TO BREAK.
NOTE
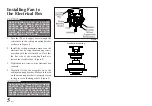
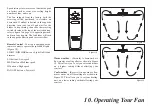
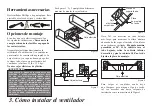
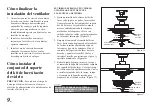
Finishing the Fan
Installation
1. Align the locking slots of the ceiling
canopy with the two screws in the
mounting bracket. Push up to engage the
slots and turn clockwise to lock in place.
Immediately tighten the two mounting
screws firmly.
2. Install the remaining two mounting screws
into the holes in the canopy and tighten
firmly.
3. Install the decorative canopy ring by
aligning the ring’s slots with the screws in
the canopy. Rotate the ring clockwise to
lock in place.


