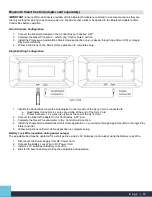
3. Initial Setup is complete.
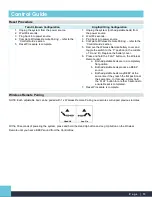
Switching to a Split King Configuration (individual control)
The Sync Cord does not need to be removed.
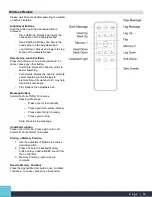
1. Remove the Wireless Remote battery cover and toggle the switch to the ‘A’ or ‘B’ position. Each bed will
correspond to either option. Replace the battery cover.
2. Configuration change is complete.
Switching to a King Configuration (synchronized control)
1. Remove the Wireless Remote battery cover and toggle the switch to the ‘P’ position (in the middle of ‘A’ and ‘B’).
Replace the battery cover.
2. Press and hold the ‘FLAT’ button on the Wireless Remote until:
a. Both adjustable beds are in a completely flat position.
b. Both adjustable beds produce a BEEP sound. It may sound like one BEEP if both beds reach the flat
position at the same time.
3. Configuration change is complete.
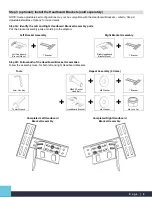
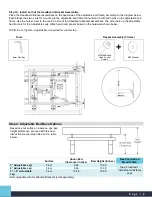
Step 10 (optional): Install the Headboard Bracket to the Headboard (sold separately)
Step 10A: Install the Headboard Bracket
Ensure ‘Step 3 (optional): Install the Headboard Brackets (sold separately)’ is fully complete. Commanding the adjustable
bed to its most upright position will allow for easier access in the following steps.
Step 10B: Position the T Bracket
Ensure the T Bracket connection to the Headboard Bracket Mount is loose as further adjustments are necessary. Ensure
the Headboard Bracket Mount connection to the adjustable bed frame is loose as further adjustments are necessary.
Each T Bracket has six slotted holes to attach to your existing headboard. Adjust the T Bracket position so that at least
two screws or bolts can be installed through any of the six slotted holes to a secure part of your headboard.
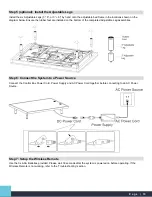
Step 10C: Attach the T Bracket to the Headboard
Use at least two screws per T bracket to firmly attach to a secure part of your existing headboard. Due to the wide variety
of headboard thicknesses and materials, hardware for installing to existing headboards is not included. Please select a
screw or bolt that best suits your existing headboard.
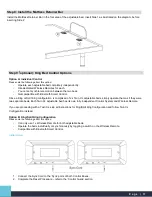
Step 10D: Reposition the Bed
1. While the Headboard Bracket assemblies are not fully tightened, command the bed to move its entire range of
motion while checking for any interference.
2. There must be no interference throughout the entire range of motion. Adjust the brackets if necessary.
3. Tighten all the hardware on the Headboard Bracket Mounts and T Brackets.
4. Once again, command the bed to move its entire range of motion while checking for contact.
P a g e | 12

