background image


Prolux Tritan 

INSTRUCTION MANUAL 


For your safety please read the Owners Manual in its entirety 

Summary of Contents for Tritan

Page 1: ...Prolux Tritan INSTRUCTION MANUAL For your safety please read the Owners Manual in its entirety ...

Page 2: ...uum With the Prolux Tritan s adjustable operation speed you can clean any surface It is super quiet light weight and powerful With its 1 year warranty simple to use design and easily attachable cleaning attachments it is designed to be one of your most used appliances ...

Page 3: ...owerful 12 amp motor has an amazing 98 inches of water lift suction Full Bag Indicator tells you when the bag needs changed Automatic cord rewind with 23 foot long cord 6 foot long hose and 3 foot extendable wand allow the vacuum a vacuum radius of 34 feet from wall electrical outlet Multi level filtration with washable HEPA Filter On board tools are large for maximum cleaning 35mm Comes with floo...

Page 4: ...milarly qualified person in order to avoid a hazard Do not unplug by pulling on the cord To unplug grasp the plug not the cord 10 Do not use if cord or plug become damaged If the vacuum cleaner is not working as it should or if it has been dropped damaged left outdoors or dropped into water contact the service center for repair Do not repair it yourself 11 If there is an abnormal noise smell smoke...

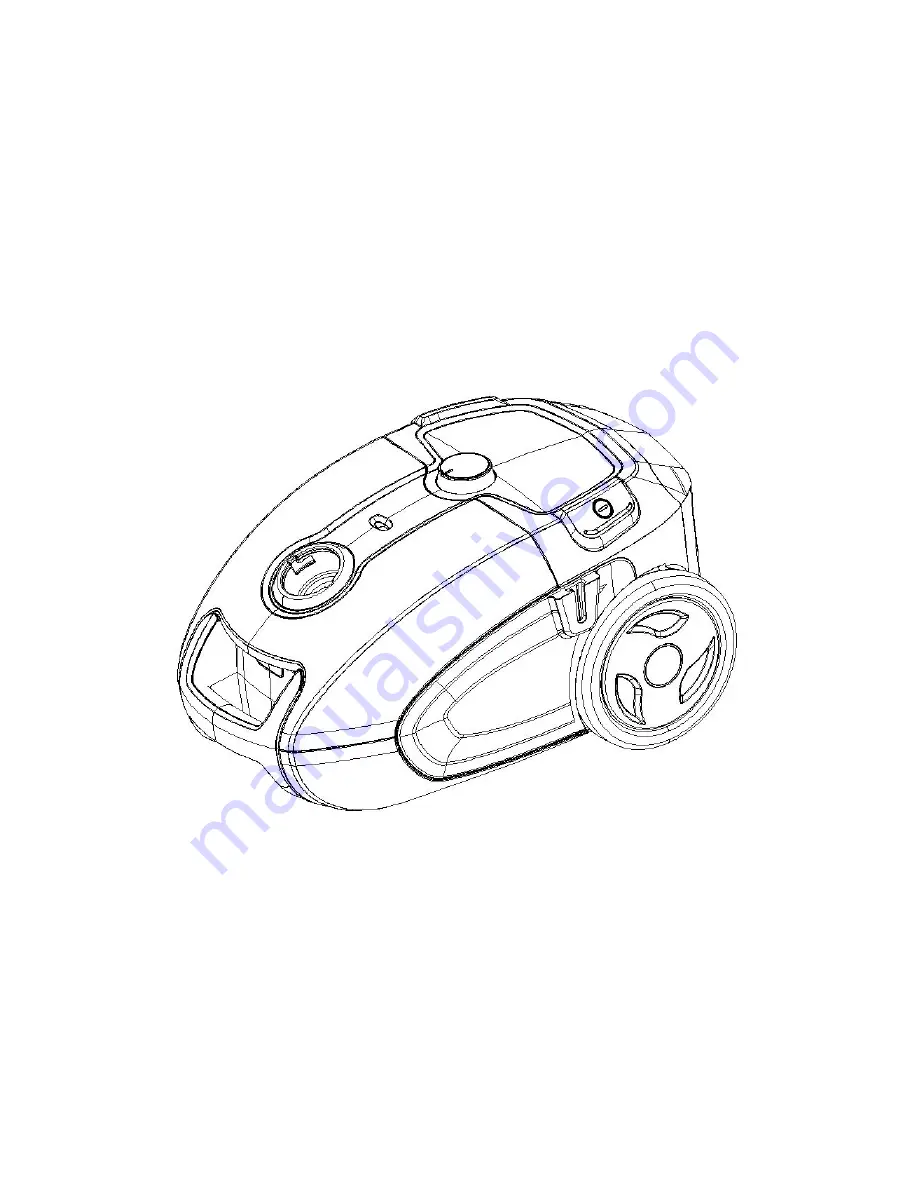
Page 5: ...brush nozzle Description 1 Carrying Handle 2 Hose Suction base 3 Front cover 4 Dust full indicator 5 Tritan Design cover 6 Speed control knob 7 Cord rewinding button 8 Tritan Design cover 9 Back cover 10 HEPA filter cover 11 Power Button 12 Floor Tool Carrying Hook 13 Rubber Wheels 14 Vacuum Base ...

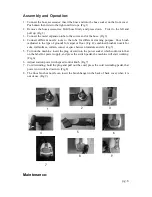
Page 6: ...the type of ground for carpet or floor Fig 4 combined brush nozzle for sofa wall surface curtain corner or space between furniture and etc Fig 5 5 Turn on the machine insert the plug of cord into the power socket which conform to that on the label for power supply and press the switch pedal the machine will start working Fig 6 6 Adjust suction power with speed control knob Fig 7 7 Cord rewinding h...

Page 7: ...g8 9 Warning The plug must be removed from the power socket before any maintenance or replacement If the power cord is damaged replace them only by the factory or maintenance center or similarly qualified persons Troubleshoot Little or no suction 1 First make sure the adjustable suction control is turned all the way up If there is still little or no suction check disposable bag or HEPA filter If t...

Page 8: ...during use Tools and wands use Friction Fit to connect together This works by shoving the tool all the way on and firmly twisting to the right Then to release simply untwist When used properly in this manner tools will not fall off during use ...

Page 9: ... purchase with purchase date must be submitted The warranty will not apply in cases of o Non Normal wear and tear i e commercial use o Incorrect use e g overloading of the appliance use of non approved accessories sucking up water o Use of force damage caused by external influences o Damage caused by non observance of the user manual e g connection to an unsuitable power supply or non compliance w...

Reviews: