XtraPower Tr
Lithium Ion Rapid Battery Charger
For Digital Camera and Camcorder Batteries
PLEASE READ AND FOLLOW ALL INSTRUCTIONS BEFORE USING THIS PRODUCT.
IMPORTANT WARNING:
The PROMASTER XtraPower T r Charger may ONLY be used for charging
rechargeable Li-Ion
batteries
! Inserting any other battery type may damage the dev ice, destroy the battery and/or cause serious
injury to the user
.
CAUTION:
• Always unplug the charger when not in use.
• Always unplug your charger from the power source before cleaning.
• Always replace frayed or damaged wire and broken plugs immediately.
• Do not use, place or store the charger where it may come into contact with water or moisture.
• Do not short-circuit the metal contacts of the battery and charger.
• Do not disassemble, deform or reconstruct any part of the charger.
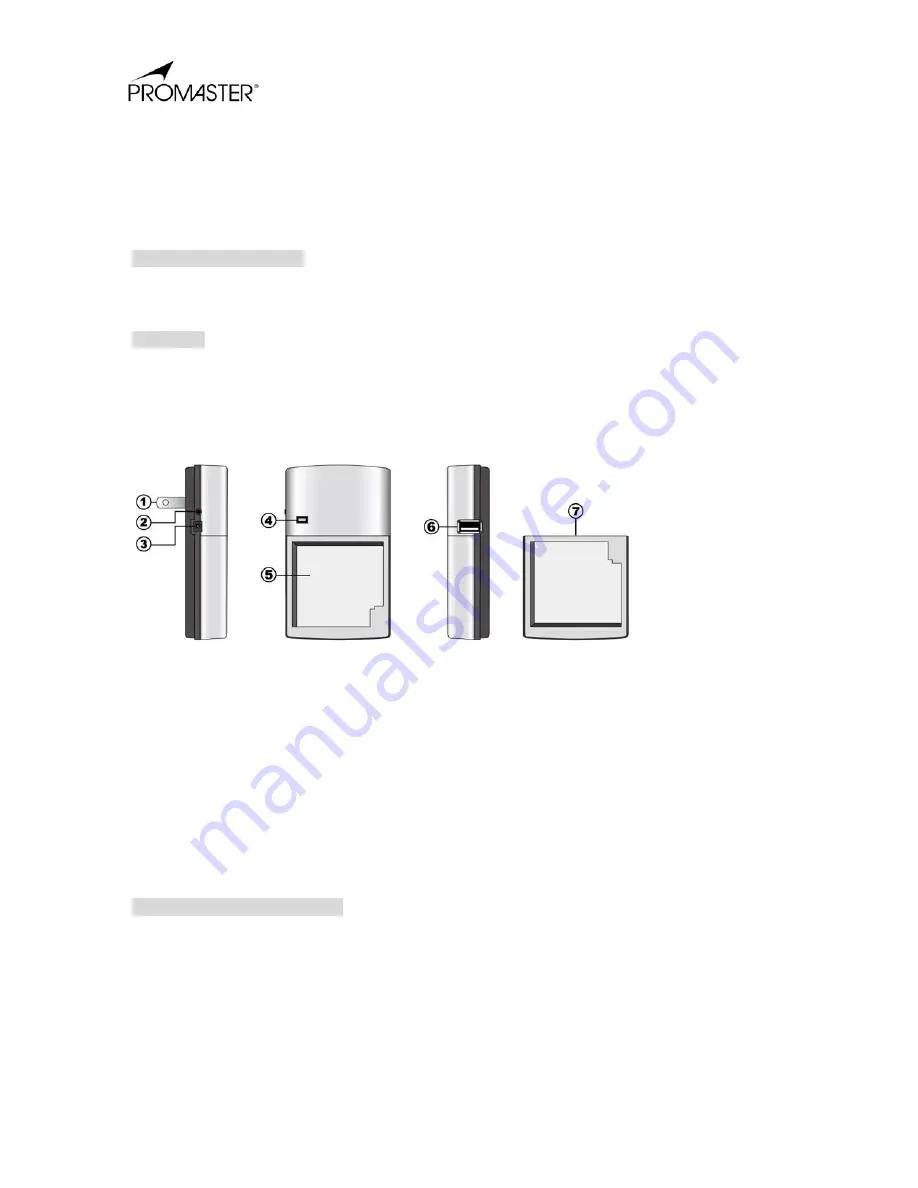
AC Prongs
Booster Switch
DC IN Socket
LED Charge Indicator
Red LED : Quick Charge
Green LED : Fully Charged / Standby
Battery Charging Port
5V USB Power Port
Additional Battery Mounting Plate (Included with some models)
OPERATING INSTRUCTIONS:
Charger Function :
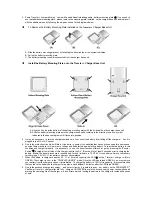
1. Rotate the AC prongs
of Tr charger until they are fully extended and locked into position. Plug the charger
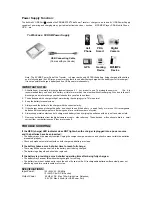
directly into a household AC outlet or connect barrel plug end from the DC Pow er Cord (included in the OPTIONAL
Travel Accessory Kit which is sold separately) into the DC IN socket
on the left side of the charger unit and the other
into the cigarette lighter receptacle of a vehicle with 12V or 24V battery. The LED
on the charger will turn GREEN to
indicate the charger is properly powered and ready for use.
2. This PROMASTER
®
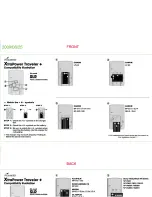
XtraPower Tr charger has a multi-m ount design and is compatible w ith more than one
battery. Please refer the “Battery Compatibility Illustration Chart” included in this package to find the appropriate
contacts on this charger for your battery.
3. Mount the camera/camcorder battery you wish to char ge onto the Tr charger follow ing the illustration on the
Compatibility chart. Make sure the battery is installed correctly by matching the contact pins and polarity sy mbols
embossed on the charger. The LED
will turn RED to indicate the battery has been mounted correctly and the charger
has begun to quick charge your camera/camcorder battery.


