Using the Apollo Cloud App
6
Return to “
Table of Contents
”
Click here to get help online
Tips For First Time Setup
Once you have the Apollo connected to your network and powered on for the first time, it will contact a server online that
is used for managing the initial setup procedure. This process takes about 90 seconds. During the discovery, the LED
indicator on the front of the Apollo blinks a green color light. You will know the Apollo is ready when you see the LED
indicator on the front display a white AND green color light, simultaneously.
When you see the LED on the front display white and green simultaneously, you can then proceed to “claim” or take
ownership of the Apollo device. In order to do this however, you must install and run the Apollo Cloud App on your iOS or
Android device, or Mac or Windows computer. Instruction for downloading the App are included below.
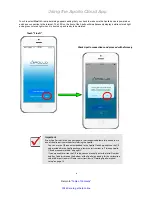
Once you have the App installed, use the App to locate and claim your Apollo.
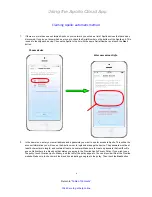
There are three different methods available for claiming the Apollo. The automatic method is the most convenient. Most
users will be able to use this method. Please read “Claiming Apollo: automatic method” on page 9 for instructions.
If your Apollo is not recognized, there are two alternative methods available to claim the Apollo:
• You can use the QR scanner embedded in the Apollo Cloud App and scan the QR code included in the Apollo
package, please see instructions in “Claiming Apollo: QR code scanner method” on page 13.
• If you are unable to scan the QR code, you can manually enter the Serial Number and Key Code (written on the
bottom of the Apollo), and apply for the verification code to be sent via email. Please see instructions in “Claiming
Apollo: manual setup” on page 16.


