Chapter 4: File and Printer Sharing by the SmartStor NAS
19
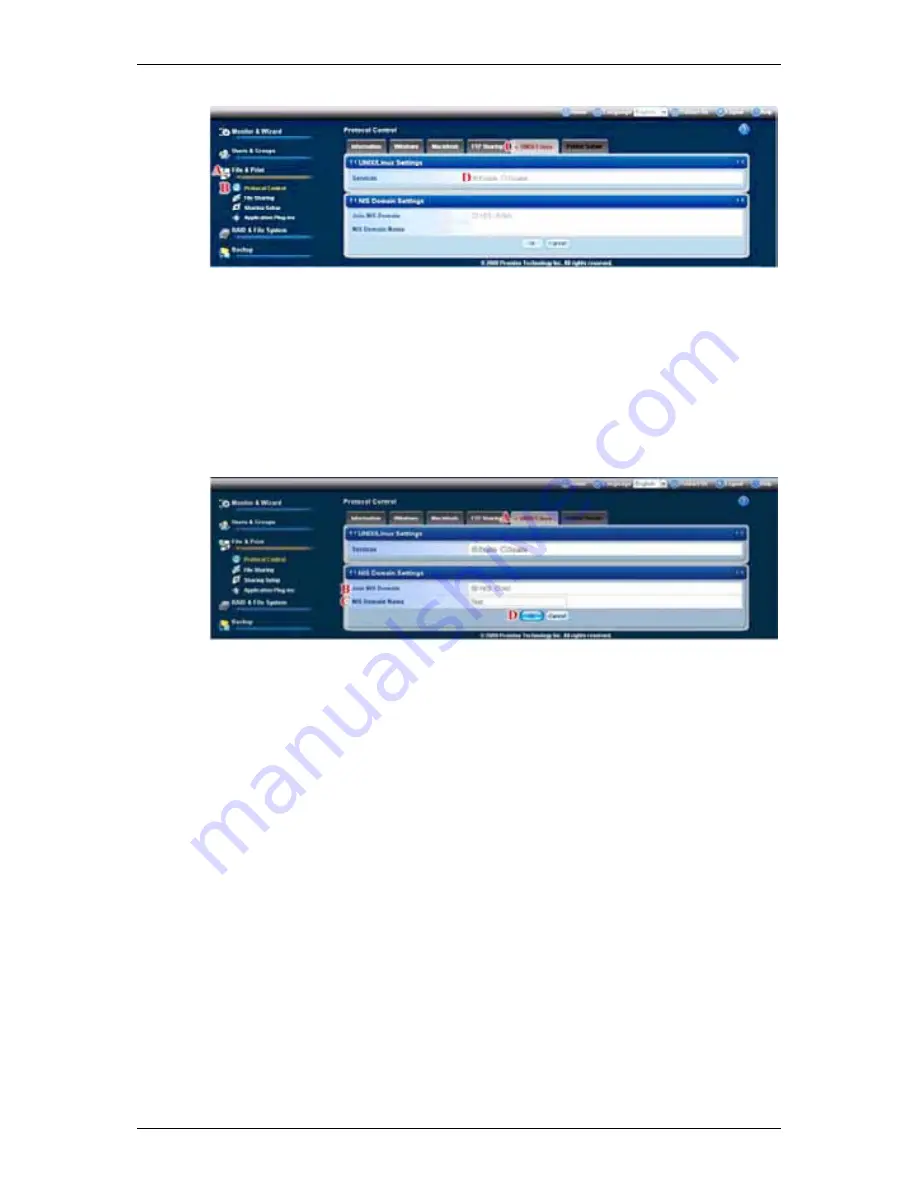
3. In the Services field, click the
Enable
option button (default).
(D)
4. Optional. To join a NIS Domain, click the
UNIX/Linux
tab
(A)
, then click the
Yes
button beside Services.
(B)
Note:
If you join an NIS Domain, you automatically disable your AD Domain
settings. See “Setting up Windows Access” on page 142.
5. Enter the Domain name into the field provided.
(C)
See your Network Administrator for help with this information.
6. Click
the
OK
button to save your settings.
(D)
The setting runs automatically.
Step 2. Setting up File Sharing
File access from UNIX and Linux PCs is controlled by specifying the IP address
of each PC that can access a given folder.
You must designate the IP addresses for each folder individually. You can have
up to 256 IP addresses for all of your folders. You can use *.*.*.* to allow all IP
access.
To set up UNIX/Linux file sharing:
1. Click
the
Administration
topic and choose the
File & Print
icon to expand
the Tree.
(A)
2. In the Tree, click the
Sharing Setup
icon
(B)
, then click the
UNIX/Linux
Sharing
tab.
(C)
3. Choose a volume from the Volume dropdown menu.
(D)
4. Choose a folder from the Folder Name dropdown menu.
(E)


