VessRAID 1000i Series Product Manual
174
Running Redundancy Check
Redundancy Check is a maintenance procedure for logical drives in fault-tolerant
disk arrays that ensures all the data matches exactly. To run Redundancy Check:
1.
From the Main Menu, highlight Logical Drive Management and press Enter.
2.
Highlight the logical drive you want and press Enter.
3.
Highlight Background Activity and press Enter.
4.
Highlight Start Redundancy Check and press Enter.
The redundancy check parameters appear.
•
Auto Fix – Corrects inconsistencies automatically
•
Pause On Error – Pauses the Redundancy Check when an error is
found
To change a parameter, highlight it and press the backspace toggle between
Yes and No.
5.
Highlight Start and press Enter.
If necessary, you can pause and resume or stop and restart the Redundancy
Check. You can use the logical drive while Redundancy Check is running.
Locating a Logical Drive
This feature helps you identify the physical drives assigned to the logical drive
you are working with in the CLU. To locate a logical drive:
1.
From the Main Menu, highlight Logical Drive Management and press Enter.
2.
Highlight the disk array you want and press Enter.
3.
Highlight Locate Logical Drive and press Enter.
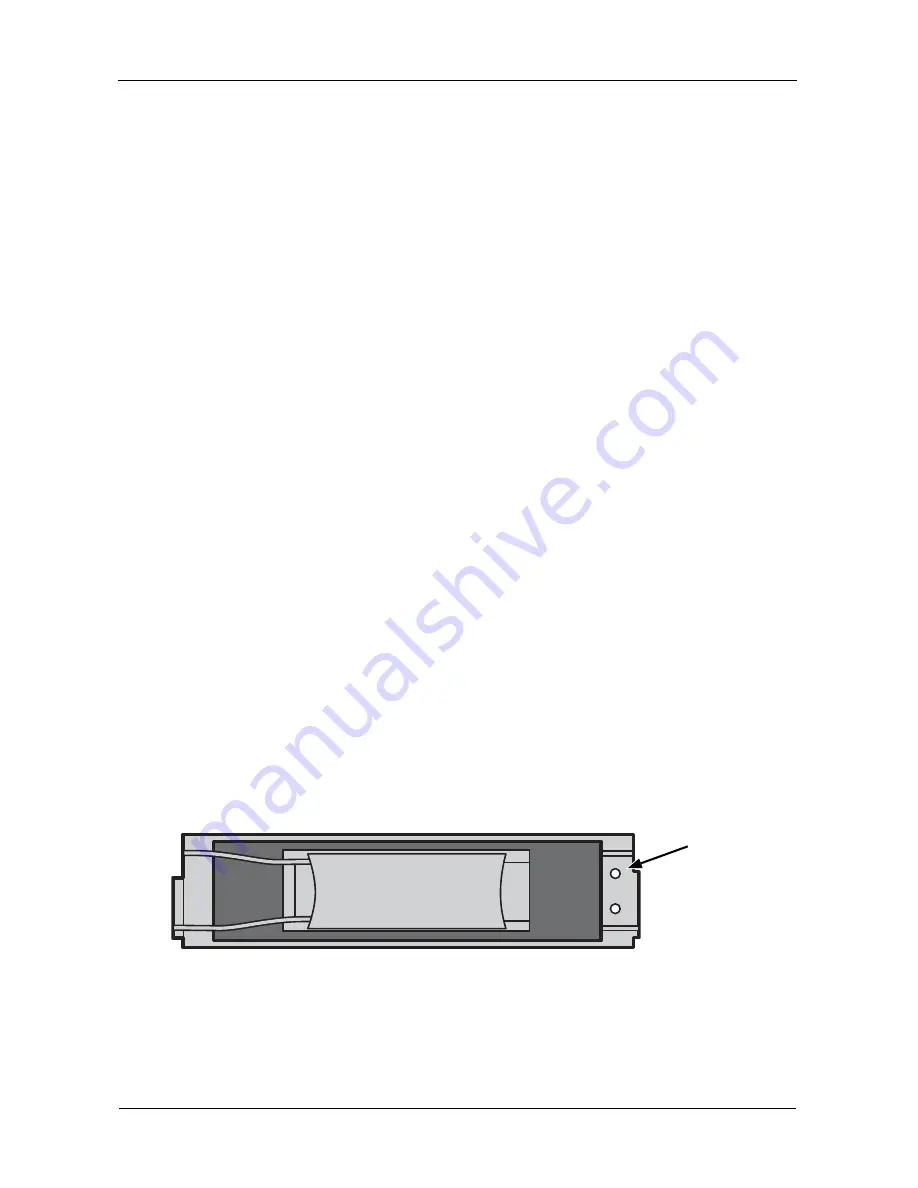
The disk status LEDs for the physical drives in this logical drive blink for one
minute.
Figure 9. Disk Status LED
Disk Status
Summary of Contents for VessRAID 1720i
Page 1: ...VessRAID 1720i 1730i 1740i 1820i 1830i 1840i Product Manual Version 1 1 ...
Page 16: ...VessRAID 1000i Series Product Manual xvi ...
Page 114: ...VessRAID 1000i Series Product Manual 98 The changes take effect immediately ...
Page 126: ...VessRAID 1000i Series Product Manual 110 Figure 8 Disk Status LED Disk Status ...
Page 154: ...VessRAID 1000i Series Product Manual 138 ...
Page 165: ...Chapter 5 Management with the CLU 149 Figure 4 Controller Status LED Controller Status ...
Page 226: ...VessRAID 1000i Series Product Manual 210 ...
Page 260: ...VessRAID 1000i Series Product Manual 244 ...


