3) System Set‐Up
continued
Configuring ‐ Master(s) and Slave(s)
When to Set Up PP+ Players in the Master/Slave Configuration:
When you'd like the Slave(s) to run video content simultaneously and in perfect sync with a Master.
(Master/Slaves all connect together on the same router to form a small computer network.)
When to Set Up PP+ Players Just in the Master Configuration:
If you’re using a separate player on each individual monitor and they each will be displaying different
stand‐alone content from each other, then configure each of these players as Masters. (Masters
running in a standalone mode do not connect together on the same network unless you’ve set their
static IP addresses to do so.)
Standard Set‐Up:
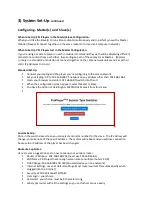
Connect your laptop and the player you’re configuring to the same network
Set your laptop’s IP to 192.168.168.75 network on any address other than 192.168.168.1
Open your browser and enter 192.168.168.1/switch into the url
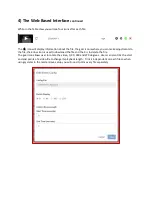
When the configuration screen appears, select Master or Slave
You have the option of deleting ALL MEDIA FILES as well from this menu
Custom Set‐Up:
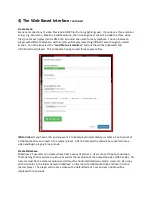
Once in the switch slave screen you can select a monitor number for the slave. The IP address will
change, so make note of the new IP address. The system will reboot and you will lose connection
because the IP address of the player has been changed.
Router Set‐up Notes:
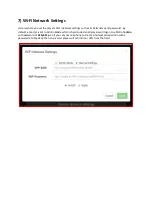
Here are some suggestions as to how to set‐up your wireless router:
Router IP Address: 192.168.168.254 (never use 192.168.168.1)
SSID Name: XX‐Project (never assign same name to multiple routers' SSID)
DHCP Range: 192.168.168.100‐150 (50 users/devices on one network)
Internet Settings: leave at default settings (most routers will set this automatically when
plugged into the Internet)
Security: WPA2‐Personnel TKIP/AES
User Login: your choice
Password: your choice, must be 8 characters long
Label your router with all the settings so you and others can use easily


