V1.0
25 pc Soldering Master Kit
8868259
Visit www.princessauto.com for more information
9
OPERATION
TEST PEN
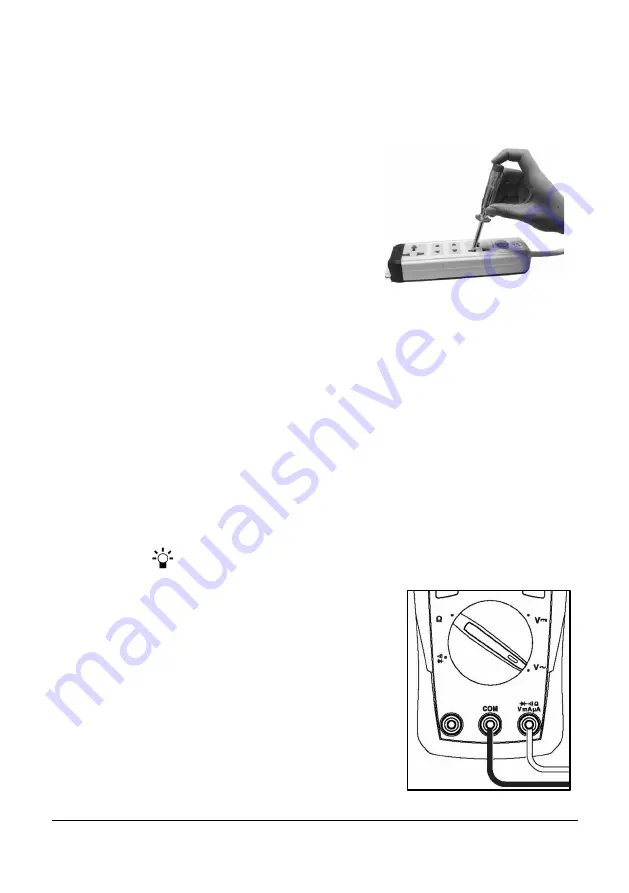
1. Hold the test pen body with your hand
2. Insert the test pen tip into the live wire
outlet you desire to test. Place your finger
on the metal pad in the cap (Fig. 2).
3. The neon light will glow if the voltage is
between 100 and 250V AC. The light will
remain dark if the voltage is below 100V
AC or the outlet is without power.
4. Remove your finger from the cap, then remove the test pen from the outlet.
MULTIMETER
IMPORTANT! Insert the black test lead into the COM jack (E) and
the red lead into the V
Ω
mA jack (F) before using any of the
multimeter’s functions, unless otherwise stated (Fig. 3)
Accuracy is specified for a period of one year after calibration and at 18°C
to 28°C and RH<75%. Normally, accuracy specifications take the form of:
±
(% of r number of least significant digits)
FUNCTIONS
•
Press the Hold/Select button (B) to enter or exit the data hold mode.
•
Press to cycle between modes when the continuity/diode mode is selected.
•
Press the
button (B) to turn the backlight on or off.
•
The multimeter is ready for use 2 seconds
after starting up.
•
The multimeter will automatically shut down
after 15 minutes. One minute before shut
down, the buzzer will beep 5 times. A long
beep will immediately precede auto shut
down Press any key to wake the tool.
•
Disable auto shut off by turning the dial (C) to
the OFF position, press and hold the HOLD
button and turn the tool on.
•
The buzzer will beep once when pressing a
key or switching functions.
Fig. 3
Fig. 2


