14
1
1
1
2
2
B10
D8
P2x2
24
P11
15
D9
B13
A2
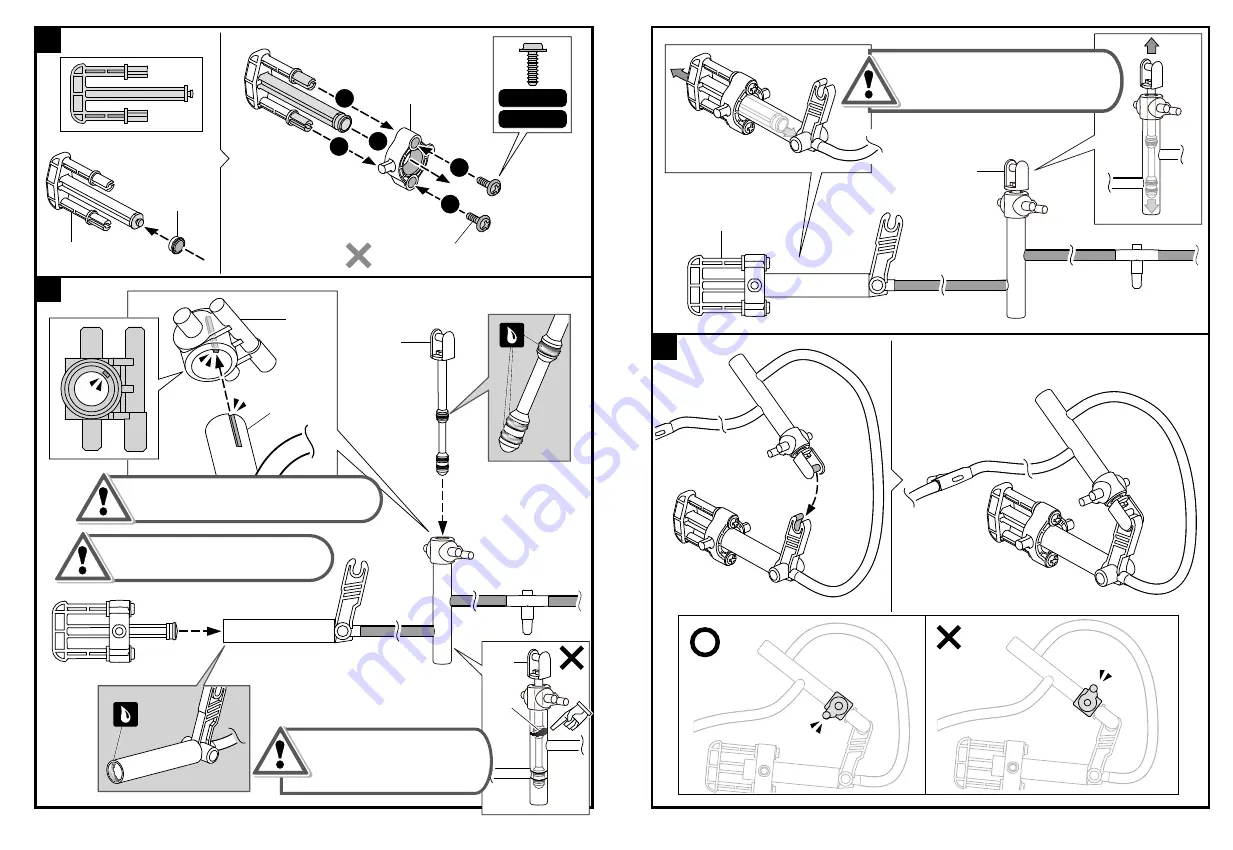
注意 : 請確認
A2
及
D9
確實對位崁入並緊緊扣住。
請勿將D9及D14混淆,請以D9進行組裝。
D9
B13
P10
若
P10
於組裝時發生扭轉,請將
B13
取出並調整
P10
後,再重新組裝。
紅色活塞帽(中)
請做
2
組
比例
1:1
Scale 1:1
Red Cap(Medium)
Note:
Make sure to lock A2 / D9 entirely.
Do not mix up D9 & D14, make
sure to use D9 for assembly.
2
Take off B13 if P10(Red Cap) was
twisted during assembly.Re-insert
B13 to A2 after P10 was re-set flatly.
25
16
將
B10
及
B13
重複推入及拉出數次,使油
均勻沾附零件,以利後續操作。
B13
B10
Push & pull the oiled part B10/B13 several times
to make them work smoothly.
Summary of Contents for GE-631
Page 1: ...Manual Assembly Instruction 組裝說明手冊 GE 631 空氣動力引擎車 Air Engine Car Kit ...
Page 17: ...30 23 24 1 31 25 4 3 2 1 ...
Page 18: ...D6 C4 32 26 27 2 3 2 4 5 1 1 6 1 P19 P19 02 02 比例 1 1 P1x5 33 28 29 Top View 上視圖 Scale 1 1 ...
Page 22: ...1cm B11 40 P18x5 42 43 41 恭喜完成 P19 P19 06 07 44 Finished ...


