background image

23

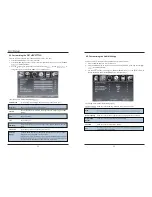
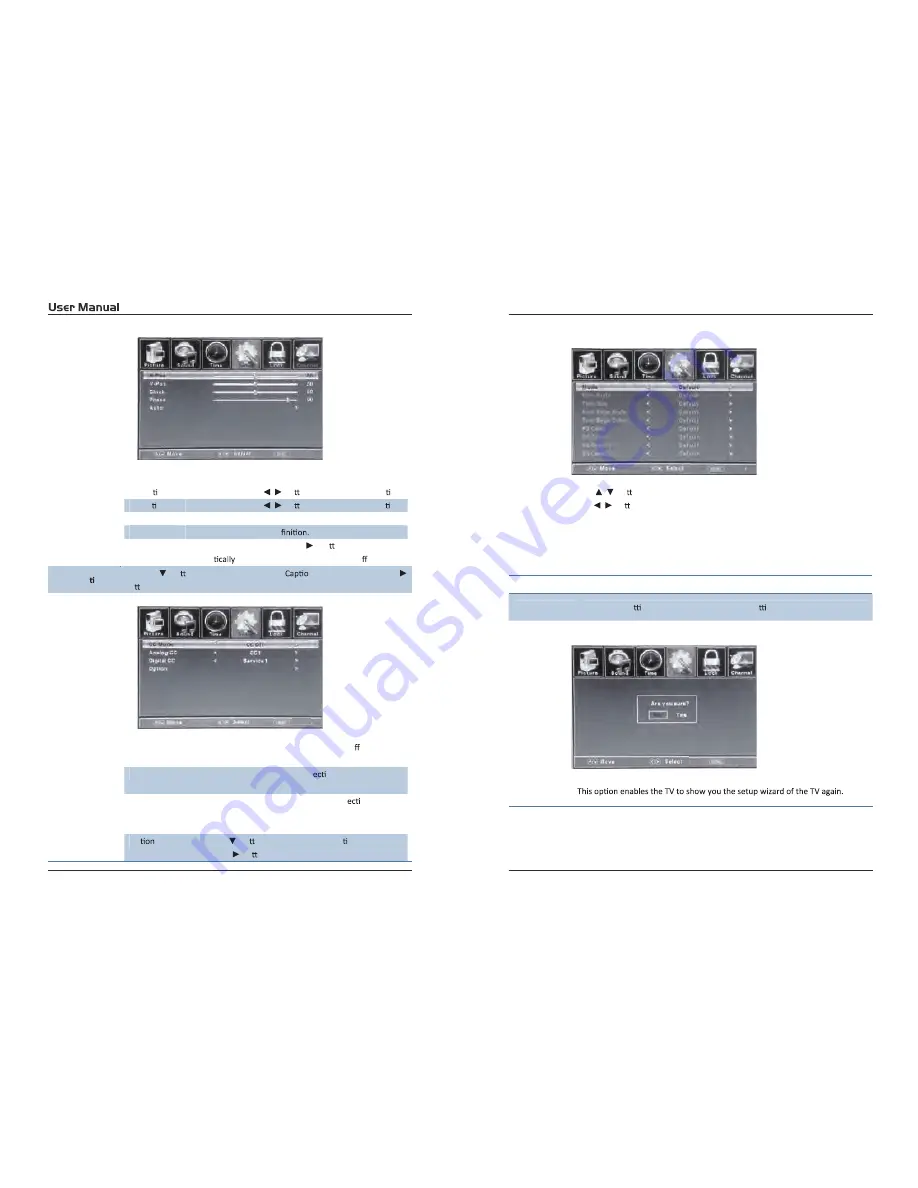
H-Posi on

Allow you to use the

/

bu ons to adjustthe H Posi on.

V-Posi on

Allow you to use the

/

bu ons to adjustthe V Posi on.

Clock

Allow you to prolong the image.

Phase

Allow you to adjustthe de

Auto

Select  “Auto” and press the

bu on, the unit will

automa

adjust all items to achieve a best e ect.

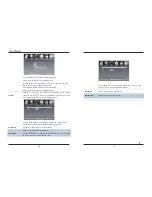
Close Cap on

Use the

bu on to highlightthe Close

n item, then press the

bu on to enter into the following menu.

CC Mode

Allow you to selectthe CC Mode among:

On

O ,

and CC

on Mute.

Analog CC

Allow you to selectthe basic sel

on among: CC1, CC2,

CC3, CC4, Text1, Text2, Text3 and Text4.

Digital CC

Allow you to selectthe advanced sel

on among:

Service1, Service2,  Service3, Service4, Service 5 and
Service6.

Op

Use the

bu on to highlightthe “Op on” item, then

press the

bu on to enter into the following menu.

Exit

Exit

24

Use the

/

bu ons to highlightthe desired item, and

use the

/

bu ons to select.

Restore Default

Restore all se ngs in SETUP menu to factory se ngs.

Exit

Setup Wizard

Please Note:
Closed captioning is only available under AV and TV ports.
Closed captioning depends on your TV program’s support. Sometimes due to the
TV channel or the signal, Closed captioning will no function.

Exit

Summary of Contents for EP5585

Page 1: ...55 EP5585 ...

Page 2: ...al Installation 3 3 DTV Mode Operations SETTINGS PC Mode Initial Setup 4 1 Customizing the PICTUERE Settings 4 2 Customizing the Audio Settings 4 3 Customizing theTIME Settings 4 4 Customizing the SETUP Settings 4 5 Customizing the Patental Settings 4 6 Customizing the TV Settings 20 21 24 27 ...

Page 3: ......

Page 4: ......

Page 5: ... 400mmx200mm mounting kit designde for flat panel TVs not supplied Mount this unit according to the instructions included in the monting kit Length of screw should not exceed 12 mm NOTE Remove the base stand before mounting the unit on the wall 6 Screws 23BMH R Long Short Long Short Panel side L Four mounting holes size M6 screw 400mm 200mm ...

Page 6: ...AUDIO OUT Output Audio L R left right 1 USB For Service CH VOL MENU SOURCE POWER ...

Page 7: ...ically in PC mode 8 CC CC mode 9 ASPECT Selects the screen size 10 FAV Show the list of favourite channels 11 MUTE Mute or restore the sound 12 ADD ERASE Add erase the favorite channels 13 FAV Next favourite channel 14 FAV Previous favourite channel 15 WARM The cool color temperature adjustment 16 COOL To warm color temperature adjustment 17 NORMAL To the standard color temperature adjustment 18 S...

Page 8: ...e image 28 VOL Increase and decrease volume 30 MTS In the TV condition press this button to select the stereo mode 29 CH Next and Previous channel 32 NUMBER KEYS Change the channel directly 33 31 CH LIST Show the list of channels ...

Page 9: ...Note Coaxial output ...

Page 10: ... use the direction buttons to select the desired source depending on the equipment you have connected AV HDMI VGA or choose TV to enter these mode Use CH or CH buttons to tune the desired channel or enter the channel number directly using the numeric keypad Press OK to display on screen the list of TV and radio channels press the buttons to sort by group and show only the DTV the analog TV channel...
Page 11: ...r example Press SOURCE bu on to select TV mode 1 Press the POWER bu on to turn the LED TV on 2 Press the MENU bu on on the remote control to display the Main menu and use the to selectthe PICTURE 3 Use the bu ons to highlight an individual PICTURE use the to change the se and press the MENU to exitthe menu The PICTURE menu includes the following Picture Mode Contrast Control the di erence between ...

Page 12: ...o set up the sleep among Paci c Alas a Hawaii East Central and Mountain Daylight Saving Time Allow you to turn on or o the daylight saving 4 3 22 Select TV source for example Press SOUCE bu on to select TV mode 1 Press the POWER bu on to turn the LED TV on 2 Press the MENU bu on on the remote control to display the Main menu and use the bu ons to selectthe SETUP 3 Use the bu ons to highlight an in...

Page 13: ...Allow you to selectthe basic sel on among CC1 CC2 CC3 CC4 Text1 Text2 Text3 and Text4 Digital CC Allow you to selectthe advanced sel on among Service1 Service2 Service3 Service4 Service 5 and Service6 Op Use the bu on to highlightthe Op on item then press the bu on to enter into the following menu Exit Exit 24 Use the bu ons to highlightthe desired item and use the bu ons to select Restore Default...

Page 14: ... the system lock If you turn o the system lock then the following items US Canada RRT Se ng and Reset RRT will unable to use 4 5 Exit 2 26 US Use the bu on to highlightthe US item then press the bu n to enter into the following menu TV Use the bu on to highlightthe TV item then press bu on to enter into the following menu Use the bu ons to selectthe desired ra ng and press the bu on to block or un...

Page 15: ...NNEL Se ngs Select TV source for example Press SOUCE bu on to select TV mode 1 Press the POWER bu on to turn the LED TV on 2 Press the MENU bu on on the remote control to display the Main menu and use the bu ons to selectthe CHANNEL 3 Use the bu ons to highlight an individual CHANNEL use the to change the se and press the MENU to exit The CHANNEL menu includes the following Air Cable Allows you to...

Page 16: ...e receivable channels will be stored automa cally When searching channels press MENU to stop Favorite Channel list Allow you t add these channels which you desired as the favorite channels Use the bu ons to highlightthe Favorite item then press the bu on to enter into the following menu Use the bu ons to highlightthe desired item then press OK bu on to add or remove the highlighted channel as favo...

Page 17: ...en the control panel window appears click on Appearance and Themes and a display dialog box will appear 3 When the control panel window appears click on Display and a display dialog box will appear 4 Navigate to the Se ng tab on the display dialog box The correct size se ng res Op 1360 768 If a ver cal frequency on exists on your display se ngs dialog box the correct value is 60Hz Otherwise just c...

Page 18: ...and EP5585 Audio output Stereo R L 300 5000 1 6ms 1920x1080 120W AC 100 120V 60Hz USB For service 7 7 34 ...

Reviews: