
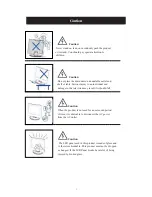

Caution
Caution
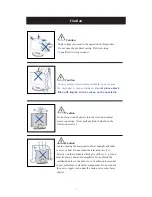
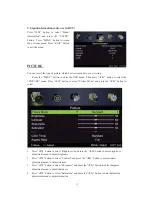
Never stand on, lean on or suddenly push the product
or its stand. You should pay special attention to
children.
Caution
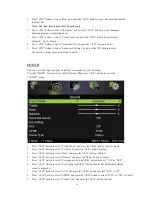
Do not place the main unit on an unstable cart stand,
shelf or table. Serious injury to an individual and
damage to the television may result if it should fall.
Caution
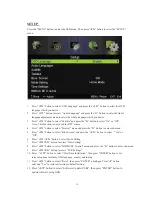
When the product is not used for an extended period
of time, it is advisable to disconnect the AC power
from the AC outlet.
Caution
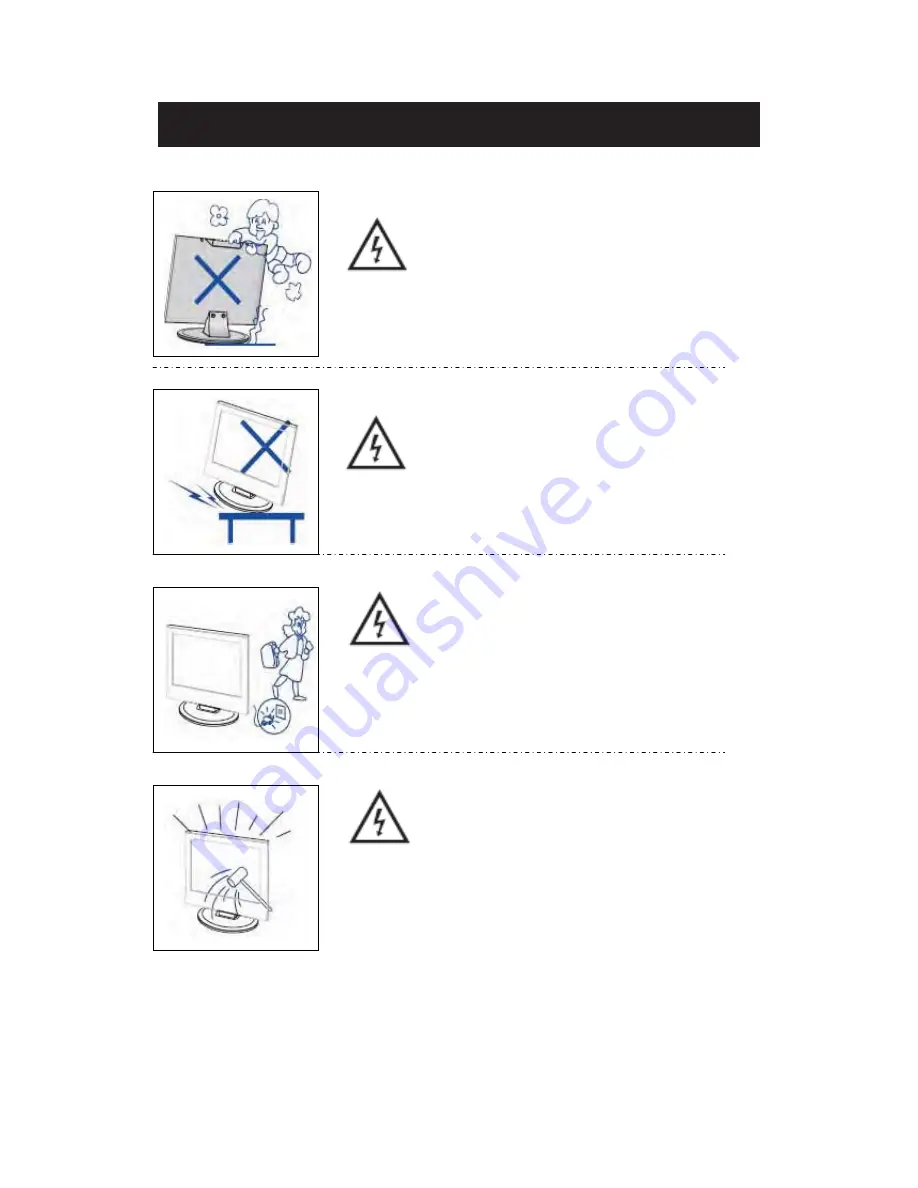
The LED panel used in this product is made of glass and
is therefore breakable. This product must not be dropped
or banged. If the LED Panel breaks be careful of being
injured by broken glass.
Summary of Contents for PLDED3273-UK
Page 1: ...PLDEDV3293 UK ...
Page 16: ......


