


13
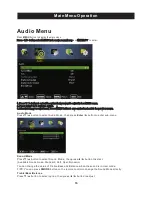
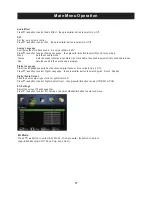
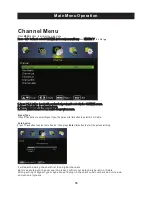
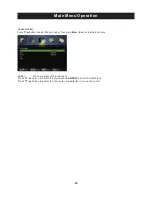
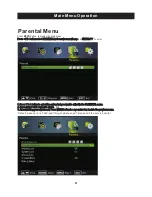
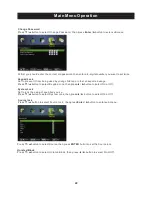
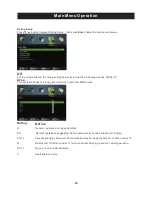
Main Menu Operation
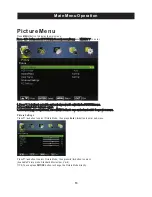
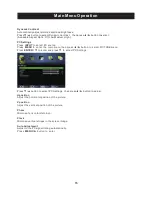
Picture Menu
re ss
to
ente r
.
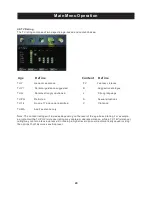
Pre ss
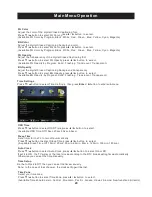
MENU
butt on
to display th e main menu.
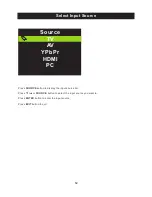
Pre ss ◄ / ► butt on select
PIC TURE
in th e main
menu,t hen p
ENTER /
▼
1. Pre ss
▼
/
▲
butt on to select th e opti on th at you want to adjust in th e
PIC TURE
menu.
2. Pre ss
Ente r/
◄ / ► butt on to adjust.
3. Aft er fi nishing your adjustm ent, Pre ss
MENU
butt on to save and re tu rn back to th e pre vious menu.
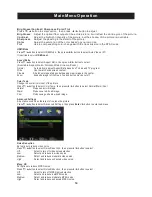
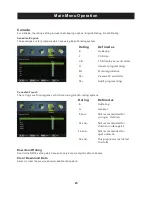
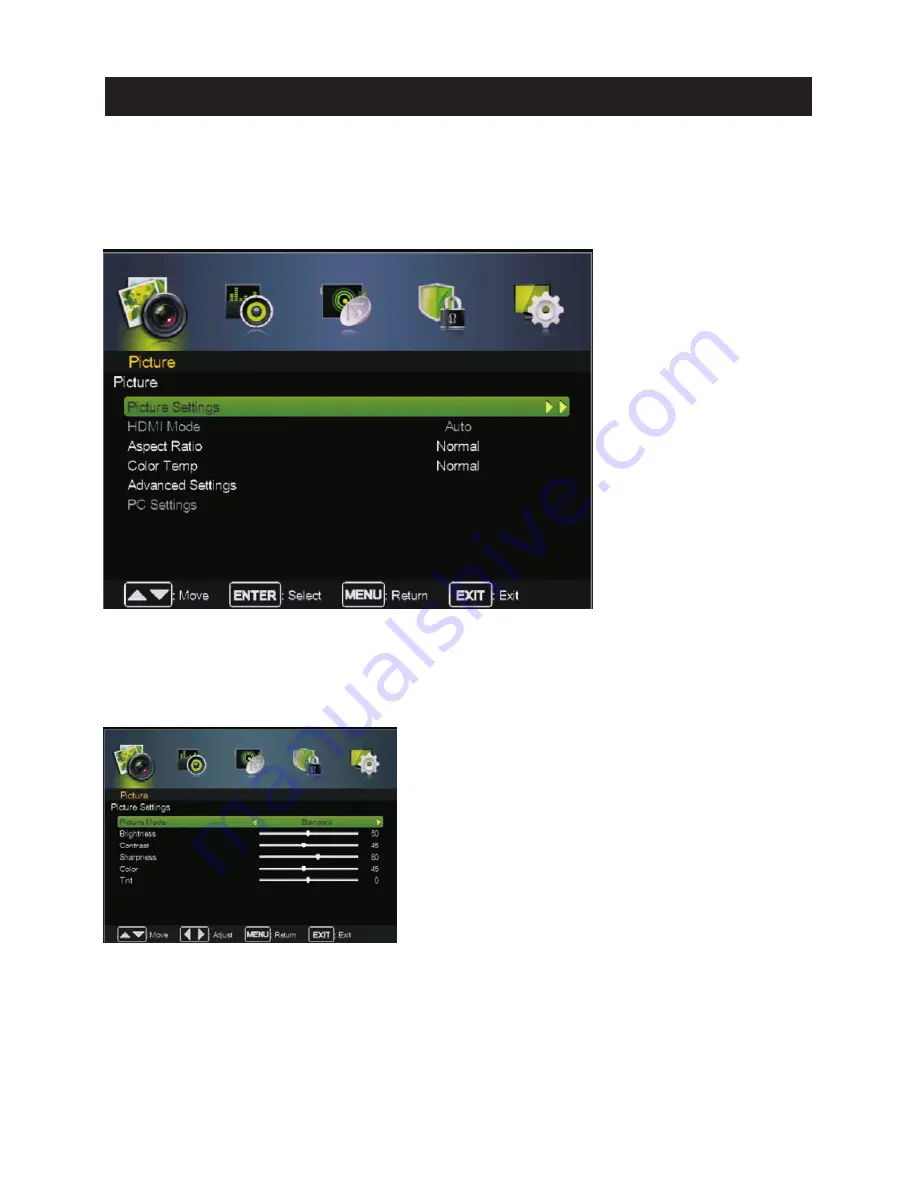
Pic tu re Settin gs
Pre ss
▼
/
▲
butt on to select Pictu re Mode, th en pre ss
Ente r
/ ►butt on to ente r sub-m enu.
Pre ss
▼
/
▲
butt on to select Pictu re Mode, th en pre ss◄ / ► butt on to select.
(Available Pictu re mode: Sta ndard ,M ovie,U ser, Vivid).
TIP S: You can pre ss
PMODE
butt on to change th e Pictu re Mode dire ctl y.
Summary of Contents for PLED2435A-E
Page 1: ...PLED2435A E INSTRUCTION MANUAL LED TV ...
Page 4: ...3 ...
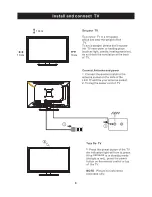
Page 5: ...4 8 3 95 3 95 4 3 95 x 3 95 100 100 Wall Mount Installation ...
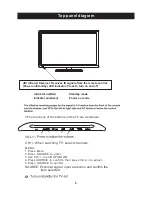
Page 10: ...3 side indicator 9 10cm 10cm 10cm LED TV ...
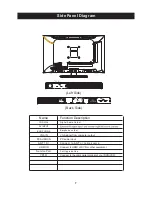
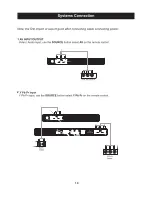
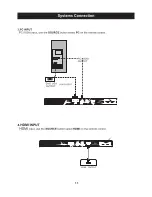
Page 11: ...COAXIAL 2 10 COAXIAL Y Pb Pr Service Port ...
Page 12: ...Y Pb Pr Service Port 11 Y Pb Pr Service Port ...
Page 31: ...Help 30 ...


