


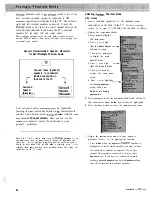

Guitar
I
Electric Guitar
Flute
Trombone
Piano
Cymbals
tkt
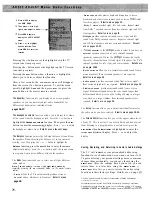
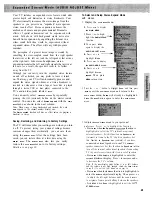
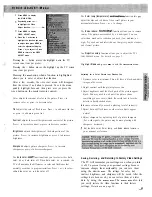
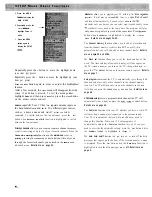
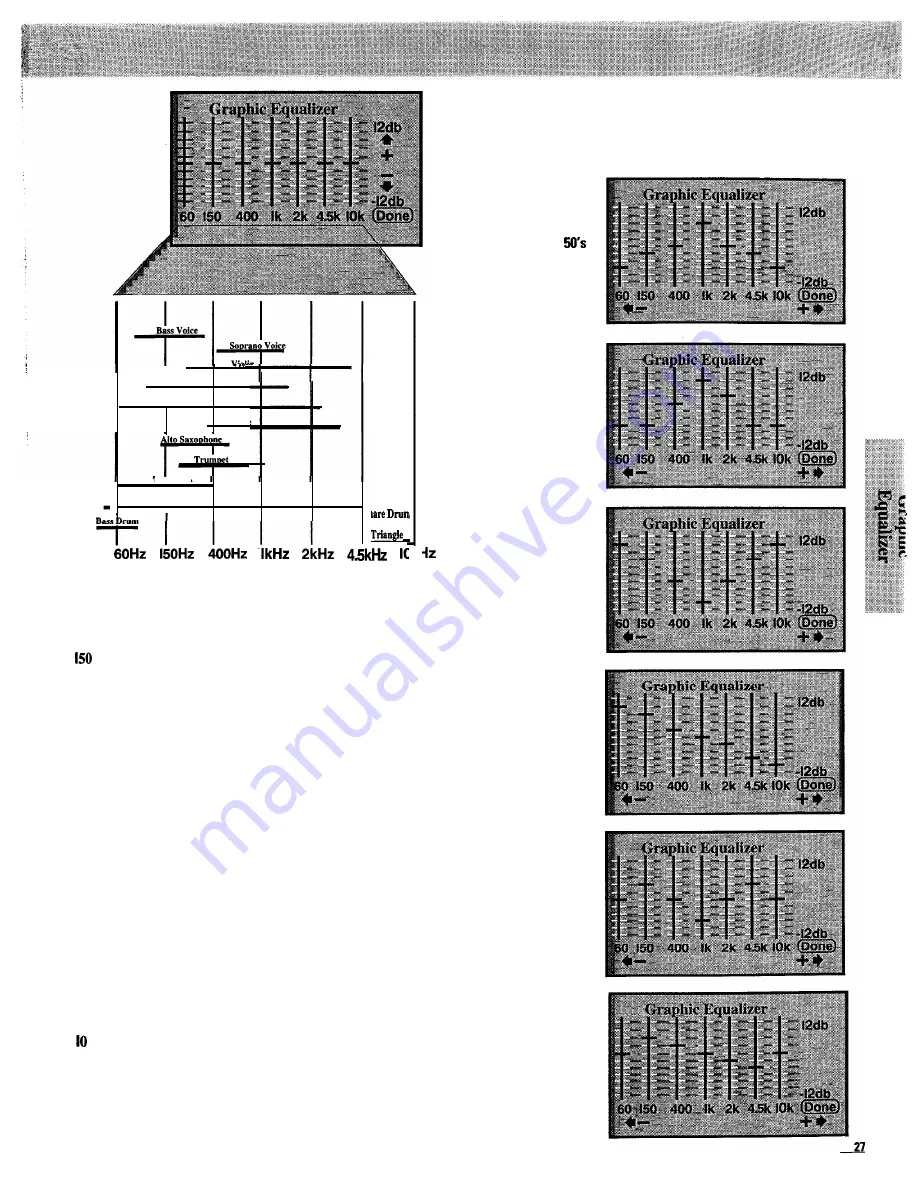
60 Hz...Gives these low, “real” bass sounds more or less impact.
This area is where many systems and/or programs are weak.
Increasing this control can overcome such deficiencies, lowering
it can reduce “muddiness”.
Hz...Affects the loudness of bass. These mid-bass
frequencies sound the loudest, and most systems reproduce them
well. Increasing the control gives the bass more “punch”,
lowering it can help reduce “booming”.
400 Hz...Affects the fullness of some instruments and lower
vocals. Since this is the basic frequency range of music,
increasing this control adds fullness to these sounds, reducing it
makes them sound thinner.
I kHz...Strongly affects the “forwardness” and “presence” of
vocals and most instruments. Increasing this control can help
project these sounds or make a vocalist easier to understand.
Reducing it can soften strident music.
2 kHz...Strongly affects the harmonics (overtones) of voices and
some instruments. This frequency is most easily heard by the
ear. Increasing this control will project most instruments and
vocals. Reducing it helps control brilliance and allows more
subtle sounds in the other ranges to be heard.
4.5 kHz...Affects harmonics (overtones) of voices and some
instruments, particularly brass and strings. Increasing this control
makes these instruments and vocals sharper and brighter.
Reducing it can help control excessively “lispy” vocals or shrill
instruments.
kHz...Affects the highest, most delicate harmonics of some
instruments such as strings and the overall content of others such
as cymbals and drum snares. Increasing this control brings out
this “crispness” in cymbals and “sweetness” in strings and gives
the music “atmosphere”. Reducing it can help control noise and
h i s s .
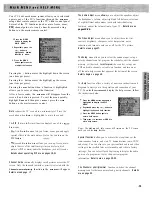
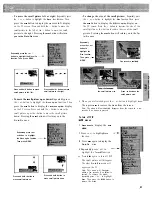
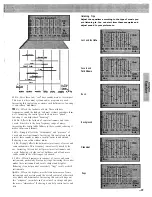
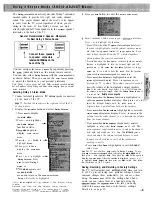
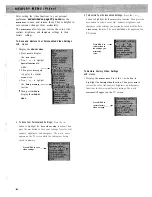
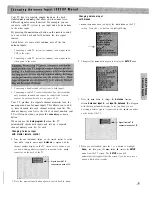
listening Tips
Adjust the equalizer according to the type of music you
are listening to. You can start from these examples and
adjust sound to your preference.
Jazz and the
Vocals and
Talk Shows
Rock
Background
Classical
Pops
Summary of Contents for PS52682
Page 65: ...I I I I I I I I I I t 1 I I I I 1 II 1 I 1 ...
Page 81: ......
Page 85: ......
Page 86: ......


