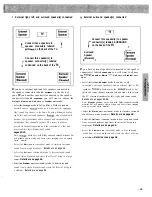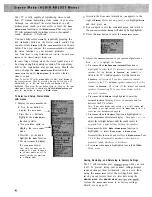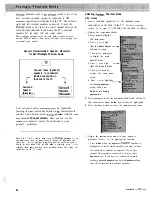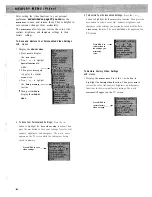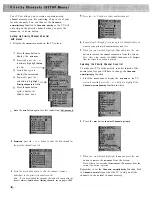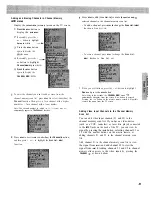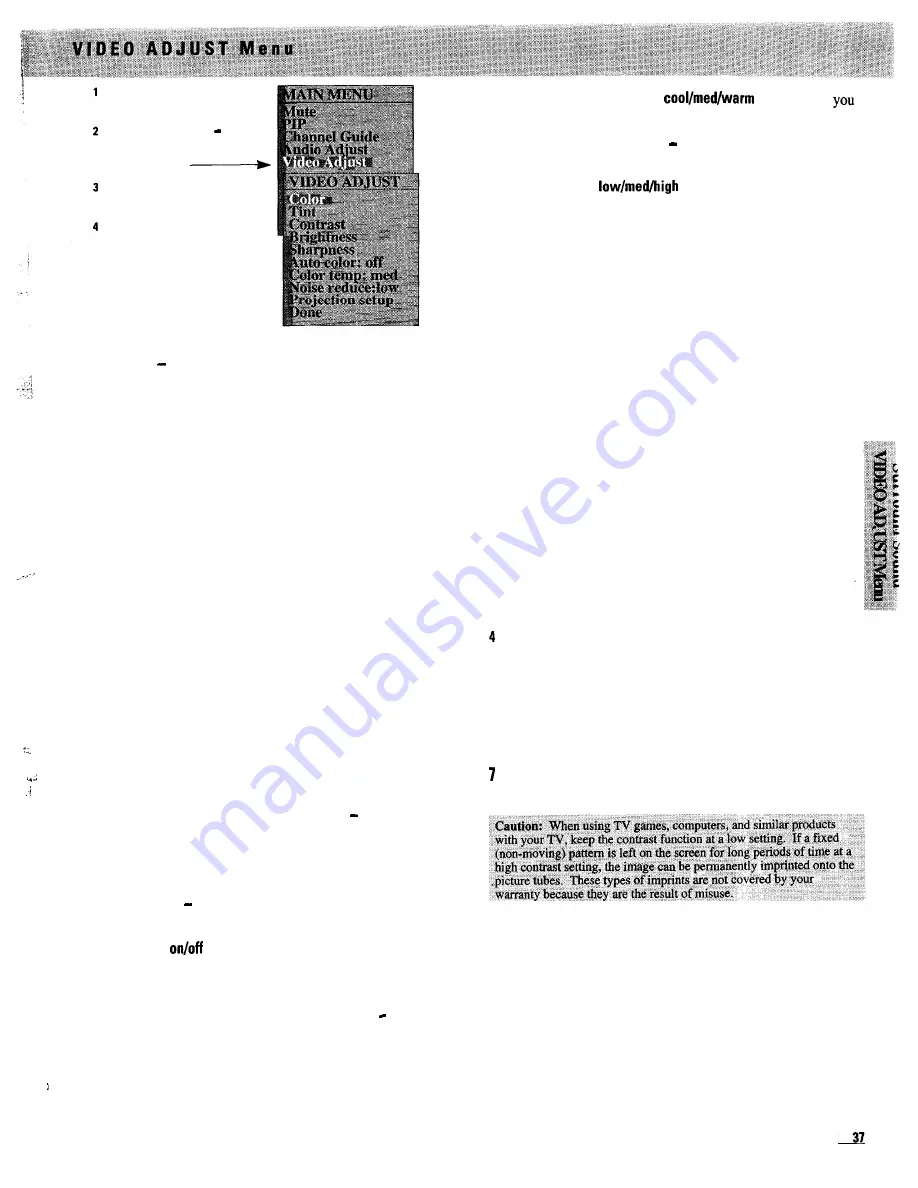
Press MENU to display
the MAIN MENU.
Repeatedly press + or
to highlight the Video
Adjust function.
Press MENU to display
VIDEO ADJUST menu.
Press the + or-button to
highlight the function you want
to adjust, then press MENU to
enter the adjustment display.
Press + or-to adjust it. Press
MENU to return to the VIDEO
ADJUST menu.
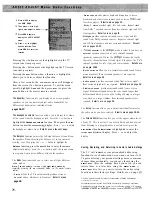
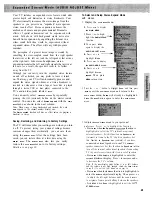
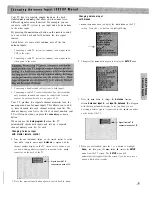
Pressing the button moves the highlight down the TV
screen (one item per press).
Highlight
Done
and press
MENU
to exit the
VIDEO ADJUST
menu.
.
Pressing the + button moves the highlight up the TV screen
(one item per press).
Pressing the
MENU
button when a function is highlighted
allows you to enter or adjust that function.
After a few seconds, the
VIDEO ADJUST
menu will disappear
from the screen if no button is pressed. To exit the menu
quickly, highlight
Done
and then press
MENU
(or press the
CLEAR
button on the master remote control).
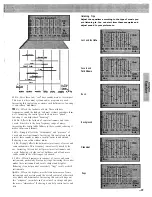
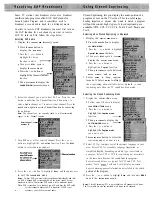
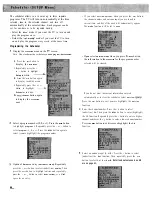
Adjusting for a Color Picture that Pleases You
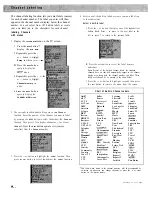
1
Decrease color to minimum. This will leave a black-and-white
image on the screen.
2 Adjust contrast until the picture pleases you.
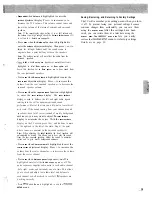
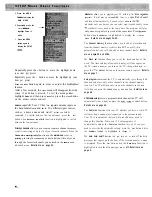
Color adjusts the amount of color in the picture. Press + to
increase color or press -to decrease color.
3 Adjust brightness until the black parts of the picture appear
black. You may need to wait until the picture shows
something you are sure is black. Be careful not to lose the
details in darkly shaded areas.
Increase color until you reach a pleasing level of intensity.
Tint
adjusts the color of flesh tones. Press + to add more red tint
5 Adjust tint until flesh tones or other color objects appear
or press -to add more green tint.
natural.
,
Contrast
adjusts the overall brightness and contrast of the picture.
Press + to increase contrast or press -to decrease contrast.
Brightness
adjusts the brightness of the dark portions of the
picture. Press + to increase brightness or press to decrease
brightness.
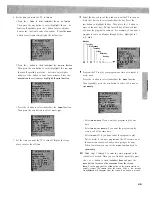
6 Adjust sharpness for a pleasing level of picture sharpness.
(For weak signals, the picture may be more pleasing with
sharpness decreased.)
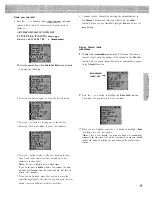
Set
the
Auto color, Color temp,
and
Noise reduce
features to
your personal preference.
Sharpness
adjusts picture sharpness. Press + to increase
sharpness or press to decrease sharpness.
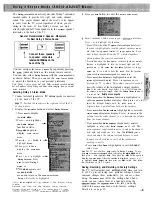
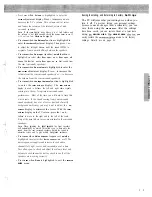
The
Auto color:
function allows you to select either
A u t o
color: on
or
Auto color:
off. When
Auto color: on
is selected, the
TV will minimize the differences in color and fleshtones that
normally occur due to program variations. Press + or to select
either
Auto color: on
or
Auto color: off.
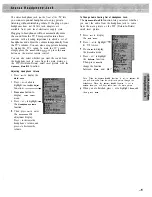
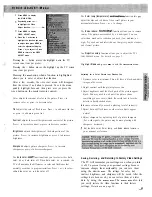
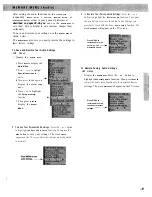
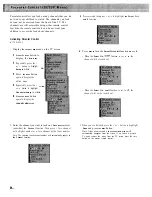
Saving, Restoring,
and Returning to Factory Video Settings
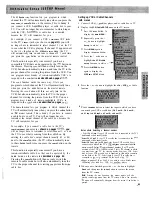
The TV will remember your settings-even when you turn
it off. To prevent losing your personal settings because
someone changes them accidentally, you can save them
using the
MEMORY
MENU
.
The settings for color, tint,
contrast, brightness, and sharpness will be saved. After the
settings have been saved, you can restore them at a later
date by using the
MEMORY MENU
.
The
MEMORY MENU
also lets
you easily restore the video functions to their factory
settings.
Details are on page 38.
The
Color temp (temperature):
function lets
adjust the blue and red hues of the overall picture to your
personal preference. Press + or to change.
The
Noise reduce:
function allows you to remove
some of the picture noise caused by a weak signal. You can
select how much noise reduction you need (low, medium, or
high). Try each one and select the one that gives you the cleanest
and clearest picture.
The
Projection setup
function allows you to adjust the TV’s
C O N V E R G E N C E
menu.
For details see page 5.
Summary of Contents for PS52682
Page 65: ...I I I I I I I I I I t 1 I I I I 1 II 1 I 1 ...
Page 81: ......
Page 85: ......
Page 86: ......

