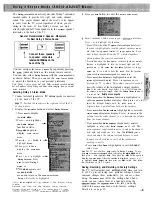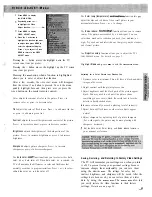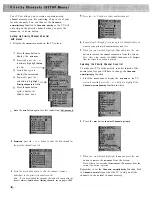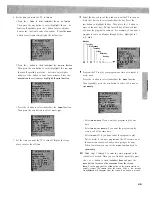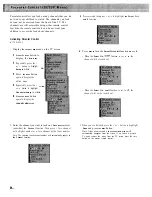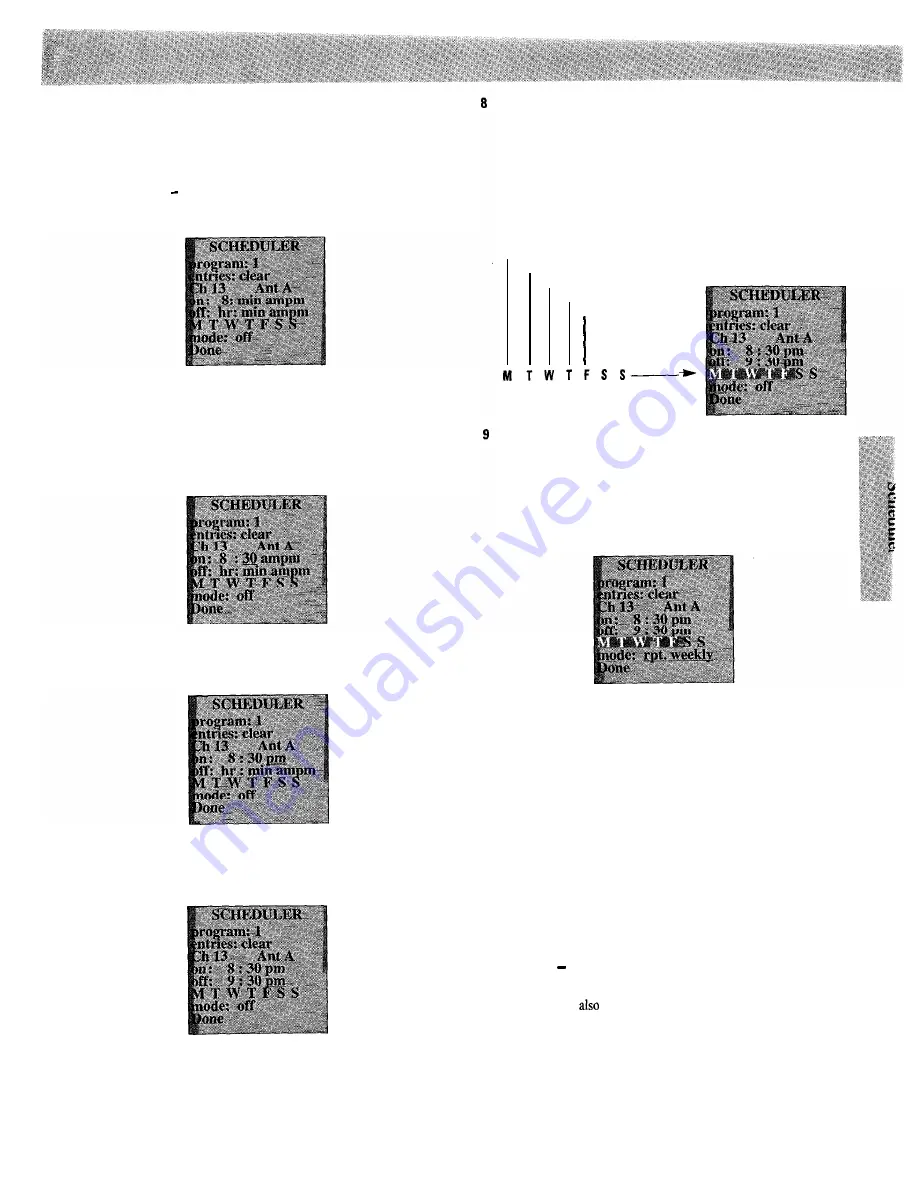
6 Set the time you want the TV to turn on.
1 Press the + button to select (underline) the on:
hr
function.
Then press the
M E N U
button to enter (highlight) the on:
hr
function. Repeatedly press the + button to enter a higher
hour or the button to enter a lower hour. Press the
MENU
button to exit (remove highlight) the
hr
function.
2 Press the + button to select (underline) the
on: min
function.
Then press the
M E N U
button to enter (highlight) the
on: min
function. Repeatedly press the + button to enter higher
minutes or the -button to enter lower minutes. Press the
MENU
button to exit (remove highlight) the
min
function.
3 Press the + button to select (underline) the
ampm
function.
Then press the
M E N U
button to select
a m
or
pm.
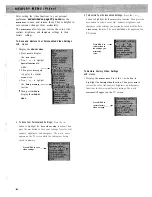
7 Set the time you want the TV to turn off. Repeat the steps
above to enter the off time.
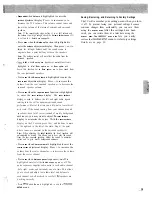
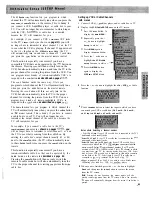
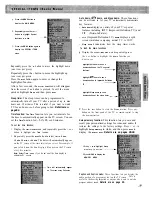
Select the day or days of the week you want the TV to turn on.
Press the + button to select (underline) the day. Press the
M E N U
button to highlight the day. Then press the + button to
move to the next day. Do this for each day of the week that
you want the program to come on. For example, if you want a
program to come on Monday through Friday, highlight
M , T ,
w,
T,
and
F.
Monday
Tuesday
Wednesday
Thursday
Friday
Saturday
I I
Sunday
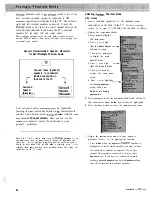
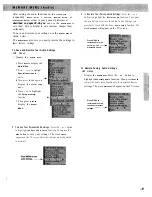
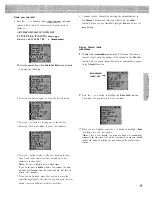
Program the TV to play your program one time or to repeat it
every week.
Press the + button to select (underline) the
m o d e
function.
Then repeatedly press the
M E N U
button to select off,
o n c e ,
or
rpt. weekly.
l
Select
m o d e : o n c e
if you want your program to play one
time.
l
Select
m o d e : r p t . w e e k l y
if you want the program to play
every week at the same time.
l
Select
m o d e :
off if you do not want the program to play.
This is useful if you have programmed the TV to come on at
the same time every week and you are going to be away.
When you return, you can set the
m o d e
function back to
rpt. weekly.
IO
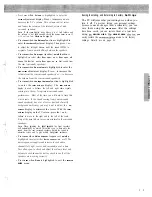
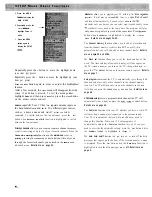
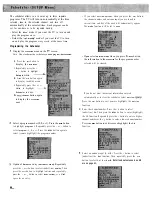
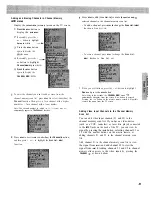
Follow steps 1 through 9 to enter two more programs in the
scheduler if desired. When you are finished, repeatedly press
the + or
button to select (underline)
Done
and press the
MENU
button to remove the
SCHEDULER
from the screen.
Note:
You can
press the
CLEAR
button on the master remote to
quickly remove the
SCHEDULER
from the screen. After a few seconds,
the SCHEDULER
will disappear from the screen if no button is pressed.
4 5
Summary of Contents for PS52682
Page 65: ...I I I I I I I I I I t 1 I I I I 1 II 1 I 1 ...
Page 81: ......
Page 85: ......
Page 86: ......

