socket respectively.
3. Connect the test leads in black and in red to the positive and negative poles of
the diode to be tested respectively.
4. The meter displays the forward bias value of the diode to be tested. If the
polarity of the test lead is reversed, the meter will display "OL".
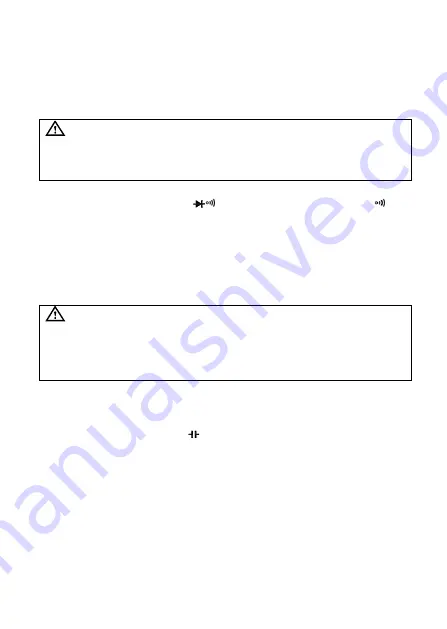
3.2.4 Beep continuity test
To avoid the meter or the measured equipment from damage, do
not attempt a diode test unless the operator has already cut off all
power sources for the circuit to be measured and fully discharged
all high-voltage capacitors.
Steps for a continuity test:
1. Turn the rotary switch to the
and p
ress “
FUNC/Hz
” to choose
2. Connect the test lead in black and test lead in red to COM input socket and
V/
input socket respectively.
3. Use another two ends of the test lead to measure the resistance of the circuit
to be measured. If the measured distance is less than 30
,
the beeper will
sound continuously, and the LED will be on.
3.2.5 Capacitance measurement
To avoid the meter or the measured equipment from damage, do
not attempt a capacitance measurement unless the operator has
already cut off all power sources for the circuit to be measured and
fully discharged all high-voltage capacitors. Use the DC voltage
position to determine that all capacitors have been discharged.
The measuring range for the capacitance of this meter are 60.0nF/600.0nF
/6.000
μ
F/60.00μF/600.0μF/6.000mF/60.00mF.
Measurement of capacitance:
1. Turn the rotary switch to the
position.
2. Connect the test leads in black and in red to COM input socket and input
socket respectively.
3. Use another two ends of the test lead to measure the capacitance of the
capacitor to be measured, and capture the measured value on LCD screen.
Note:
1. The measurement of a large capacitance requires a given period of
stabilization of reading.
2. To avoid damage to the meter, the measurement of a capacitor with polarities
requires much attention to its polarity.
Summary of Contents for MT-1236
Page 17: ...1 Pro sKit MT 1236 1 1 A B 60V DC 30V AC 3 1 5V AAA 600V...
Page 18: ...AC DC 600 V European Union 1 2 600V 250V mA F600mA 250V A F10A 250V 2 2 1 LED...
Page 26: ...5 2 F600mA 250V F10A 250V 3 x 1 5V AAA...
Page 27: ...MT 1236 3 5 6 1 Pro sKit MT 1236 1 1 A B 60Vdc 30Vac 3 1 5V AAA...
Page 28: ...600V AC DC CAT 600 V European Union 1 2 600V 250V mA F600mA 250V A F10A 250V...
Page 29: ...2 2 1 LED 2 2 NCV V mV V...
Page 37: ...5 2 F600mA 250V F10A 250V 3 x 1 5V AAA...
Page 38: ...MT 1236 12 0755 83692415 83692986 83246594 83247554 400 169 9629 0755 83692143...


