HART Protocol Configuration
ProLinx-HART ♦ ProLinx Gateway
Driver Manual
HART Master with Analog I/O
Page 32 of 104
ProSoft Technology, Inc.
October 13, 2011
3.3.2 HART Command Entry Formats
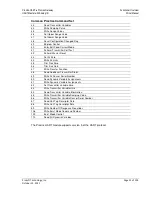
Refer to the Reference (page 41, page 42, page 30) chapter for a complete discussion of
the HART commands supported by the module, and the structure and content of the data
returned for each command.
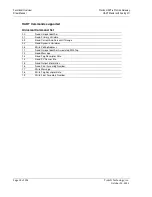
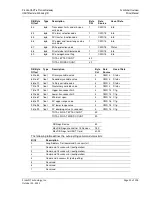
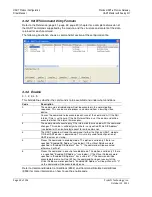
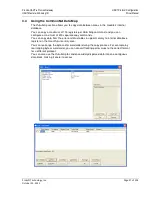
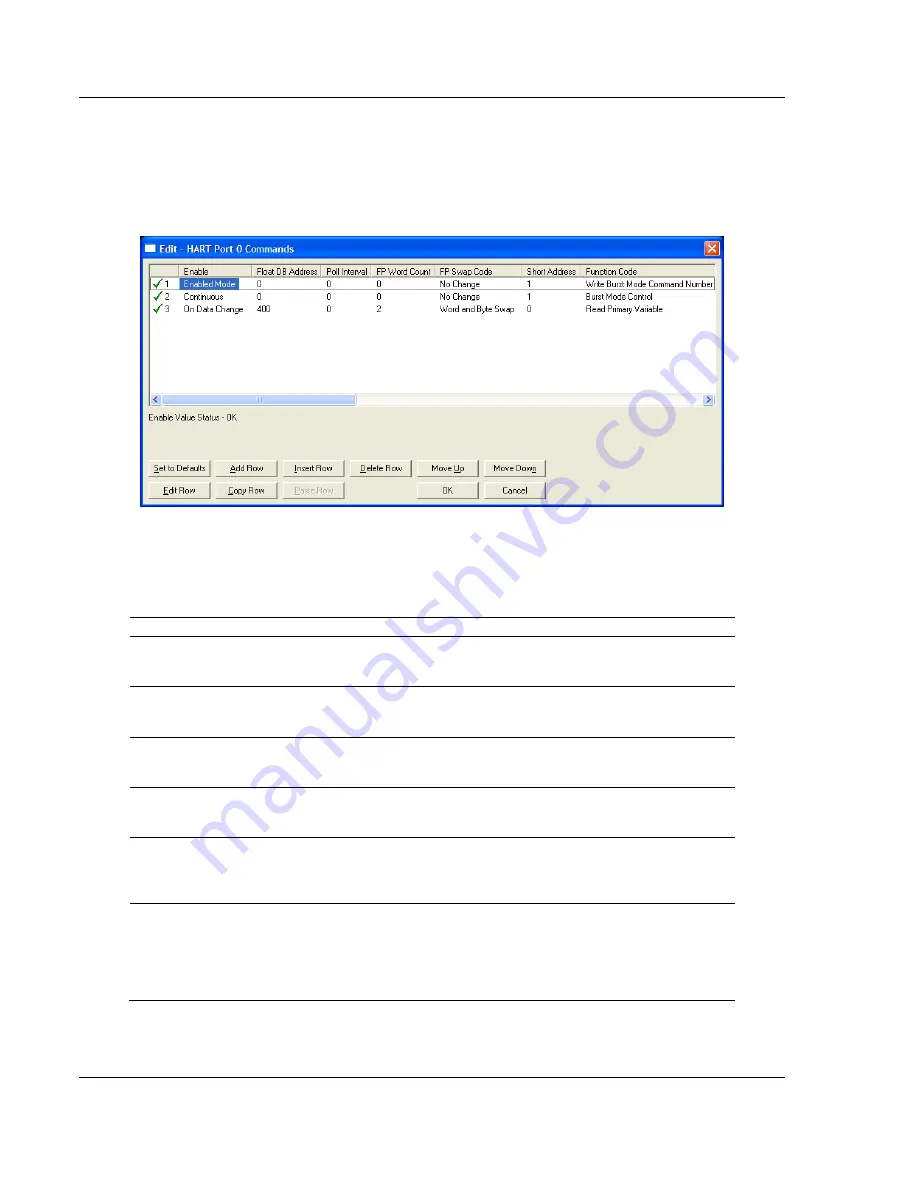
The following illustration shows a command list section of the configuration file:
3.3.3 Enable
0, 1, 2, 3, 4, 5
This field defines whether the command is to be executed and under what conditions.
Code
Description
0
The command is disabled and will not be executed in the normal polling
sequence. This can be used to process a command from a bursting slave
device.
1
Causes the command to be executed each scan of the command list if the Poll
Interval Time is set to zero. If the Poll Interval time is set, the command will be
executed, when the interval timer expires.
2
The command will execute only if the internal data associated with the command
changes. This value is valid only when there is a specified "Write DB Address"
(see below) with a non zero byte count for write commands.
3
The HART module will send the command if either the ProLinx-HART module
OR the HART device is powered up. This is mainly used for configuration of
HART devices on startup.
4
Places the command in enabled mode. This option is valid only if there is a
specified "Enabled DB Address" (see below). If the Virtual Database word
specified in "Enabled DB Address" has "-1" the command will be executed
otherwise it will not.
5
Places the command in one shot enabled mode. This option is valid only if there
is a specified "Enabled DB Address" (see below). If the Virtual Database word
specified in "Enabled DB Address" has a value of "-1" the command will be
executed otherwise it will not. When the command has been successful the
Virtual Database word specified in "Enabled DB Address" will be written with "0",
so the command will be executed only once.
Refer to Command Enable Control Block (9902) and Command Disable Control Block
(9903) for more information on how to use the enable code.

