Disassembly
2 - 6 Removing the Keyboard
2.Disassembly
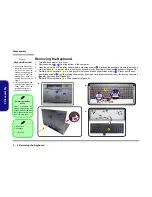
Removing the Keyboard
1.
Turn
off
the computer, turn it over.
2.
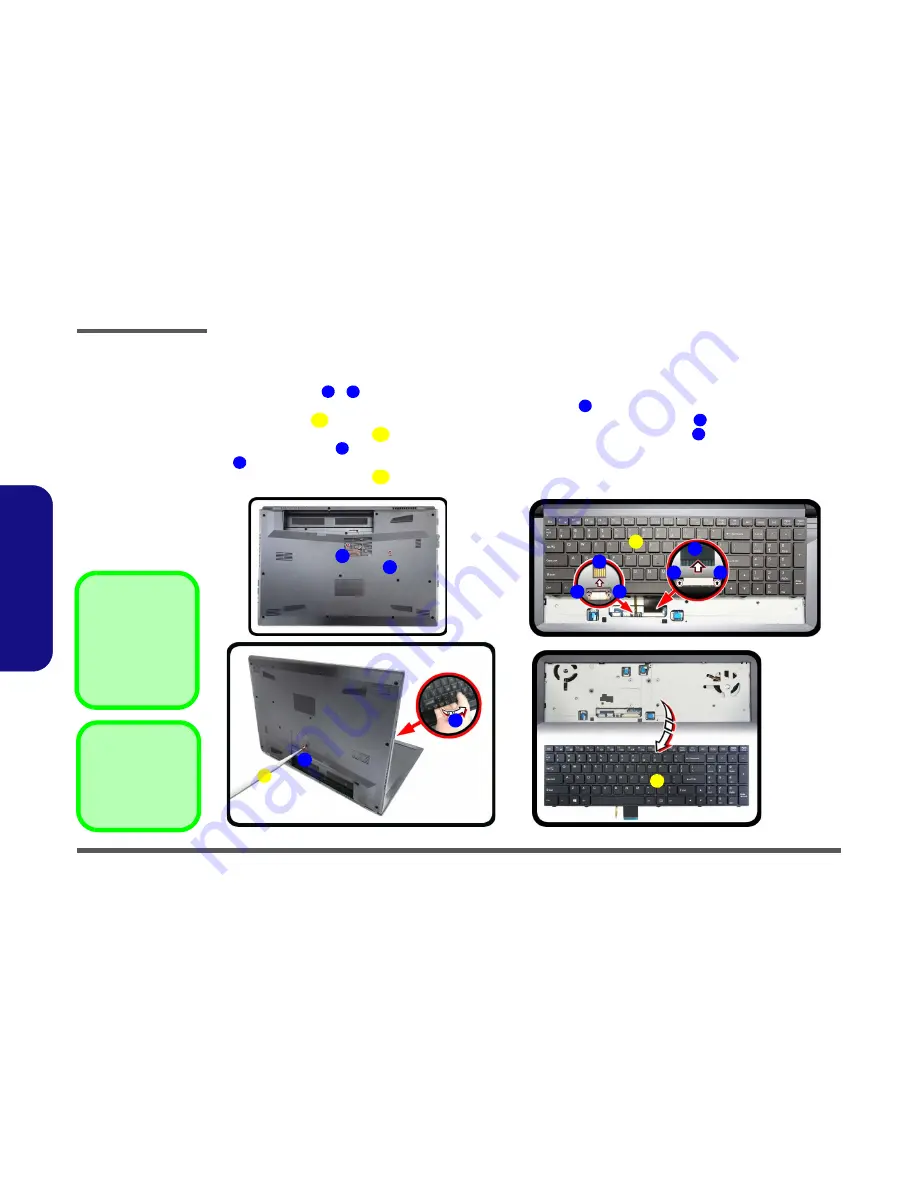
Remove screws
-
from the bottom of the computer.
3.
Open it up with the LCD on a flat surface before pressing at point
to release the keyboard module (use the spe-
cial eject stick
to do this) while releasing the keyboard in the direction of the arrow
as shown (
Figure 2
a
).
4.
Carefully lift the keyboard
up, being careful not to bend the keyboard ribbon cable
. Disconnect the key-
board ribbon cable
from the locking collar socket by using a flat-head screwdriver to pry the locking collar pins
away from the base (
Figure 2b
).
5.
Carefully lift the keyboard
off the computer (
Figure 2c
).
1
2
3
4
5
6
7
7
8
6
a.
b.
1
2
c.
6
3
4
5
6
7
8
8
7
8
8
4. Eject Stick
6. Keyboard
•
2 Screws
Figure 2
Keyboard Removal
a. Remove the screws from
the bottom of the compu-
ter and then eject the
keyboard using a special
eject stick to push the
keyboard out while re-
leasing the keyboard as
shown.
b. Lift the keyboard up and
disconnect the keyboard
ribbon cable from the
locking collar socket.
c. Remove the keyboard.
Re-inserting the Key-
board
When re-inserting the
keyboard firstly, align the
keyboard tabs at the bot-
tom of the keyboard with
the slots in the case.
Summary of Contents for Clevo N870EP6
Page 1: ...N870EP6 N871EP6...
Page 2: ......
Page 3: ...Preface I Preface Notebook Computer N870EP6 N871EP6 Service Manual...
Page 24: ...Introduction 1 12 1 Introduction...
Page 41: ...Top A 3 A Part Lists Top Figure A 1 Top...
Page 42: ...A 4 Bottom A Part Lists Bottom Figure A 2 Bottom...
Page 43: ...Main Board A 5 A Part Lists Main Board Figure A 3 Main Board...
Page 44: ...A 6 HDD A Part Lists HDD Figure A 4 HDD...
Page 45: ...LCD A 7 A Part Lists LCD Figure A 5 LCD...
Page 46: ...A 8 A Part Lists...

