background image

P.14


User Guide 

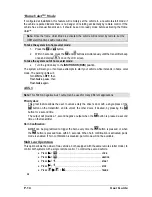
“Home


Valet

TM


Mode


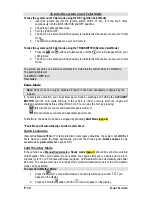
If configured at installation, this feature will remotely set the vehicle to a no-remote-start mode: if 
the vehicle is parked indoors there is no danger of it starting accidentally by remote control. If the 
vehicle has a manual transmission, it should be set into ready mode before activating the Home 
Valet™. 

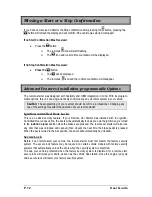
Note: Once the Home Valet Mode is activated, the vehicle will not start by remote, but the 
OEM alarm functions will remain active.  

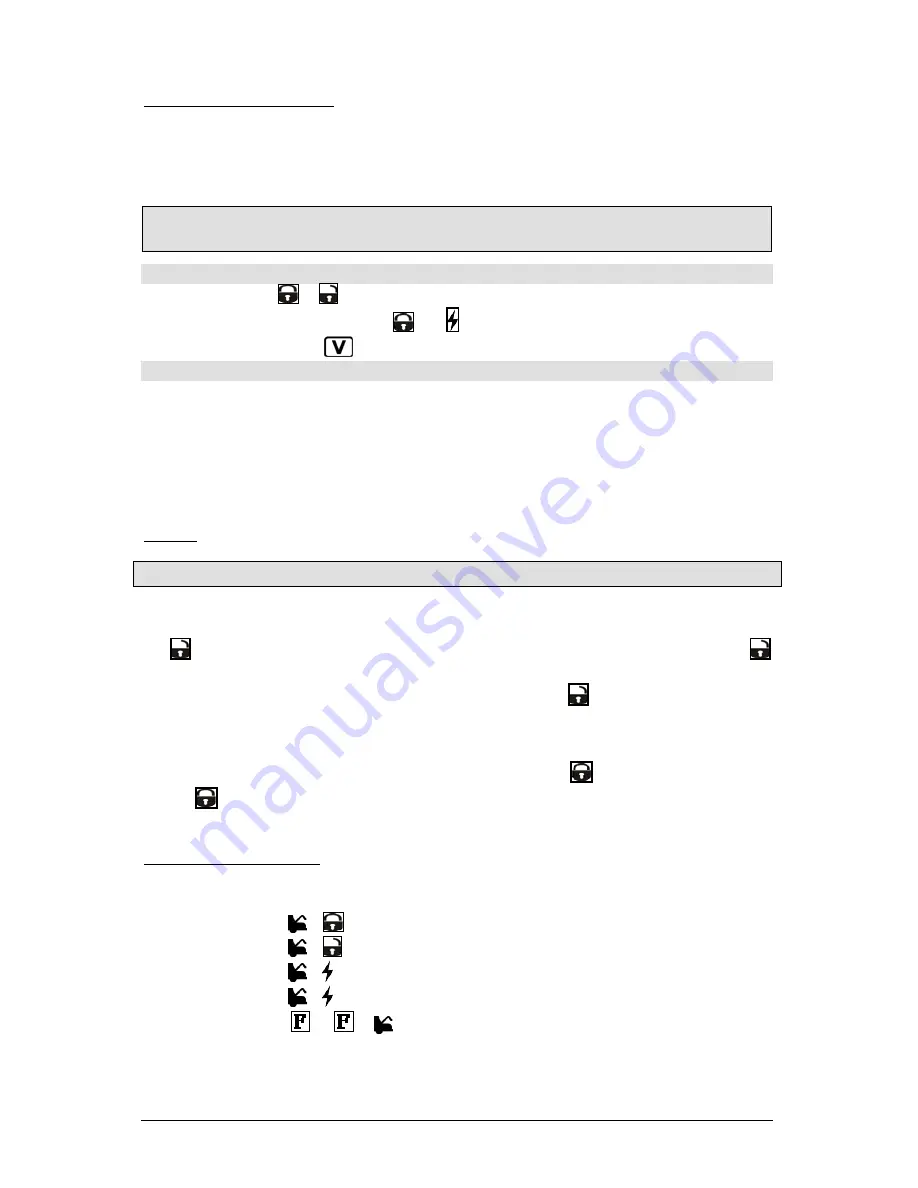
To take the system into home valet mode: 

1.


Press the 

 or   button. 

2.


Within 3 seconds, press the 

 and   buttons simultaneously until the transmitter beep 

once and display 

 icon on the LCD screen. 

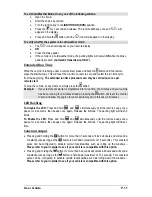
To take the system out of home valet mode: 


Turn the ignition key to the IGNITION ON (RUN) position. 

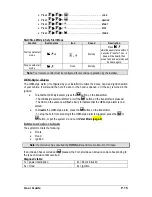
The system will warn you if someone attempts to start your vehicle while it stands in home valet 
mode. The parking lights will: 

Turn ON then OFF; then 
Flash twice, pause; then 
Flash twice again. 

AUX


1


Note: This 500 mA negative Aux 1 output can be used for many different applications


Priority door: 

This great feature allows the user to unlock solely the driver’s door with a single press of the 


button on the transmitter, and to unlock the other doors, if desired, by pressing the 


button for a second time. 
The output will provide a 1-second negative output when the 

 button is pressed a second 

time on the transmitter. 

Horn Confirmation: 

AUX 1 can be programmed to trigger the horn every time the 


button is pressed, or when 

the 


button is pressed twice within 3 seconds. When horn confirmation is activated, panic 

mode is enabled. If horn confirmation is disabled, panic mode will not be available. 

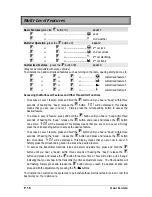
Multi

­

car


Operation


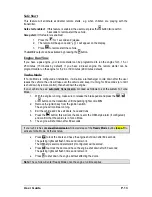
This option allows the owner of two vehicles, both equipped with the same remote starter model, to 
control both systems with a single remote control. To control the second vehicle:  


Press   

: .................................................................. 

LOCK


Press   +  : ................................................................... 

UNLOCK


Press   

: ........................................................................................ START


Press   

:

 ..................................................................... 

STOP 


Press 


¾


 + 

:

 ...................................................... 

TRUNK 

or 

Summary of Contents for CT-3471 TW

Page 1: ...efore servicing A note concerning the battery inside the transmitter Depending on your usage of the transmitter the battery can last anywhere between 3 to 6 months When the battery is low the transmitter will produce two beeps in a repetitive cycle At that point you should replace your battery with a new one That is why we recommend that you keep a spare battery somewhere handy such as the glove c...

Page 2: ...IVING OFF 8 REMOTE STARTER FEATURES 8 REMOTE DOOR LOCKS 8 REMOTE TRUNK RELEASE 8 IDLE MODE 8 VALET MODES 9 PANIC MODE 10 QUICK LOCKOUTTM 10 COLD WEATHER MODE 10 EXTENDED RUN TIME 11 LED FLASHING 11 CONSTANT OUTPUT 11 MISSING A START OR A STOP CONFIRMATION 12 ADVANCED FEATURES INSTALLATION PROGRAMMABLE OPTIONS 12 IGNITION CONTROLLED DOOR LOCKS 12 SECURE LOCK 12 SAFE START 13 ENGINE RUN TIME 13 TURB...

Page 3: ...rs the radio set is able to achieve much better input sensitivity resulting in up to 2 000 feet of operating range Vehicle Presets Heater When leaving the vehicle it is recommended to preset the accessory controls in preparation for the next remote start Settings for the blower motor fan front and rear should not be left on HIGH It is recommended to leave the settings on LOW or MEDIUM instead Wind...

Page 4: ...ux 3 1 beep Trunk output Start see runtime options below Melody Start the engine Stop None Melody Stop the engine Back light On for 5 seconds Press once Cold weather 1 beep See Cold Weather Mode section Remote valet 1 beep See Vale mode section Panic None 1 beep See Panic Mode section Function Button Turns On the backlight For accessing Multi level functions UNLOCK Button Unlocks all Doors and dis...

Page 5: ...te a function or to toggle through the melodies b Press the to decrease the value or to activate or deactivate a function or to toggle through the melodies c To save modifications do not touch any buttons for approx 5 to 10 seconds There will be a beep and the display will return to the time Function Menu Table Function 1 Adjust clock time hour and minutes Function 5 Timer countdown Function 2 Adj...

Page 6: ...figured to Passive Mode Passive mode To arm the Starter Kill press the button on the transmitter OR 1 In Passive Mode the Starter Kill will automatically arm 1 minute by default or 3 minutes if configured this way after the ignition is turned OFF or once the last door is closed if the doors are monitored 2 The LED on the antenna will flash quickly during the countdown preceding the activation of t...

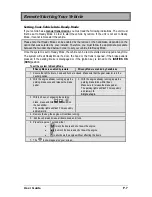
Page 7: ... the ignition key is turned to the IGNITION ON RUN position To set the system to Ready Mode If Ready Mode is enabled by remote If Ready Mode is enabled by handbrake 1 Ensure that all the doors hood and trunk are closed Make sure that the gear selector is in the neutral position 2 With the engine already running apply the parking brake once and release the brake pedal 2 With the engine already runn...

Page 8: ...th the Remote Door Locks option you will have the convenience of remote keyless entry To lock your doors and arm the starter kill if installed 1 Press and hold the button for approx 1 sec 2 The remote will beep once then display the icon to confirm that the doors have been locked To unlock your doors and disarm the starter kill if installed 1 Press and hold the button for approx 1 sec 2 The remote...

Page 9: ...remote starter and alarm functionalities are disabled If the vehicle needs to be serviced or if you park it indoors the Valet Mode will prevent the engine from being remote started accidentally Any of the following features will put your remote car starter into Valet Mode Ignition Valet This feature allows you to put your system into Valet Mode by using the ignition key Remote valet This feature a...

Page 10: ...ng the AUXILIARY BUTTON until the horn starts honking If the vehicle is under a remote start the engine will shutdown automatically before setting off the horn You can stop the horn by pressing this will lock your doors and deactivate panic mode or this will unlock your doors and deactivate panic mode Furthermore the panic mode can be stopped by activating Valet Mode page 9 Panic Mode will automat...

Page 11: ...as been running for 2 minutes already pressing the button will reset the counter to zero and allow the engine to run for another cycle in this case 3 minutes LED flashing To disable the LED Press and hold and simultaneously until the remote beeps once pause for 2 seconds then beeps once again Release the buttons The parking light will flash 3 times To Enable the LED Press and hold and simultaneous...

Page 12: ...ffect the operation of your remote starter Ignition controlled Door Locks This is an added security feature If your Remote Car Starter was installed with the Ignition Controlled Door Locks option the doors will automatically lock as soon as the ignition key is turned to the IGNITION ON RUN position while the brakes are pressed The remote car starter will also lock any door that was unlocked and op...

Page 13: ...t down by remote control then shut down the engine If your vehicle has an automatic transmission proceed as follows to set the system to Turbo Mode 1 With the engine running make sure to release the brake pedal and press the or button on the transmitter until the parking lights come ON 2 Remove the ignition key from the ignition switch The engine will continue running 3 Exit the vehicle and close ...

Page 14: ...t mode The parking lights will Turn ON then OFF then Flash twice pause then Flash twice again AUX 1 Note This 500 mA negative Aux 1 output can be used for many different applications Priority door This great feature allows the user to unlock solely the driver s door with a single press of the button on the transmitter and to unlock the other doors if desired by pressing the button for a second tim...

Page 15: ...the key is turned in the ignition To arm the OEM style alarm press the button on the transmitter The OEM style alarm will ONLY arm if the button on the transmitter is pressed The LED on the antenna will flash slowly to indicate that the OEM style alarm is now armed To disarm the OEM style alarm press the button on the transmitter To stop the horn from sounding if the OEM style alarm is triggered p...

Page 16: ...lease the button and press and release the button once more will be displayed This display means that you are now in Level 2 Simply press the corresponding button to access the desired feature x To access a Level 3 feature press and hold the button until you hear a beep within three seconds of hearing the beep release the button and press and release the button two more times will be displayed Thi...

Page 17: ...needs to press on the button three 3 times followed by the button Troubleshooting Poor Transmitting Range Many factors may affect the operating range of the transmitter Some of these are The condition of the battery in the transmitter The operating environment for example downtown radio frequency noise airports cellular phone towers Metal any type of metal will affect operating range This includes...

Page 18: ...de is deactivated 3 slow Runtime is extended 3 fast Valet mode activated 4 fast Shutdown by brake A remote start was attempted while the brake pedal is engaged 10 fast Shutdown by hood A remote start was attempted while the hood is open ON Î twice Cold weather mode deactivated ON Î 3 times Cold weather mode activated Solid ON Engine is running under remote start Flash for 30 sec Panic mode is trig...

Page 19: ...to the original consumer purchaser only non transferable that it will replace any Directed accessory part for a one year period from date of purchase Accessories will only be replaced if proven defective in material or workmanship and if when the accessory is returned to the point of purchase the retailer is provided with a copy of the proof of purchase THE WARRANTY IS VOID IF 1 The product has be...

Reviews: