Prima IP User Manual Rev 1.5 2007
- -
17
2.5
Prima IP Network Settings
2.5.1 IP Settings
The factory network settings for PRIMA IP are as follows:
IP address: 192.168.1.200
Net mask: 255.255.255.0
Gateway: 192.168.1.254
DNS: 192.168.1.254
Step 1.
Connect your Prima IP to the Ethernet LAN.
Step 2.
Access the Prima IP web management interface by typing the following in the address bar of your
browser window on a remote client:
https://192.168.1.200:5908
Step 3.
Then a login prompt will ask you for the account name the password. Use the default account and
password:
User Name: superuser
Password: superu
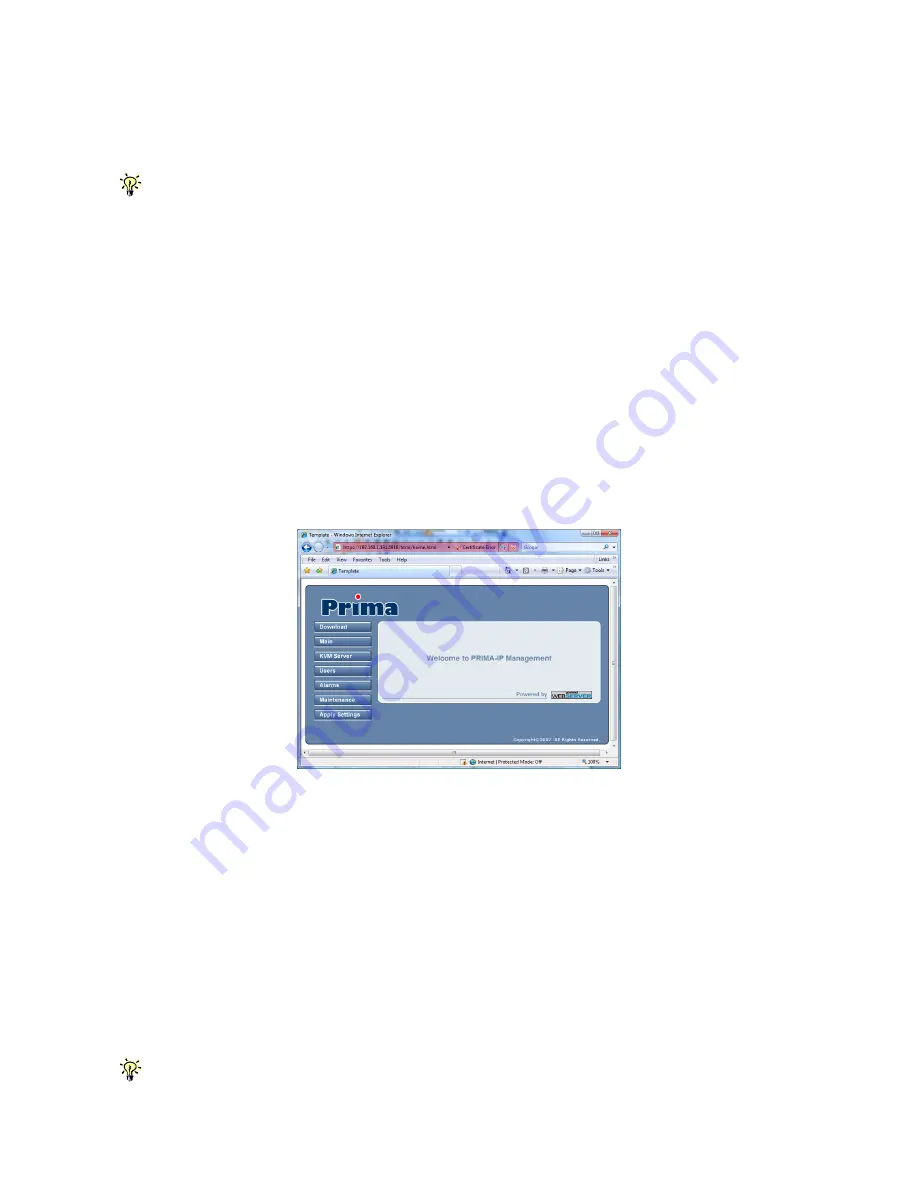
After logging in, you will see the Prima IP Web Browser Management Interface.
Step 4.
Go to the LAN TCP/IP page on the Prima IP Management Interface and modify your IP settings.
Refer to
Section 4.6, Main/TCP/IP Settings – Port and IP Settings.
Step 5
. Apply the new setting by clicking
Apply Settings
.
To verify the Prima IP network connection, try to open the web management Interface using the new IP
address. Note that the IP address should be followed immediately by a colon and the port base +8 for port
number,
https://<IP_address>:<P8>.
For example, if the IP address is 192.168.1.7 and the port base number is 5900, then you should enter
https://192.168.1.7:5908
Remember that it’s a secure SSL encrypted connection, so you should type “https” instead of the
usual “http”. Otherwise, the connection will not be established.


