- 84 -
5.4
Local Console Operations
This section describes each local console command operation of Prima IP and available ways to execute the
command, either by front-panel button, keyboard hotkey sequence or OSD menu option.
Note:
In this section, we call “
bank
” a KVM switch into the daisy chain. For example, Prima IP is
always bank 1, the next KVM is bank 2 and so on. There are 8 banks at the maximum into the daisy
chain.
Note:
In this section, we call “
channel
” a computer port of a KVM into the daisy chain.
5.4.1 Select
PC
5.4.1.1
Front-Panel Button
Press the button corresponding to the computer you want to select.
5.4.1.2
Hotkeys
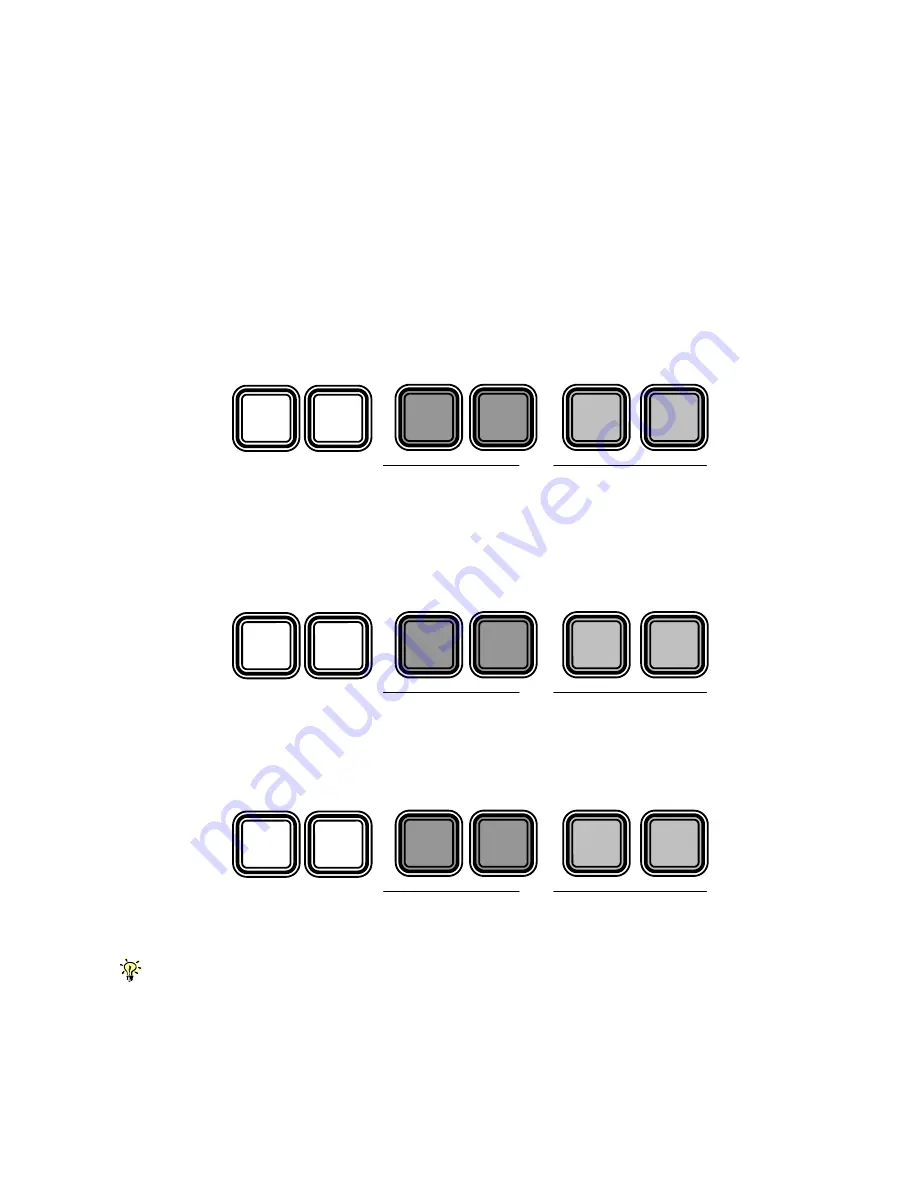
Select PC =
For example, when with a configuration of multiple daisy-chained Prima KVM switches, to select bank 3
port 7, you must press the following keystrokes:
Select PC =
Even when using Prima IP alone, to select port 7, you must first press its bank number 01 and then the port
number 07:
Select PC =
Use the
←
↑
→
↓
cursor keys to navigate. Hit the <Enter> key to select and the <Insert> key to
edit. There are OSD operation tips for your reference on the bottom part of the OSD menu.
5.4.1.3
OSD
To switch to a specific PC using the OSD menu, you have to activate the OSD menu first, Hit <ScrLk> +
<ScrLk> + <Space> to activate the OSD menu. Then use the cursor keys to navigate to the channel you
want and then hit <Enter> to select the PC channel.
Scr
Lk
Scr
Lk
(a)
(b)
(y)
(z)
bank
number
(01 ~ 08)
(01 ~ 16)
port
number
(01 ~ 08)
(01 ~ 16)
Scr
Lk
Scr
Lk
0
3
0
7
bank
number
(03)
port
number
(07)
Scr
Lk
Scr
Lk
0
1
0
7
bank
number
(01)
port
number
(07)


