Introducing OPTALIGN smart RS5 BT
23
3 .3 .4 Sensor LEDs
Activity
Laser beam adjustment and charging LED
Bluetooth communication LED
Switch on
Lights up red for 1 second, then red or green
(depending on the battery capacity) for
another second, then continues to blink red
Lights up blue for 1 second then turns off
Laser beam
adjustment
Blinks red when laser is OFF
Blinks orange when laser is in END position
Blinks green when laser centered or in ‘laser
OK’ position
Blinks blue when scanning and when
Bluetooth communication is established
Charging
Blinks fast green during fast charge (0% -
90%)
Blinks slowly green when charge is > 90%
Lights steady green when charge is 100%
3 .3 .5 Charging the sensor
The sensor may be charged using mains supply or a PC.
Charging the sensor using mains supply is faster than when charging through
a PC.
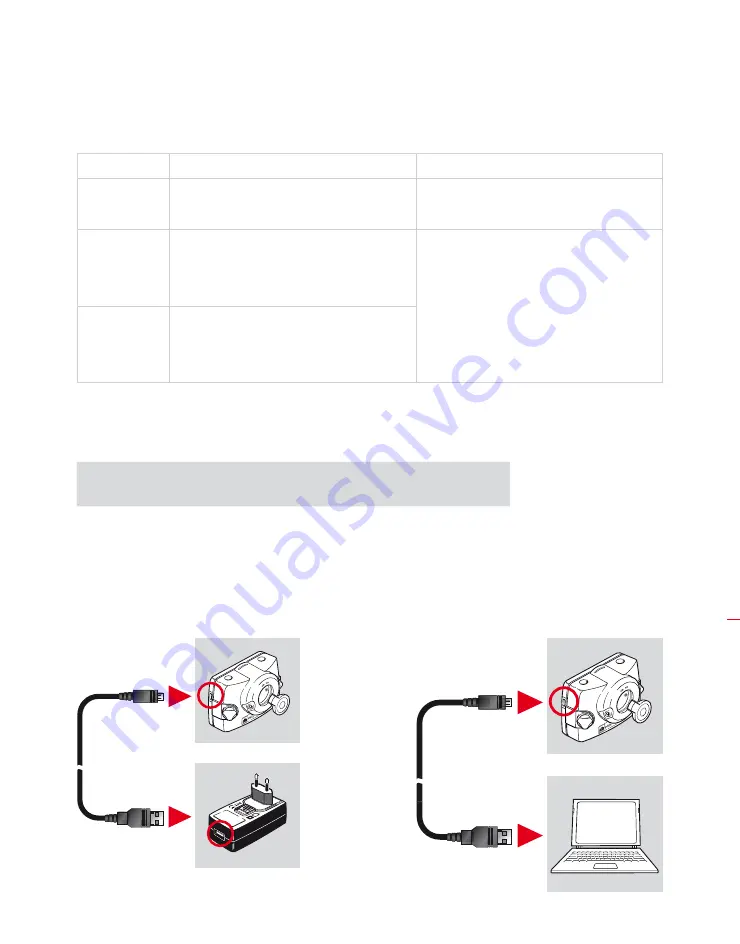
Connect the micro USB cable ALI 3.952 to the sensor then plug the other end of
the micro USB cable to the RS5 BT sensor charger ALI 3.953. Plug the adapter to the
mains. Alternatively, plug the micro USB cable into a USB port on a running computer.
During charging the battery status LED blinks green fast. When the battery capacity
reaches 90% the LED blinks green slowly and lights steady green when fully charged.
H
Note
Charging sensor using
mains supply and charger
Charging sensor through
a PC
ALI 3.952
ALI 3.952
ALI 3.953
Summary of Contents for OPTALIGN smart RS5 BT
Page 10: ...OPTALIGN smart RS5 BT handbook 10 Page intentionally left blank ...
Page 16: ...OPTALIGN smart RS5 BT handbook 16 This page intentionally left blank ...
Page 28: ...OPTALIGN smart RS5 BT handbook 28 Page intentionally left blank ...
Page 38: ...OPTALIGN smart RS5 BT handbook 38 This page intentionally left blank ...
Page 112: ...OPTALIGN smart RS5 BT handbook 112 This page intentionally left blank ...
Page 174: ...OPTALIGN smart RS5 BT handbook 174 This page intentionally left blank ...
Page 194: ...OPTALIGN smart RS5 BT handbook 194 This page intentionally left blank ...


