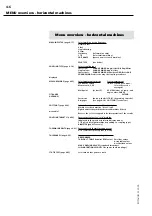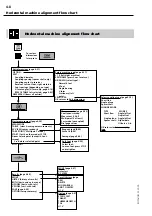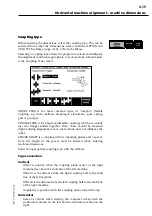
4-11
ROTALIGN 01.2000
2. Mount the brackets
Mount the brackets on either side of the machine coupling, and both
at the same angle.
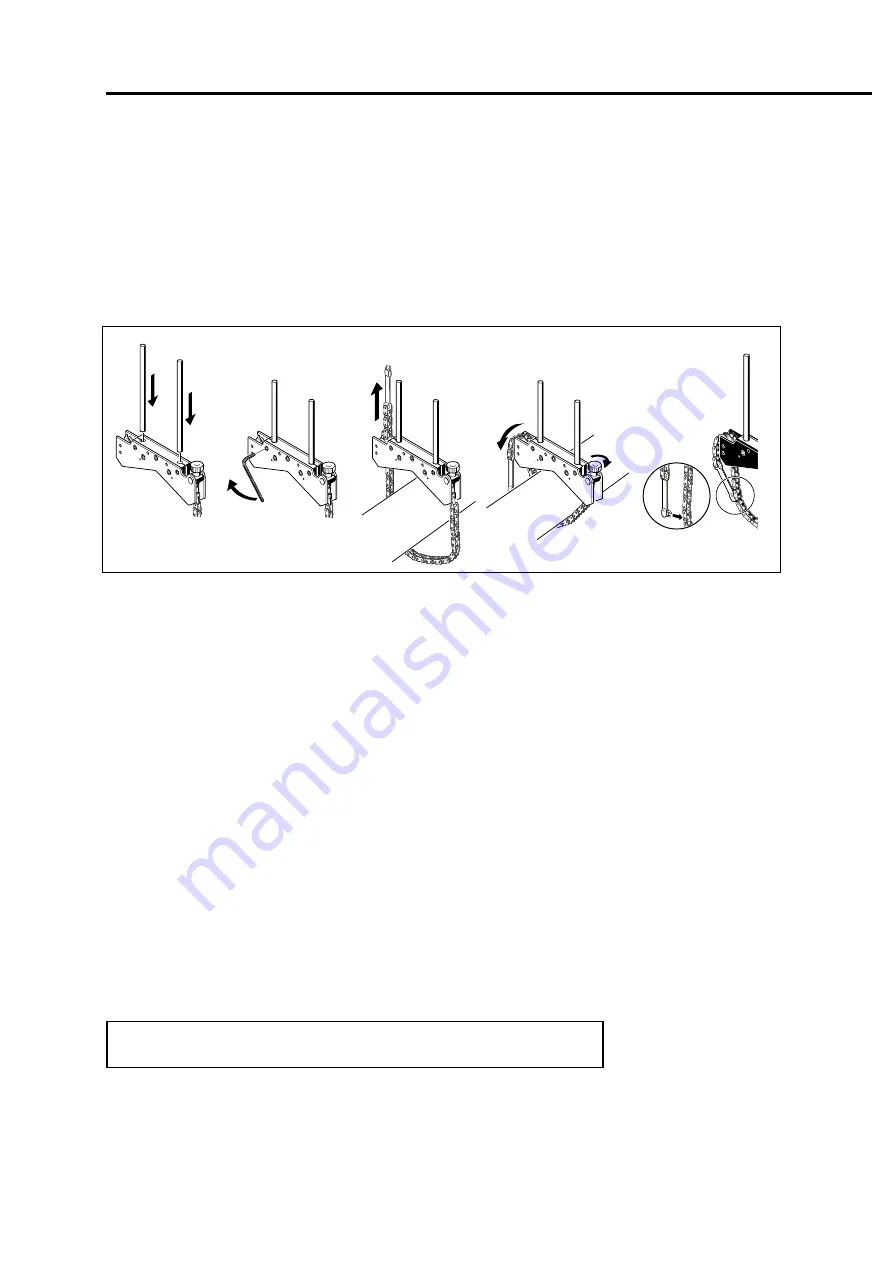
Here is how to fit the compact chain-type brackets:
1.
Choose the shortest support posts which will still allow the laser
beam to pass over the coupling flange. Insert the support posts
into the bracket.
2.
Fasten them in place by tightening the hex screws on the sides of
the bracket frame.
3.
Place the bracket on the shaft or coupling, wrap the chain around
the shaft and feed it through the other side of the bracket: if the
shaft is smaller than the width of the bracket frame, insert the
chain from the inside of the bracket as shown above; if the shaft
is larger than the bracket width, insert the chain into the frame
from the outside.
4.
Catch the chain loosely on the anchor peg.
5.
Turn the bracket thumbscrew to tighten the assembly onto the
shaft.
6.
Small clips are provided to secure the loose ends of the chain
back onto itself.
Now the bracket should be tight upon the shaft. Do not push or pull
on the bracket to check, since that would only loosen its mounting.
Important: The brackets MUST be correctly mounted to ensure
accurate measurements.
To remove the brackets, first loosen the thumbscrew, then remove
the chain from its anchor peg.
Note: the compact chain-type brackets cover most situations, but in
cramped or special cases, others may be required, see pages 6-18 -
6-22. If one or both sides of the coupling cannot be rotated, you will
require the sliding magnetic brackets, pages 4-36 and 6-18.
Note: Tighten the support posts
into the bracket first! Otherwise
this may be difficult once the
bracket is mounted on the shaft.
1
2
3
4
5
6
F
Note
Horizontal machine alignment - mount the brackets
Summary of Contents for ROTALIGN ALI 3.500
Page 13: ...1 10 ROTALIGN 01 2000 This page intentionally left blank ...
Page 103: ...4 66 ROTALIGN 01 2000 This page intentionally left blank ...
Page 121: ...5 18 ROTALIGN 01 2000 This page intentionally left blank ...
Page 143: ...6 22 ROTALIGN 01 2000 This page has intentionally been left blank ...
Page 158: ...6 37 ROTALIGN 01 2000 This page intentionally left blank ...


