103
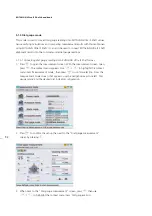
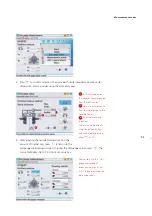
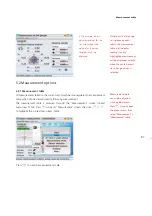
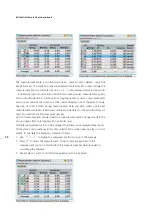
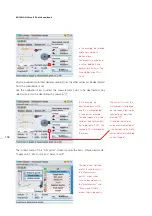
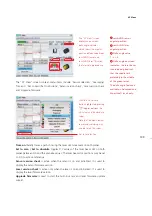
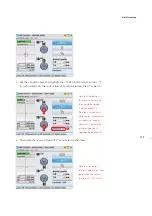
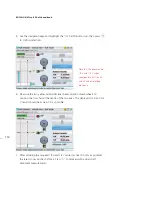
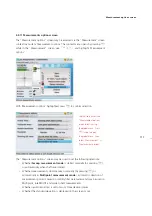
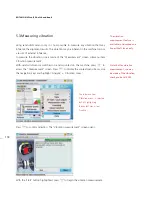
The measurement with the label ‘After changing user’ is measurement no. 1
(with check mark) on the measurement table. Use
i
/
h
to horizontally scroll the
measurement table.
5.2.5 Edit raw data
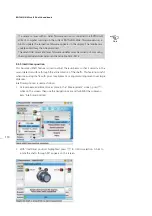
To improve the quality of the alignment results, it may be necessary to edit
measurement data that is suspect or was affected by external circumstances.
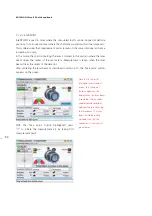
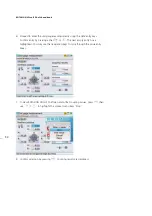
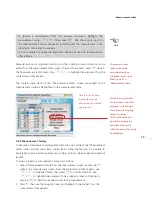
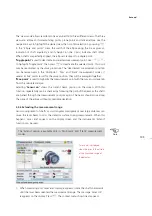
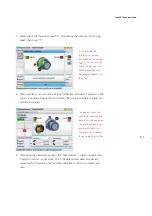
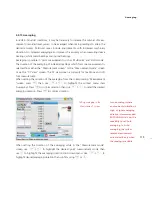
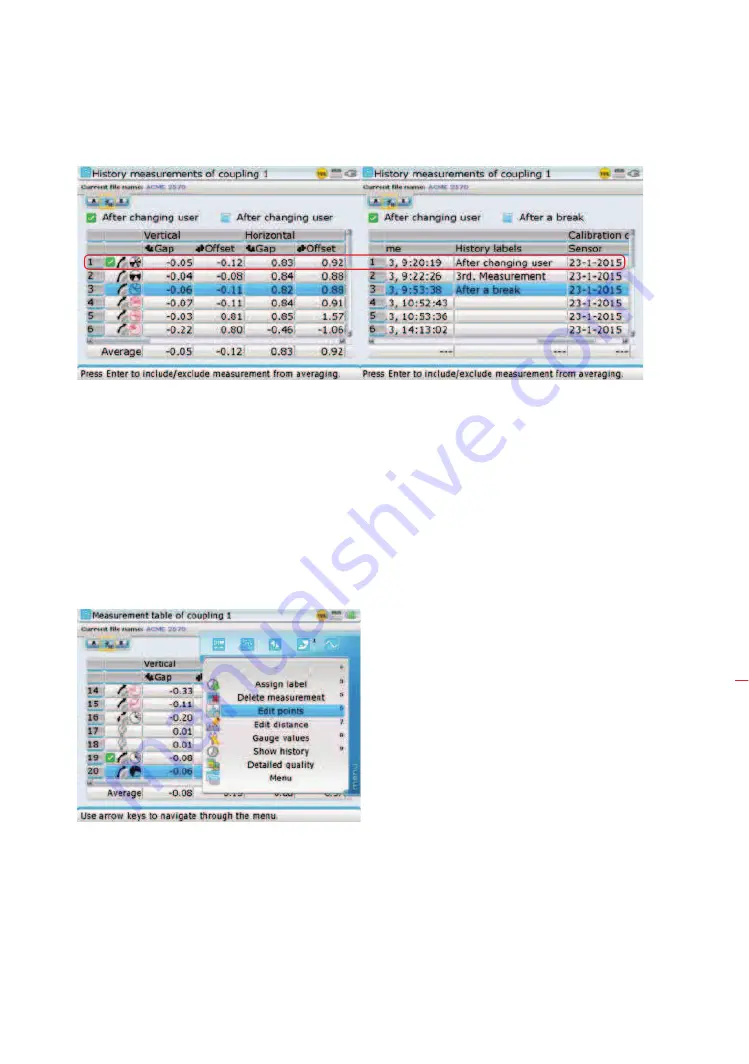
After completion of measurement, use the “Measurement screen” context menu item
‘Stop + table’ to access the measurement table. With the particular measurement
highlighted, press
q
then use
f
/
g
to highlight the menu item ‘Edit points’.
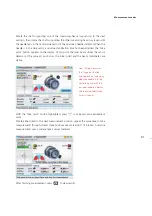
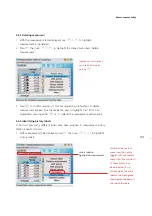
Press
e
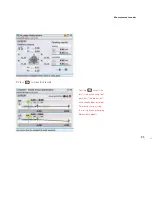
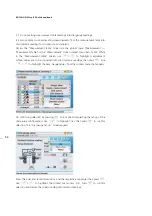
to view and edit ellipse points.
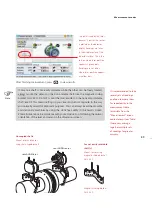
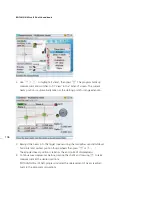
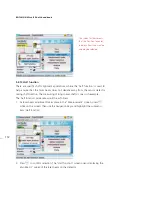
The measurement table
may also be accessed via
the global menu. Access
the global menu by
pressing
q
twice then
select ‘Measurement’ ->
‘Measurement table’.
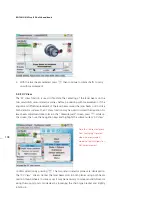
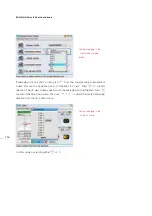
Note that the points
displayed on the “Edit
points” screen are for the
highlighted measurement
(in this case, the blue cursor
is on measurement no.
20) and not the checked
measurement.
Raw data
Summary of Contents for ROTALIGN Ultra iS
Page 1: ...ROTALIGN Ultra iS Operating handbook Shaft alignment...
Page 11: ...ROTALIGN Ultra iS Shaft handbook 10 This page intentionally left blank...
Page 56: ...55 Horizontal shaft alignment 1 2 4 5 6...
Page 123: ...ROTALIGN Ultra iS Shaft handbook 122 Page intentionally left blank...
Page 141: ...ROTALIGN Ultra iS Shaft handbook 140 This page intentionally left blank...
Page 177: ...ROTALIGN Ultra iS Shaft handbook 176 Page intentionally left blank...
Page 207: ...ROTALIGN Ultra iS Shaft handbook 206 Page intentionally left blank...
Page 213: ...ROTALIGN Ultra iS Shaft handbook 212 Declaration of conformity...

