ROTALIGN Ultra iS Shaft handbook
120
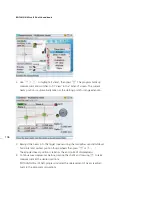
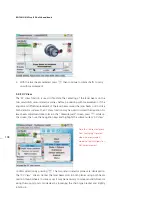
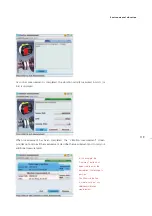
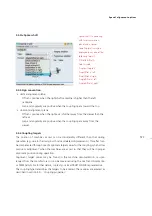
The three buttons are also available as context menu items in the “Vibration
measurement” screen.
5.3.1 Using the vibration check probe
The above vibration velocity measurement may also be carried out using the vibration
check probe ALI 4.905.
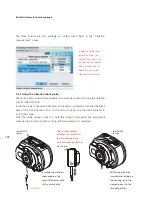
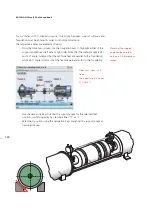
Insert the probe in the sensALIGN sensor hole with a countersink such that the black
base of the probe tip rests firmly on the sensor housing. Use the clamping lever to
lock in the probe.
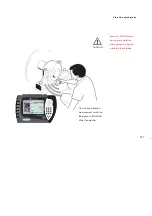
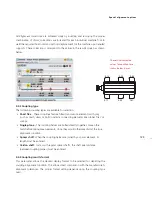
With the probe securely locked in, hold the probe firmly against the appropriate
measurement location on the machine until measurement is completed.
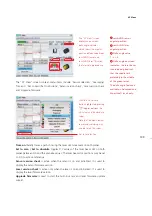
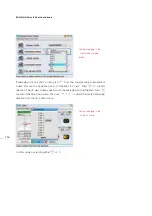
In addition to the three
button functions, the
context menu items also
include the item ‘Delete’
which may be used to
delete any unwanted
vibration measurement.
PRÜFTECHNIK
OP
EN
PRÜFTECHNIK
OP
EN
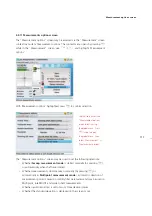
Inserting the vibration
check probe in the
sensALIGN sensor hole
with a countersink
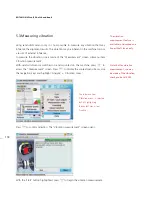
With the probe fully
inserted and resting on
the housing, push the
clamping lever to the
‘locked’ position.
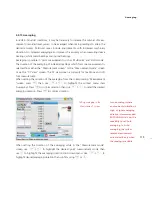
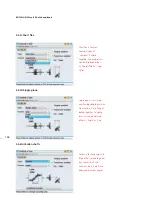
The sinusoid symbol
indicates the sensALIGN
sensor hole where the
vibration check probe is to
be inserted.
ALI 4.905
sensALIGN
sensor
sensALIGN
sensor
Summary of Contents for ROTALIGN Ultra iS
Page 1: ...ROTALIGN Ultra iS Operating handbook Shaft alignment...
Page 11: ...ROTALIGN Ultra iS Shaft handbook 10 This page intentionally left blank...
Page 56: ...55 Horizontal shaft alignment 1 2 4 5 6...
Page 123: ...ROTALIGN Ultra iS Shaft handbook 122 Page intentionally left blank...
Page 141: ...ROTALIGN Ultra iS Shaft handbook 140 This page intentionally left blank...
Page 177: ...ROTALIGN Ultra iS Shaft handbook 176 Page intentionally left blank...
Page 207: ...ROTALIGN Ultra iS Shaft handbook 206 Page intentionally left blank...
Page 213: ...ROTALIGN Ultra iS Shaft handbook 212 Declaration of conformity...

