157
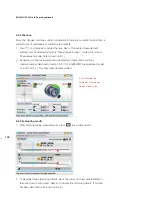
6.3.3 Set-up
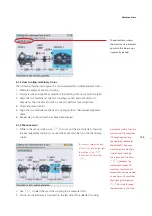
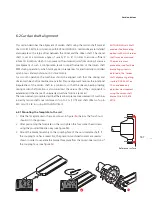
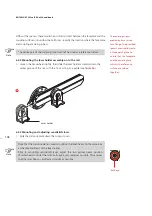
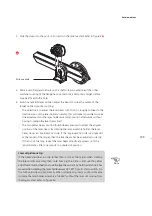
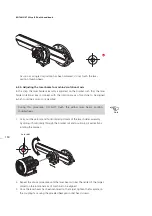
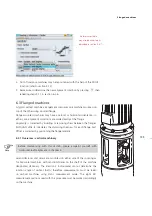
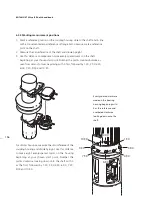
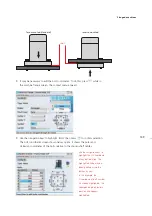
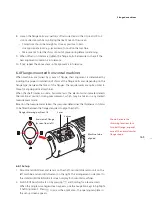
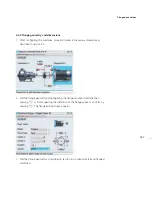
1. Mount sensALIGN laser and sensALIGN sensor on either side of the coupling,
ensuring that they are aligned exactly with the 0 or reference mark.
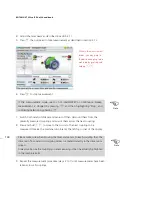
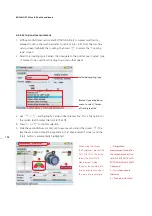
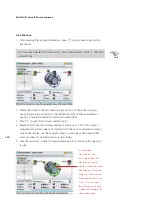
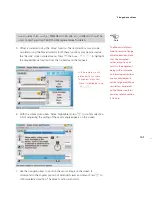
2. Switch ROTALIGN Ultra iS on, then start the shaft alignment application. When
the dimensions screen appears, press
q
twice to open the global menu.
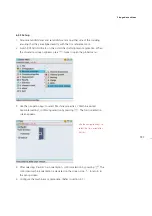
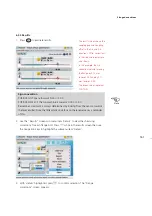
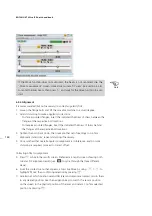
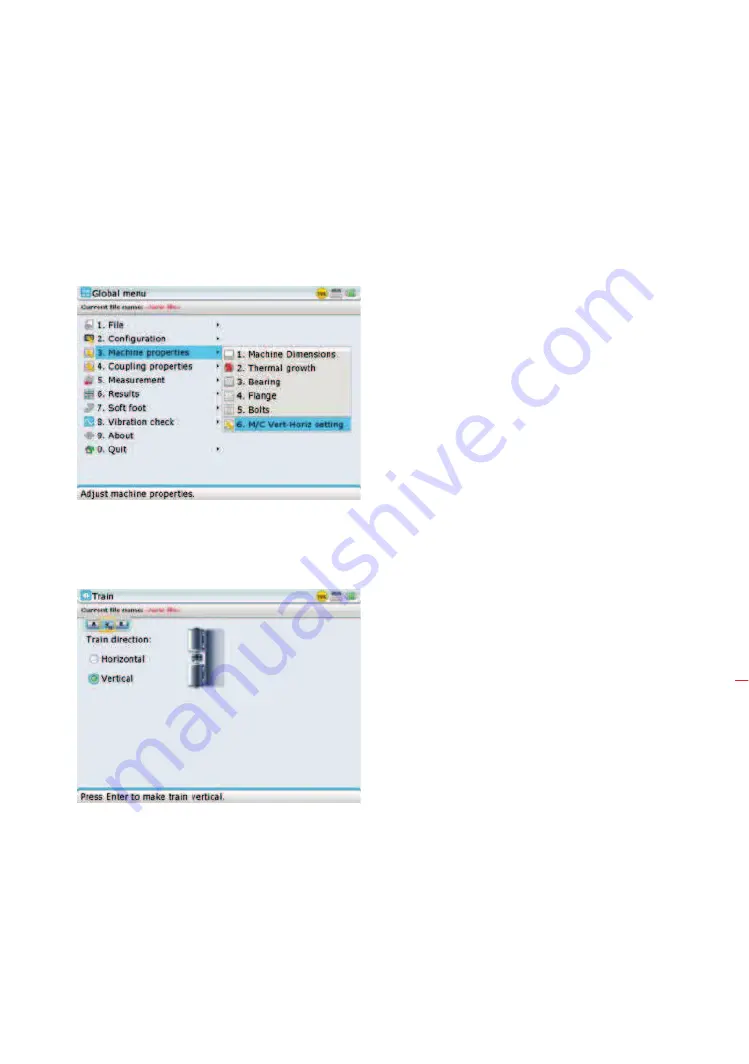
3. Use the navigation keys to select ‘Machine properties’ / ‘Machine vertical-
horizontal setting’, confirming selection by pressing
e
. The train orientation
screen appears.
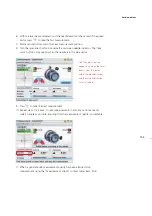
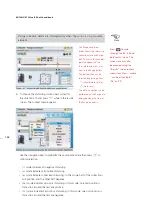
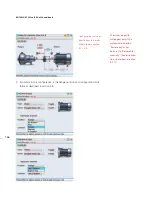
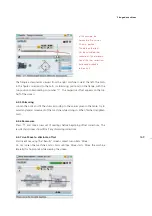
4. After selecting ‘Vertical’ train orientation, confirm selection by pressing
e
. The
confirmed machine orientation is depicted on the screen. Use
ß
to return to
the set-up screen.
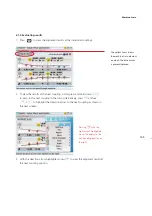
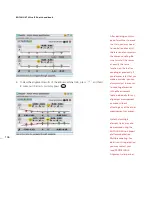
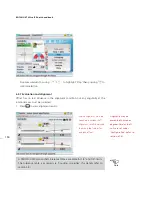
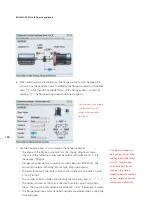
5. Configure the machines as appropriate. (Refer to section 4.7.)
Use the navigation keys to
select the train orientation
‘Vertical’.
Flanged machines
Summary of Contents for ROTALIGN Ultra iS
Page 1: ...ROTALIGN Ultra iS Operating handbook Shaft alignment...
Page 11: ...ROTALIGN Ultra iS Shaft handbook 10 This page intentionally left blank...
Page 56: ...55 Horizontal shaft alignment 1 2 4 5 6...
Page 123: ...ROTALIGN Ultra iS Shaft handbook 122 Page intentionally left blank...
Page 141: ...ROTALIGN Ultra iS Shaft handbook 140 This page intentionally left blank...
Page 177: ...ROTALIGN Ultra iS Shaft handbook 176 Page intentionally left blank...
Page 207: ...ROTALIGN Ultra iS Shaft handbook 206 Page intentionally left blank...
Page 213: ...ROTALIGN Ultra iS Shaft handbook 212 Declaration of conformity...

