ROTALIGN
®
Ultra iS Shaft handbook
164
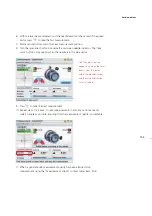
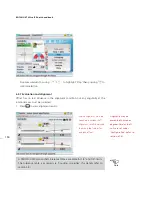
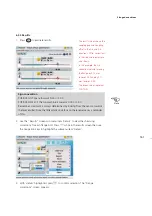
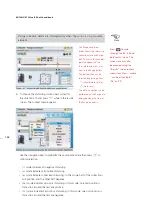
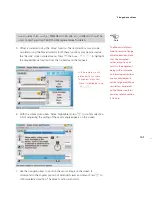
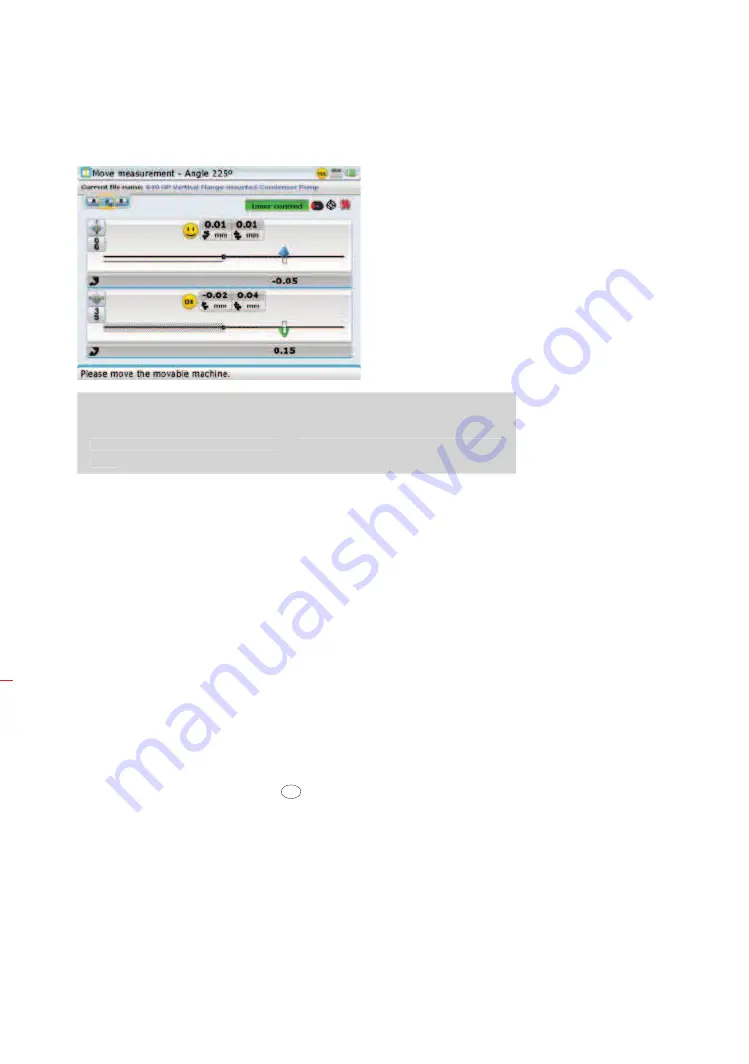
If the Move function does not auto start, the beam is not centered. Use the
“Move measurement” screen context menu item ‘XY view’ (see section 5.2.8)
to center the laser beam, then press
ß
and wait for the Move function to auto
start.
6.3.6 Alignment
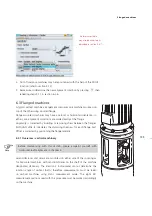
It is recommended (but not necessary) to correct angularity first:
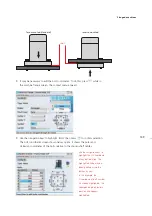
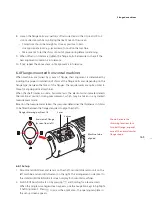
1. Loosen the flange bolts and lift the movable machine to a small degree.
2. Adjust shimming to make angularity corrections:
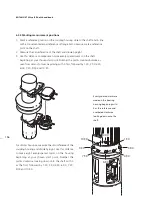
› For face-mounted flanges, insert the indicated thickness of shims between the
flanges at the respective bolt locations.
› For reverse-mounted flanges, insert the indicated thickness of shims behind
the flanges at the respective bolt locations.
3. Tighten the bolts back down, then take another set of readings to confirm
alignment corrections; repeat shimming if necessary.
4. Once satisfied that overall angular misalignment is in tolerance, and no more
shimming is required, proceed to correct offset.
Correcting offset misalignment:
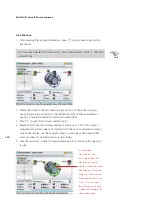
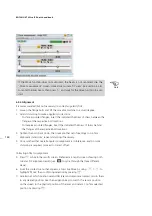
5. Press
q
while in the results screen. Preferred is a results screen showing both
0-6 and 9-3 alignment results [use
RES
to cycle through the three different
views].
6. From the context menu that appears, access live Move by using
f
/
g
to
highlight ‘Move’ then confirming selection by pressing
e
.
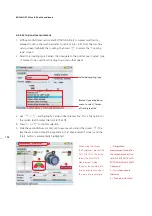
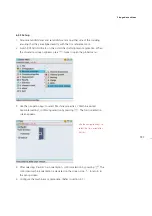
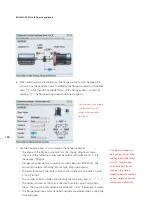
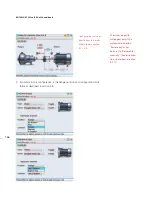
7. Ascertain at which position sensALIGN laser and sensor are located or turn them
to any desired position. Use the navigation keys to match the sensor position
on the screen to the physical position of the laser and sensor. Confirm selected
position by pressing
e
.
Note
If the Move function does not auto start, the beam is not centered. Use the
“Move measurement” screen context menu item ‘XY view’ (see section 5.2.8)
to center the laser beam, then press
ß
and wait for the Move function to auto
start.
Summary of Contents for ROTALIGN Ultra iS
Page 1: ...ROTALIGN Ultra iS Operating handbook Shaft alignment...
Page 11: ...ROTALIGN Ultra iS Shaft handbook 10 This page intentionally left blank...
Page 56: ...55 Horizontal shaft alignment 1 2 4 5 6...
Page 123: ...ROTALIGN Ultra iS Shaft handbook 122 Page intentionally left blank...
Page 141: ...ROTALIGN Ultra iS Shaft handbook 140 This page intentionally left blank...
Page 177: ...ROTALIGN Ultra iS Shaft handbook 176 Page intentionally left blank...
Page 207: ...ROTALIGN Ultra iS Shaft handbook 206 Page intentionally left blank...
Page 213: ...ROTALIGN Ultra iS Shaft handbook 212 Declaration of conformity...

