ROTALIGN
®
Ultra iS Shaft handbook
168
6.4.3 Measure
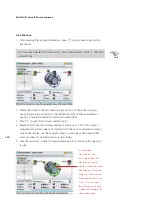
Since the flanged machines under consideration here are mounted horizontally, a
wider choice of measurement methods are available.
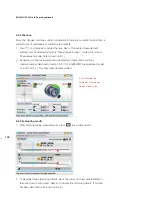
1. Press
m
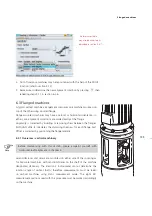
and proceed to center the laser beam. The desired measurement
method may be selected using the “Measurement screen” context menu item
‘Measurement mode’ (refer to section 5.1).
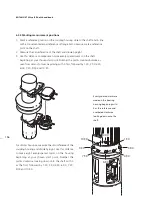
2. Depending on the measurement mode selected, rotate shafts and take
measurement as described in section 4.12 (for intelliSWEEP measurement mode)
or in section 5.1 ( for other measurement modes).
6.4.4 Evaluating results
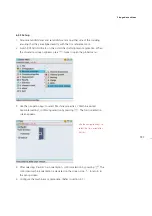
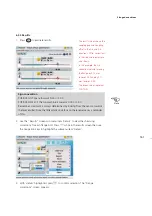
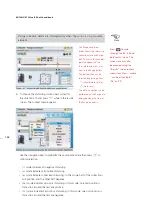
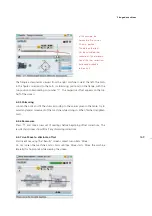
1. After finishing taking measurements, press
RES
to evaluate results.
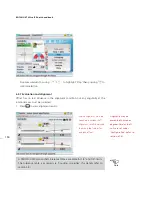
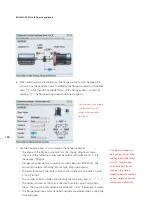
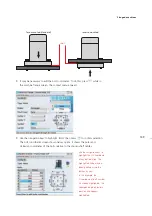
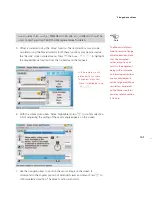
2. To view the flange shimming details, place the cursor on the movable element,
then use the sub menu item ‘Details’ to display the shimming details. (This step
has been described fully in section 6.3.5.)
In this example, the
Multipoint measurement
mode has been used.
Summary of Contents for ROTALIGN Ultra iS
Page 1: ...ROTALIGN Ultra iS Operating handbook Shaft alignment...
Page 11: ...ROTALIGN Ultra iS Shaft handbook 10 This page intentionally left blank...
Page 56: ...55 Horizontal shaft alignment 1 2 4 5 6...
Page 123: ...ROTALIGN Ultra iS Shaft handbook 122 Page intentionally left blank...
Page 141: ...ROTALIGN Ultra iS Shaft handbook 140 This page intentionally left blank...
Page 177: ...ROTALIGN Ultra iS Shaft handbook 176 Page intentionally left blank...
Page 207: ...ROTALIGN Ultra iS Shaft handbook 206 Page intentionally left blank...
Page 213: ...ROTALIGN Ultra iS Shaft handbook 212 Declaration of conformity...

