59
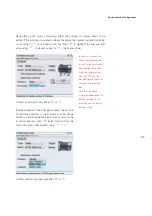
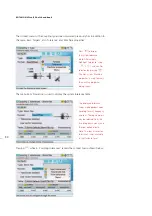
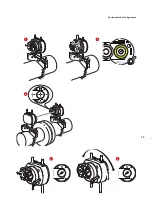
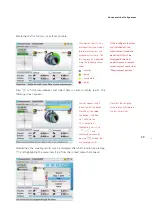
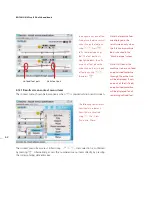
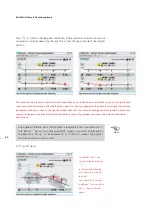
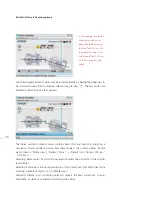
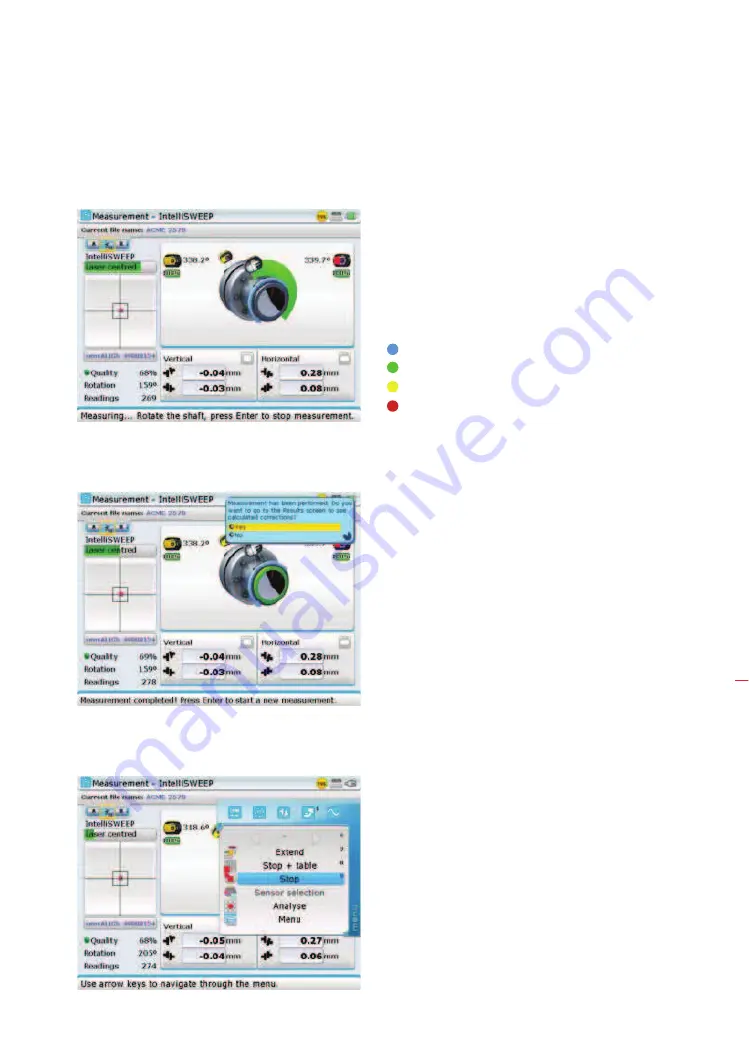
Rotate the shafts a full turn, or as far as possible.
Press
e
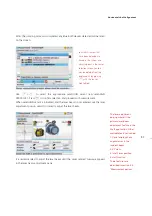
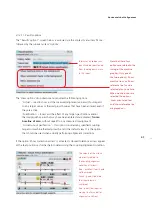
to finish measurement and collect data in order to display results. The
following screen appears.
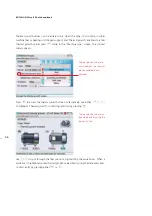
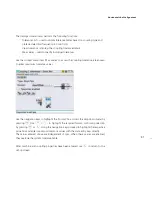
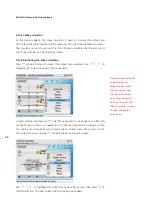
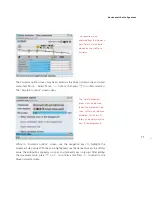
Alternatively, the coupling results may be displayed after shaft rotation by pressing
q
and highlighting the menu item ‘Stop’ from the context menu that appears.
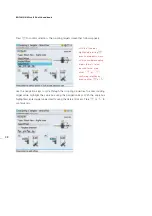
If the intelligent features
are switched off, the
measurement standard
deviation (SD) will be
displayed if selected
under the measurement
screen context menu item
‘Measurement options’.
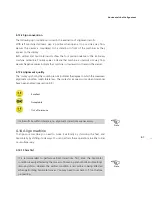
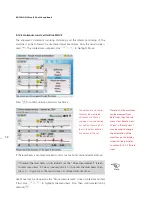
Measurement quality is an
intelligent feature based on
several measurement and
environmental criteria. The
resulting quality is depicted
using the following colour
codes:
— excellent
— good
— acceptable
— poor
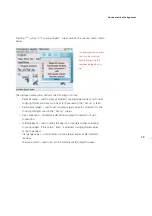
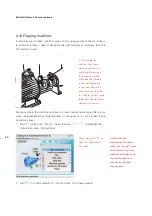
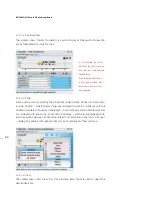
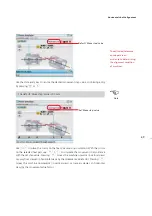
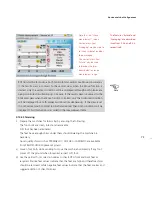
The hint appears only if
the customization option
‘Workflow’ is enabled.
The option is selected
via ‘Configuration’-
>’Customization’.
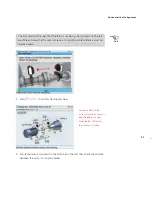
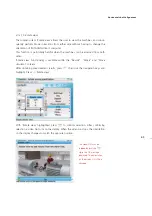
Highlighting ‘Yes’ using
f
/
g
and
confirming selection by
pressing
e
, displays feet
and coupling results.
Note that the coupling
values presently displayed
are real-time values.
Horizontal shaft alignment
Summary of Contents for ROTALIGN Ultra iS
Page 1: ...ROTALIGN Ultra iS Operating handbook Shaft alignment...
Page 11: ...ROTALIGN Ultra iS Shaft handbook 10 This page intentionally left blank...
Page 56: ...55 Horizontal shaft alignment 1 2 4 5 6...
Page 123: ...ROTALIGN Ultra iS Shaft handbook 122 Page intentionally left blank...
Page 141: ...ROTALIGN Ultra iS Shaft handbook 140 This page intentionally left blank...
Page 177: ...ROTALIGN Ultra iS Shaft handbook 176 Page intentionally left blank...
Page 207: ...ROTALIGN Ultra iS Shaft handbook 206 Page intentionally left blank...
Page 213: ...ROTALIGN Ultra iS Shaft handbook 212 Declaration of conformity...

