61
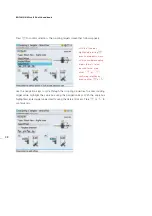
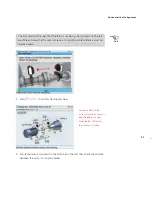
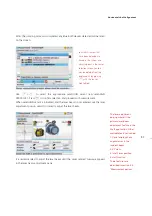
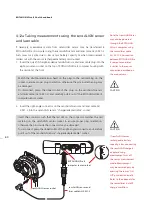
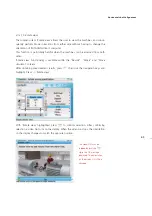
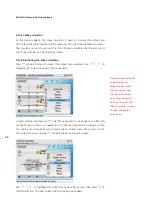
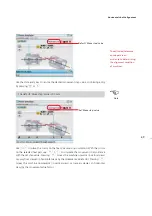
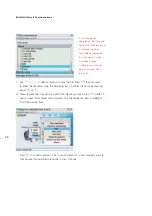
3. Use the “Measurement screen” context menu item ‘Sensor selection’ to set
the mode in which measurement data is transferred from sensALIGN sensor to
ROTALIGN Ultra iS computer.
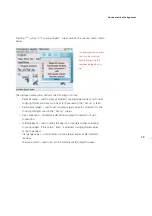
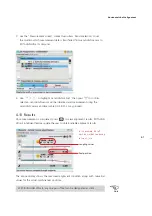
4. Use
f
/
g
to highlight ‘sensALIGN cable 1’ then press
e
to confirm
selection. sensALIGN sensor will be initialized and measurement using the
sensALIGN sensor and laser cable ALI 4.921-2 may proceed.
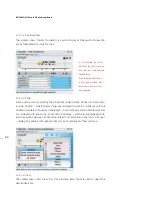
4.13 Results
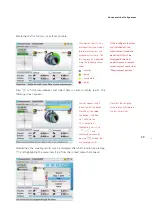
Once measurement is completed, press
RES
to view alignment results. ROTALIGN
Ultra iS intelligent features guide the user to obtain reliable alignment results.
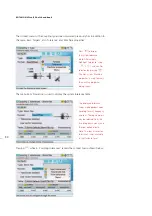
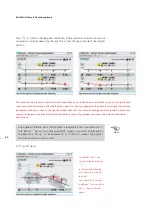
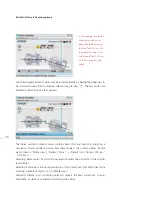
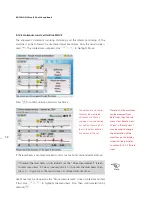
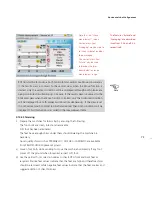
The above display shows the measured alignment condition along with numerical
values for the actual machine feet positions.
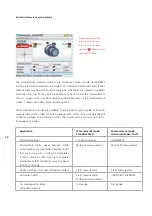
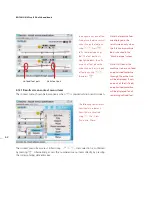
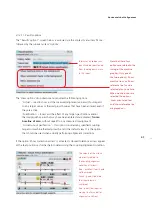
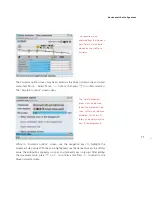
With ROTALIGN Ultra iS, any one pair of feet can be designated as static.
In this example, the left
machine was defined during
set-up as static.
Note
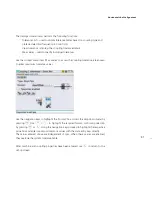
With ROTALIGN Ultra iS, any one pair of feet can be designated as static.
Horizontal shaft alignment
Coupling values
Feet position
Summary of Contents for ROTALIGN Ultra iS
Page 1: ...ROTALIGN Ultra iS Operating handbook Shaft alignment...
Page 11: ...ROTALIGN Ultra iS Shaft handbook 10 This page intentionally left blank...
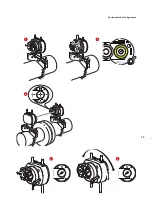
Page 56: ...55 Horizontal shaft alignment 1 2 4 5 6...
Page 123: ...ROTALIGN Ultra iS Shaft handbook 122 Page intentionally left blank...
Page 141: ...ROTALIGN Ultra iS Shaft handbook 140 This page intentionally left blank...
Page 177: ...ROTALIGN Ultra iS Shaft handbook 176 Page intentionally left blank...
Page 207: ...ROTALIGN Ultra iS Shaft handbook 206 Page intentionally left blank...
Page 213: ...ROTALIGN Ultra iS Shaft handbook 212 Declaration of conformity...


