


Summary of Contents for i3 MK2.5S Multi Material Upgrade 2S
Page 1: ...ENG ...
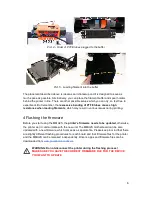
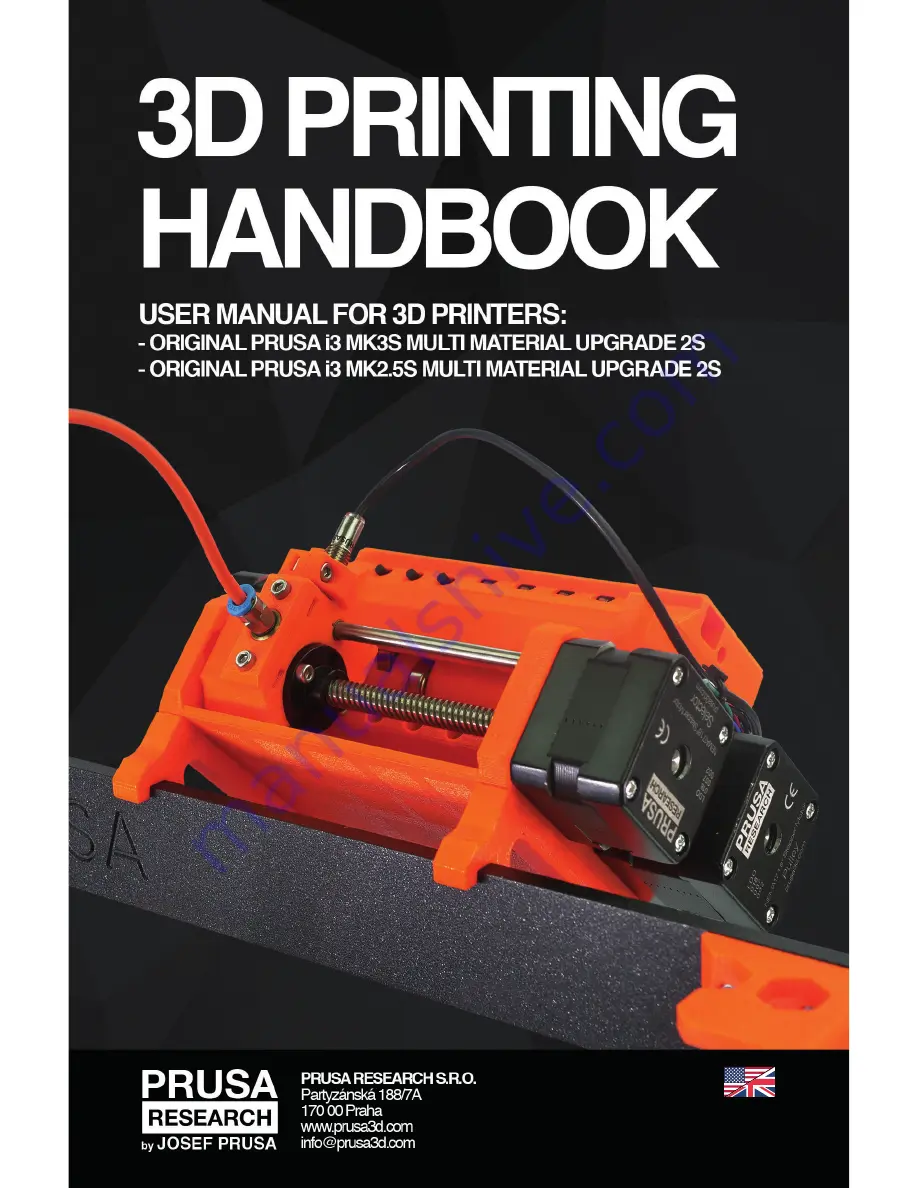
The Prusa Research i3 MK2.5S Multi Material Upgrade 2S is an innovative 3D printing upgrade that allows users to print with multiple materials simultaneously. Experience seamless creations with this cutting-edge product by following the step-by-step instructions provided in the free User Manual, available for download at our website.
Page 1: ...ENG ...


