


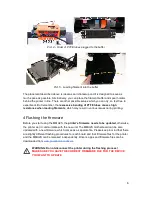


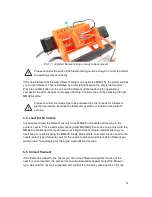


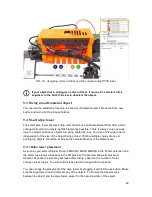


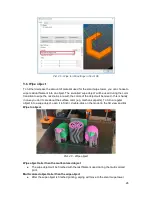

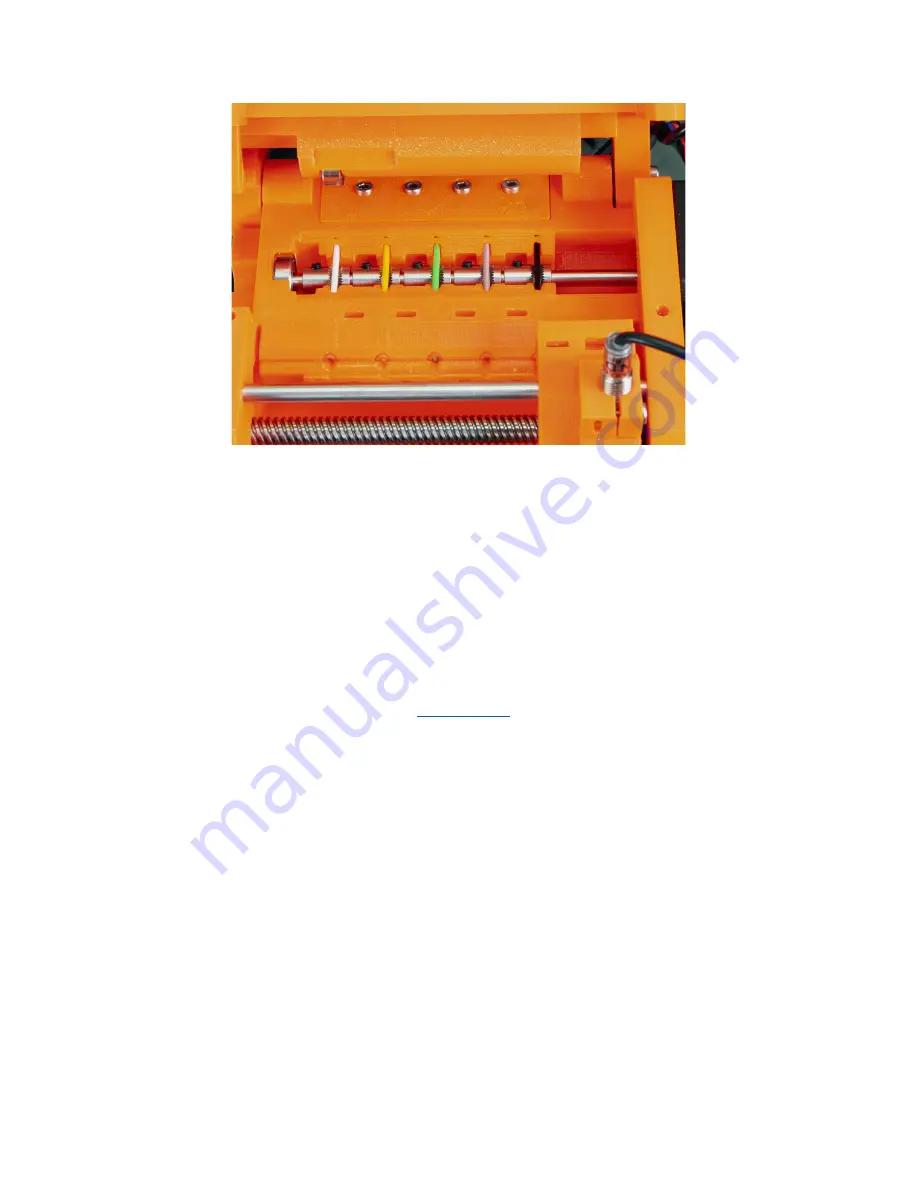
Pict. 10 - Inside of the MMU2S unit with properly loaded filament
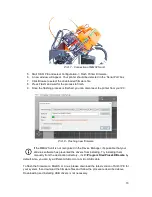
If you want to verify proper load of all five filaments before print, select
LCD Menu - Load
filament - Load all.
The MMU2S unit should quickly try loading and unloading all 5 filaments
one after another without any user interaction. After the last position, the LCD Menu should
quickly try loading and unloading all 5 filaments one after another without any user
interaction. Green LED should signal the success of load after each position.
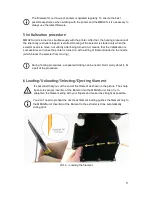
6.4 Ejecting filament
Found in
LCD Menu - Eject Filament - Eject Filament 1/2/3/4/5.
It’s advised to run this
procedure after you use up filament scraps through the automatic depletion function (
LCD
Menu - Settings - SpoolJoin [on/off]
-
9.2 SpoolJoin
). It allows you to remove the last
remaining piece of filament from the loading tubes after a filament spool is completely used
up.
Ejecting during the print:
1.
Pause print
via the
LCD menu
.
2. Select the
Eject filament
option and choose which filament you want to remove.
3. Then, the selector moves to the side and the filament string is ejected forward
(through the MMU2S unit).
4. Remove the rest of filament string and press the knob.
5. Select the
Load filament
option and insert a new filament string as usual.
6.
Resume the print process
.
13
Summary of Contents for i3 MK2.5S Multi Material Upgrade 2S
Page 1: ...ENG ...


