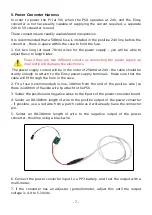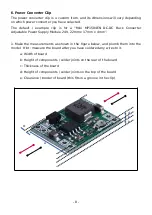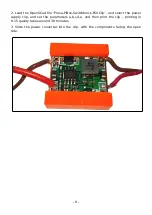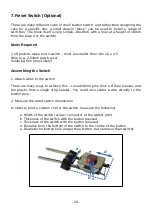
Final PSU Test
1. Re-do the PP3 battery test with the harness and PSU
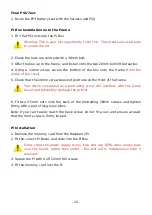
Pi Box Installation onto the Frame
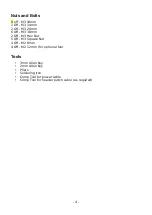
1. Fit 3 flat M3 nuts into the Pi Box
Warning: This is your last opportunity to do this. These nuts are used later
to secure the lid.
2. Check the nuts are centred with a 30mm bolt.
3. Offer the box up to the frame, and install onto the two 20mm bolts fitted earlier.
4. Using a 14mm screw, secure the bottom of the box onto the frame (
from the
inside of the case
).
5. Check that the 14mm screw does not protrude on the front of the frame.
This check is essential as a protruding screw will interfere with the Z-Axis
travel and potentially damage the printer.
6. Fit two 3.5mm nuts onto the back of the protruding 20mm screws and tighten
firmly with a pair of long nose pliers.
Note: If you can’t easily reach the back screw, do not fit a nut, and ensure at least
that the front screw is firmly locked.
Pi Installation
1.
Remove the memory card from the Raspberry Pi.
2. Fit the correct Pi Bezel, and slide into the Pi Box.
Ensure that the power supply wires, fuse and any GPIO wires neatly pass
over the board, rather than under – this will aid in maintenance later if
required.
3. Secure the Pi with 4 off 12mm M2 screws.
4. Fit the memory card into the Pi.
- 15 -


