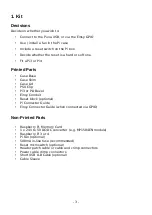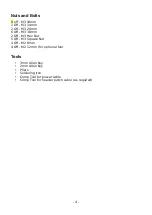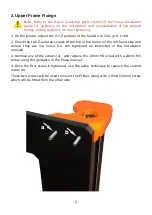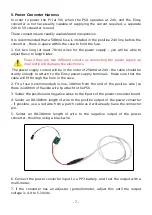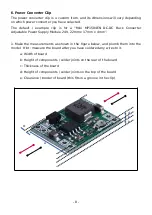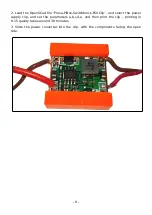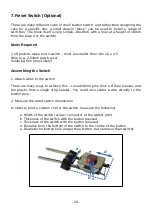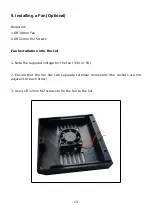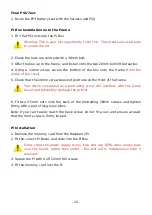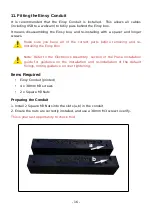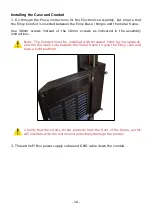
Preparing a New Einsy Base
1. If you have previously used a Pi Zero, and wish to print an entirely new Einsy
base (without the cut-out), now is your last opportunity!
Removing the Einsy Case
1. On the printer, adjust the X,Y,Z position of the head to x=150, y=0, z=60
2. Turn off the printer and unplug from the mains.
3. Remove the Pi Zero if it has been installed.
4. Open the Einsy Lid, and note the x,y,z,e wire tags, and if any are missing, replace
them before disassembly.
5. Remove all connectors in the reverse order to that use to install it. Refer to the
Electronics Assembly section of the original installation manual).
Do not undo or remove any of the six power supply terminal connectors.
We will carefully connect the Pi power supply up later.
6. Unbolt and completely remove the base, lid and hinges. Retain all screws (noting
that the four screws to attach the base and hinges to the frame will be replaced
with longer ones).
- 17 -

