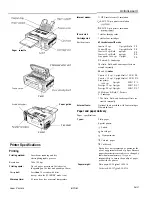


Summary of Contents for i3 Hephestos
Page 1: ......
Page 2: ......
Page 3: ......
Page 4: ......
Page 5: ......
Page 6: ......
Page 7: ......
Page 8: ......
Page 9: ......
Page 10: ......
Page 11: ......
Page 12: ......
Page 13: ......
Page 14: ...RAMPS 1 4 WIRING G3D MANUAL V1 0 25 07 2013 ...
Page 15: ...2 WWW GADGETS3D COM WWW GADGETS3D EU ...
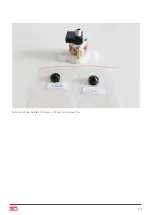
Page 16: ...3 RAMPS 1 4 Unpack RAMPS box RAMPS 1 4 arduino sd shield ...
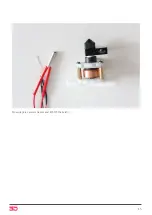
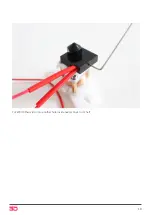
Page 19: ...6 Take endstop connector and place it Thermistor connectors should go near endstop pins ...
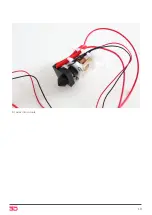
Page 22: ...9 RAMPS 1 4 wiring schematic ...
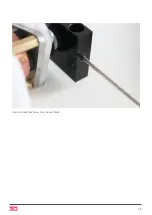
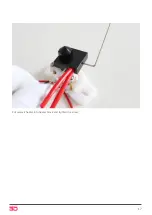
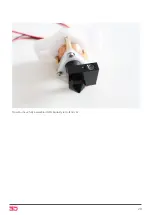
Page 24: ...11 Use the same tool to deatach arduino module from RAMPS after this unplug power socket ...
Page 25: ...12 Now your RAMPS is fully disassembled ...
Page 26: ......
Page 27: ......
Page 28: ......
Page 29: ......
Page 30: ......
Page 31: ......
Page 32: ......
Page 33: ......
Page 34: ......
Page 35: ...j HEAD HOTEND ASSEMBLY 1 All necessary parts 2 Tight the nozzle to the holder black color ...
Page 37: ...5 Insert and tight the socket screw ...
Page 39: ...BUDA STYLE HOTEND V1 2 G3D MANUAL V1 0 30 07 2013 ...
Page 40: ...2 WWW GADGETS3D COM WWW GADGETS3D EU ...
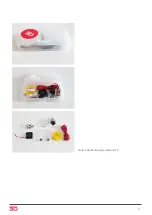
Page 41: ...3 Unpack G3D Buda style HotEnd v1 2 ...
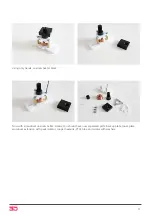
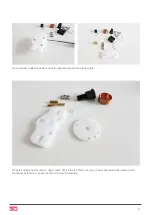
Page 44: ...6 Adjust upper plate on budaschnozzle mount ...
Page 45: ...7 Turn part upside down fit the screws into holes and assembly spacers ...
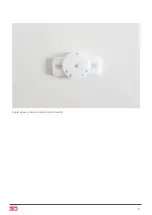
Page 47: ...9 Put PTFE tube into spacer spacer should be on center ...
Page 48: ...10 Then assembly parts like on pictures above ...
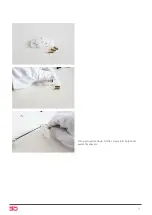
Page 50: ...12 Now use PTFE thread seal tape then screw on it heater block use 2 to 4 layers ...
Page 51: ...13 Take one of two nozzle s 0 4 mm or 0 5 mm and screw it on ...
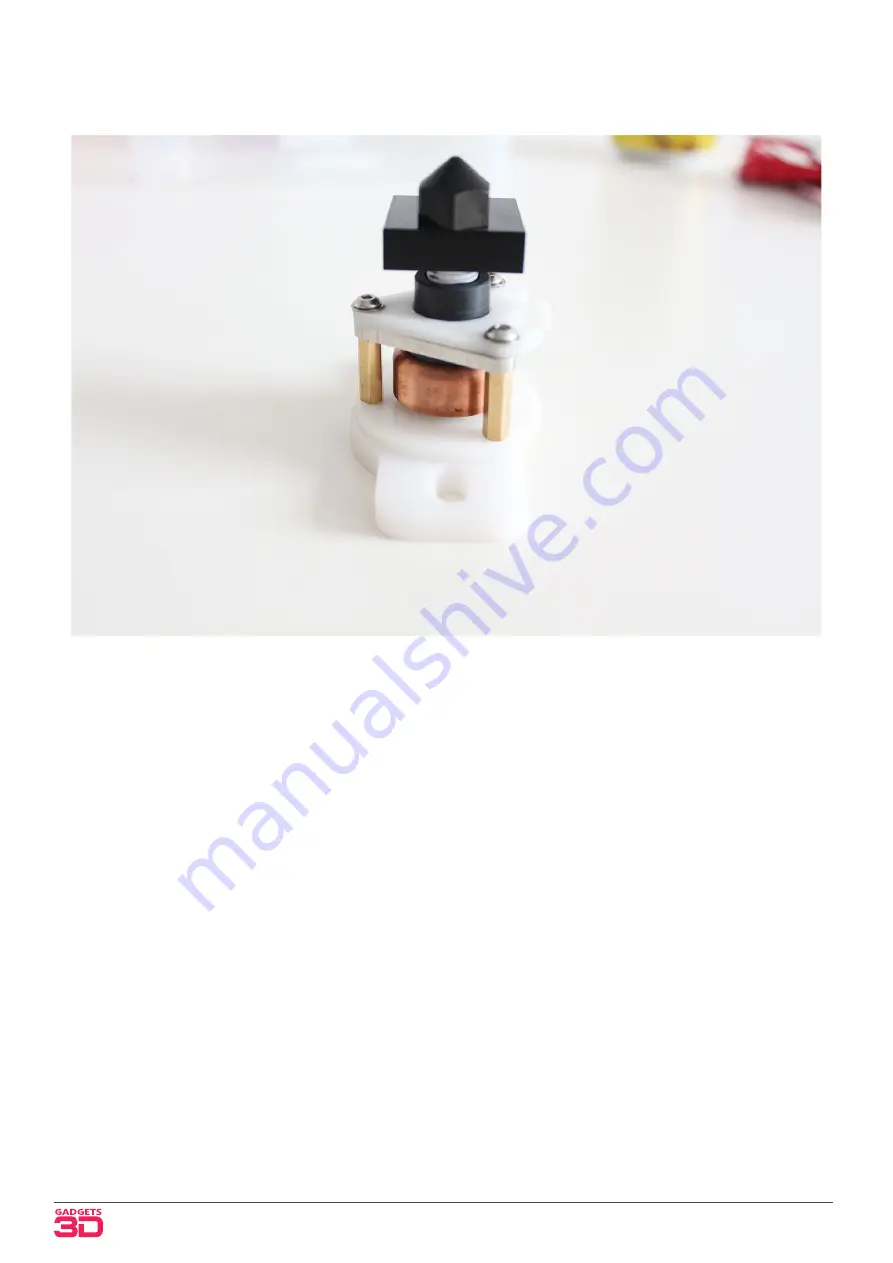
Page 52: ...14 Assembled part should look like on picture above ...
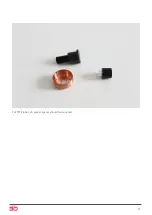
Page 53: ...15 Now prepare ceramic heater and EPCOS thermistor ...
Page 54: ...16 Unscrew headless screw from heater block ...
Page 55: ...17 Put ceramic heater into heater block and tighten the screw ...
Page 56: ...18 Put EPCOS thermistor into another hole inside heater block to it s half ...
Page 57: ...19 Fit wires into cutouts ...
Page 58: ...20 Now You have fully assembled G3D Buda style HotEnd v1 2 ...