Chapter 5: Mechanical Considerations
Pod Expansion Modules and Devices
70
Psion Teklogix Omnii HDK User Manual
Installing Pod Expansion Modules
The Omnii expansion back cover has an opening where a pod expansion module can be attached.
If no pod expansion is in use, a blanking plate is attached in its place to seal the opening. The
pod expansion or blanking plate is attached using four screws which can be removed using a T10
Torx screwdriver.
To remove the pod expansion/blanking plate:
1. Remove the four T10 Torx screws securing the pod or plate to the main housing.
2. Separate the pod or plate from the unit.
3. When removing a pod expansion, there is a flex cable that connects the expansion device
to the main logic board. Disconnect the flex cable from the pod expansion module.
Removing the pod expansion or blanking plate allows a flex cable to be routed into the unit
through the pod opening and attached to one of the internal connectors. It will likely be necessary
to separate the whole back cover from the unit in order to properly access the connector and install
the cable.
To remove the back cover:
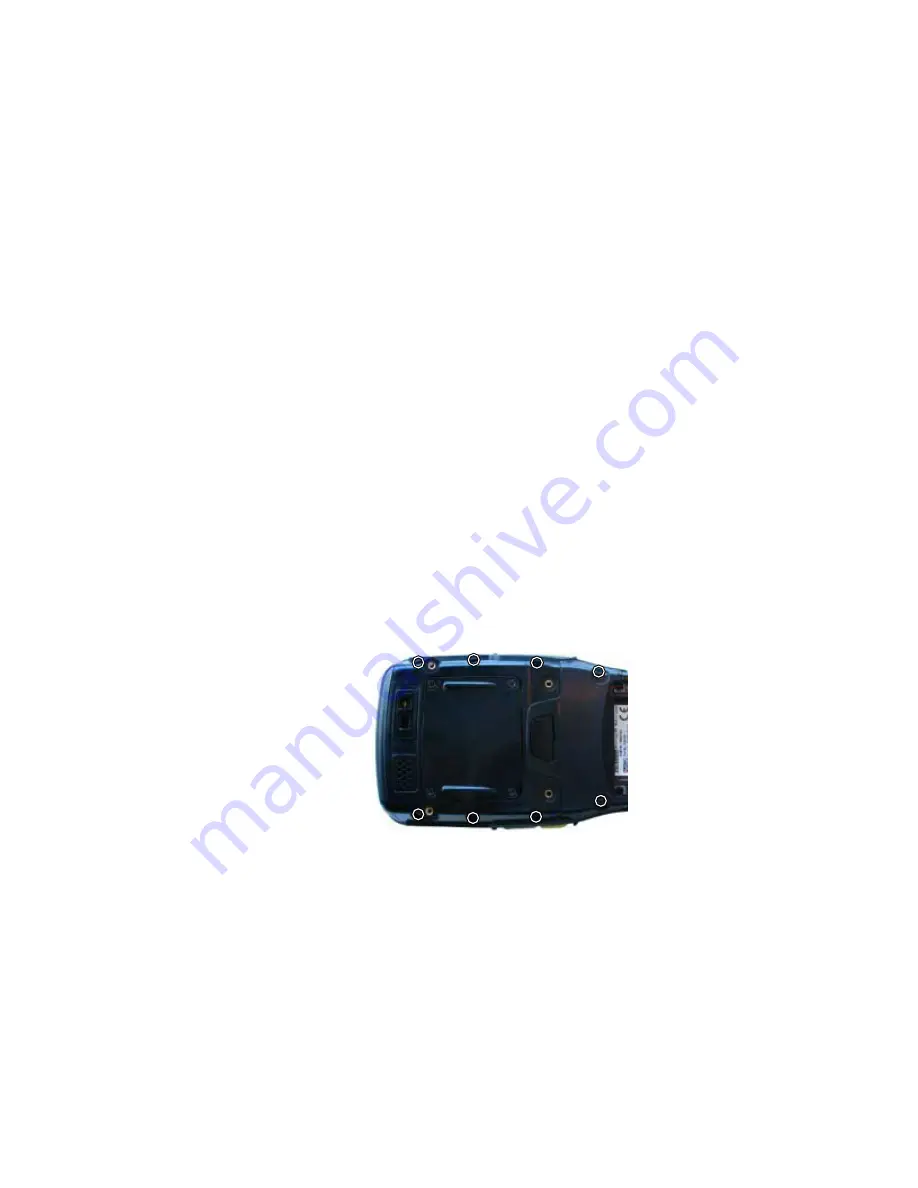
1. Remove the eight T10 Torx screws holding the back cover to the main housing.
2. Remove the two T6 Torx screws at the top of the display on the front of the unit.
To attach the back cover:
1. Make sure all cables are attached to the appropriate sockets on the main unit.
2. Seat the back cover on the main housing, routing the flex cable for the pod expansion
module through the pod opening.
3. Install eight M3x6 T10 Torx screws to secure the back cover to the main housing. Torque
the screws to 5.0 in-lb (0.56 N-m) in the sequence indicated below to ensure a consistent
seal around the perimeter.
4. Install two M2x8 T6 Torx screws in the two mounting points at the top of the display on
the front of the unit. Torque the screws to 2.5 in-lb (0.28 N-m).
To attach the new module in the pod opening:
1. Connect the pod expansion flex cable to the pod module.
2. Seat the pod module on the main housing.
3. Install four M3x5 T10 Torx screws to secure the pod module to the main housing. Torque
the screws to 5.0 in-lb (0.56 N-m).
1
2
3
4
8
6
7
5
Summary of Contents for OMNii HDK XT10
Page 4: ......
Page 10: ......
Page 12: ......
Page 18: ......
Page 20: ......
Page 24: ......
Page 26: ......
Page 32: ......
Page 72: ......
Page 90: ......
Page 92: ......
Page 116: ......
Page 124: ......
Page 126: ......
Page 130: ......
Page 132: ......
Page 154: ......
Page 168: ......
Page 170: ......
Page 182: ......
Page 184: ......
Page 188: ......


