Appendix D: Teklogix Imagers Applet
Removing a Custom Preset
Psion Teklogix NEO Hand-Held Computer User Manual
D-15
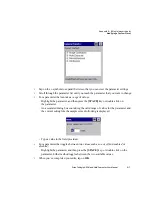
- Highlight the parameter, and then press the
[SPACE]
key or double-click the
parameter.
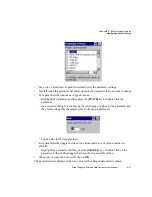
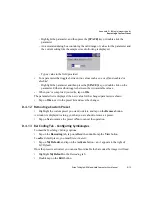
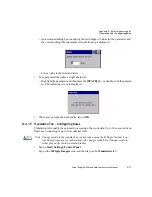
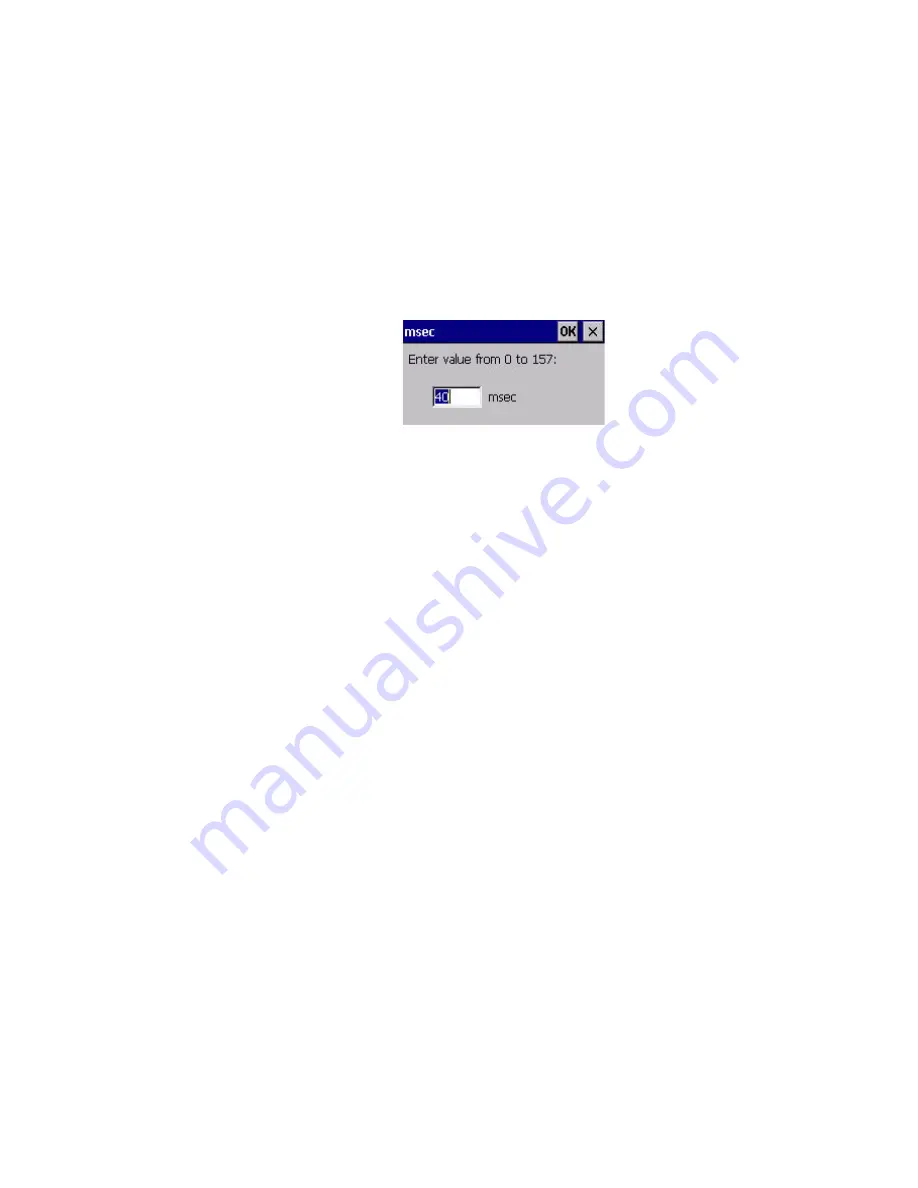
- An associated dialog box containing the valid range of values for the parameter and
the current setting like the sample screen following is displayed.
- Type a value in the field provided.
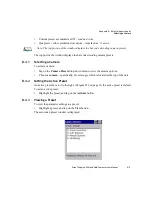
•
For a parameter that toggles between two values such as
on
or
off
and
enabled
or
disabled
:
- Highlight the parameter and then press the
[SPACE]
key, or double-click on the
parameter. Either method toggles between the two available values.
•
When you’ve completed your edits, tap on
OK
.
The parameter list is displayed; the new value for the changed parameter is shown.
•
Tap on
OK
to exit to the preset list and save the changes.
D.4.12 Removing a Custom Preset
•
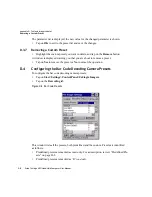
Highlight the custom preset you want to delete, and tap on the
Remove
button.
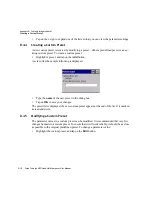
A window is displayed warning you that you are about to remove a preset.
•
Tap on
Yes
to remove the preset or
No
to cancel the operation.
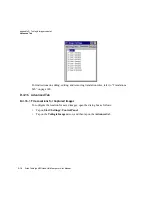
D.4.13 Bar Coding Tab – Configuring Symbologies
To
view
the
Symbology Settings
options:
•
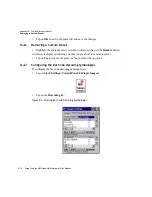
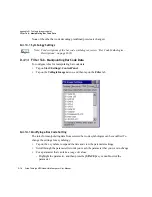
Tap on the
Barcoding
tab, tap on
All
and then double-tap the
View
button.
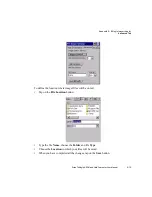
To
edit
a default preset, you must first
activate
it:
•
Tap on
My Default
, and tap on the
Activate
button – an
A
appears to the right of
My Default
.
Once the preset is activated, you can enable or disable the bar codes the imager will read.
•
Highlight
My Default
in the
Barcoding
tab.
•
Double-tap on the
Edit
button.

