Chapter 7: Peripheral Devices & Accessories
Attaching The Pistol Grip
WORKABOUT PRO
3
with Windows Mobile 6.1 User Manual
251
•
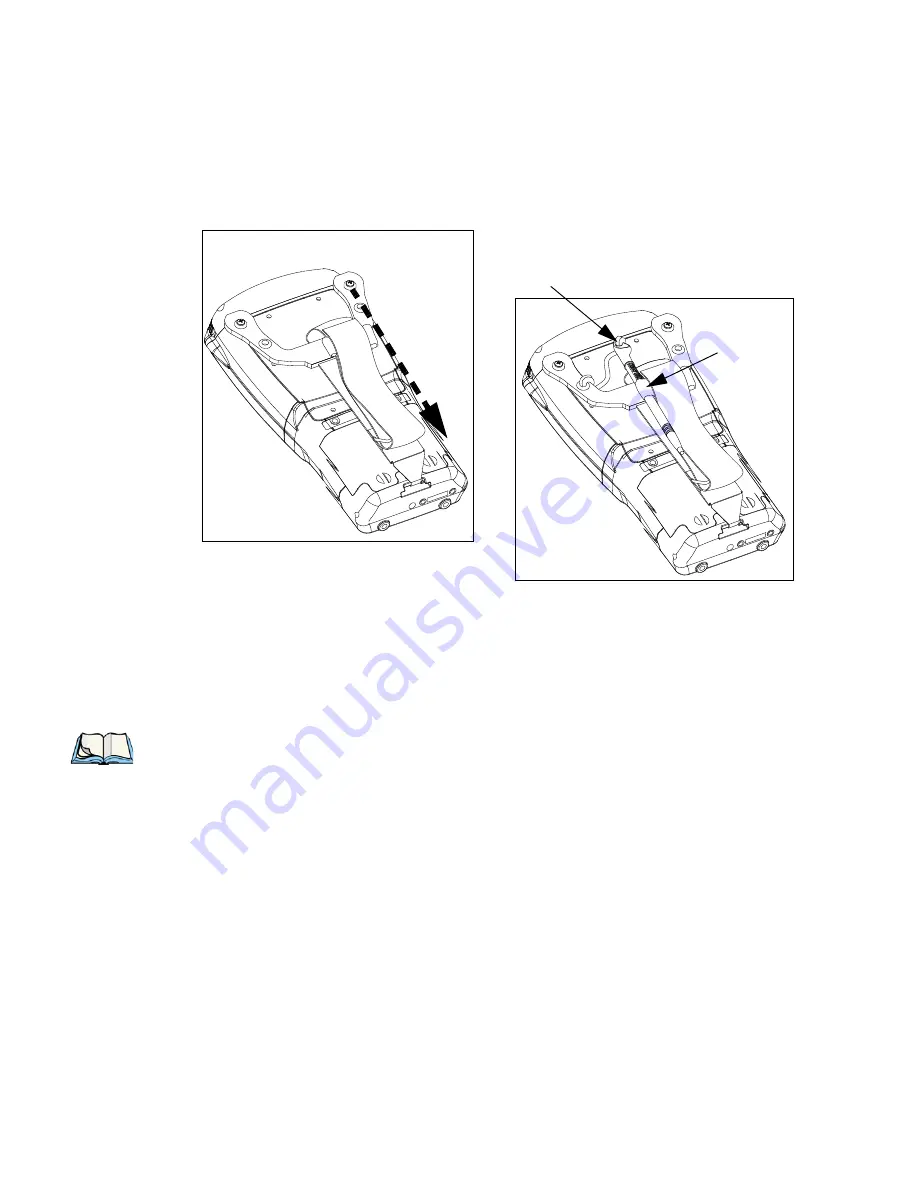
Stretch the hand strap toward the base of the WORKABOUT PRO
3
, and hook the
bottom of the strap into the slot near the base of the battery pack. A tethered stylus and
optional external stylus tube can be attached to the hand strap as illustrated below
7.3
Attaching The Pistol Grip
There are a number of pistol grips available to you depending on the type of scanner/imager
installed in your hand-held. Refer to the table in Section 7.1 on page 249 for a list of pistol
grip model numbers and the scanners/imagers with which they are compatible.
Tethered Stylus
Stylus Tube
Note: The few steps required to attach the pistol grip to the WORKABOUT PRO
3
are com-
mon to all types of pistol grips. However, if you plan to use the Flush Mount Pistol
Grip (WA6103), you’ll need to install a special trigger back plate before following
these steps to attach the pistol grip. Refer to “The Trigger Back Plate Kit With Flush
Mount Pistol Grip” on page 245 for details.
Summary of Contents for WORKABOUT PRO 7527C-G2
Page 4: ......
Page 18: ......
Page 20: ......
Page 25: ...1 3 2 The WORKABOUT PRO3 S Hand Held Figure 1 2 WORKABOUT PRO3 S with QWERTY Keyboard...
Page 76: ......
Page 140: ......
Page 262: ......
Page 266: ......
Page 302: ......
Page 304: ...286 WORKABOUT PRO 3 with Windows Mobile 6 1 User Manual 8 5 5 1 HHP5180 Imager Decode 318...
Page 348: ......
Page 352: ......
Page 374: ......
Page 434: ......


